DBA Hub

📋Steps in this guide1/28

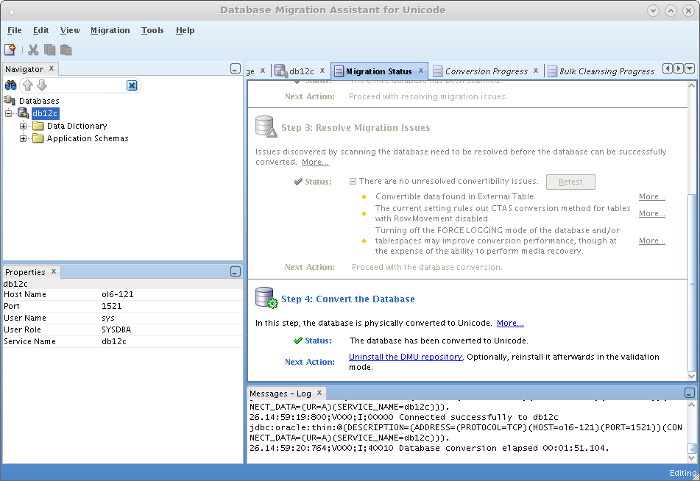
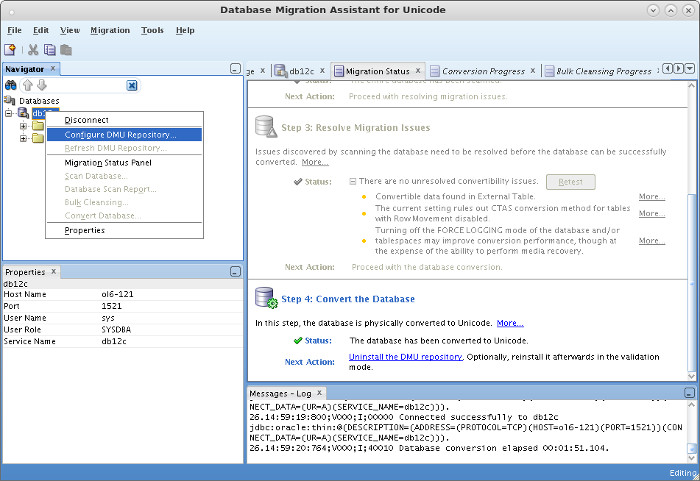
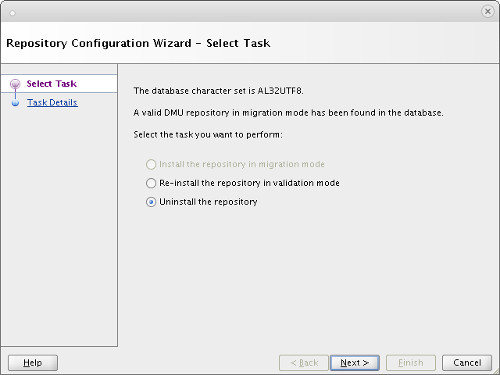
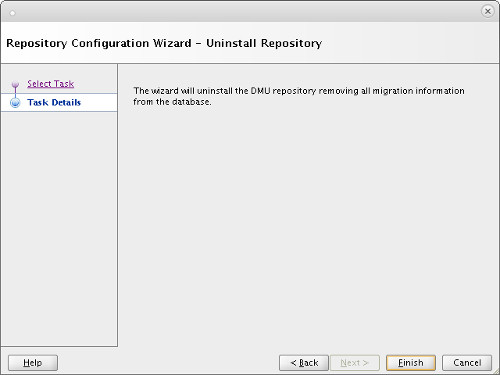
Database Migration Assistant for Unicode (DMU) in Oracle Database 12c Release 1 (12.1)

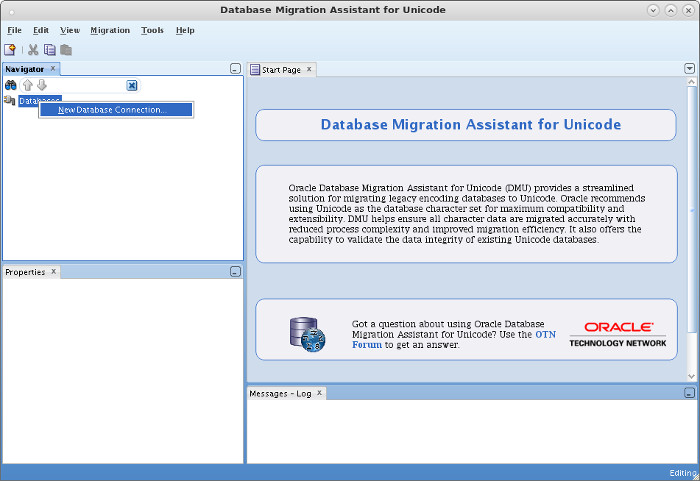
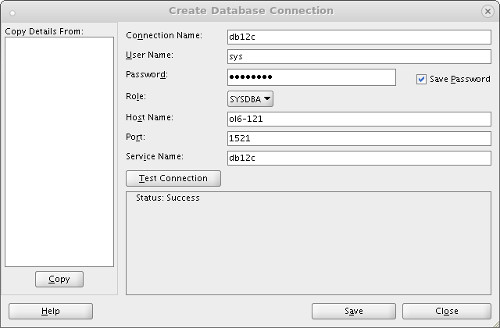
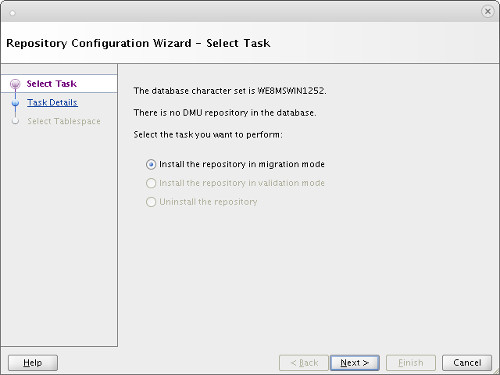
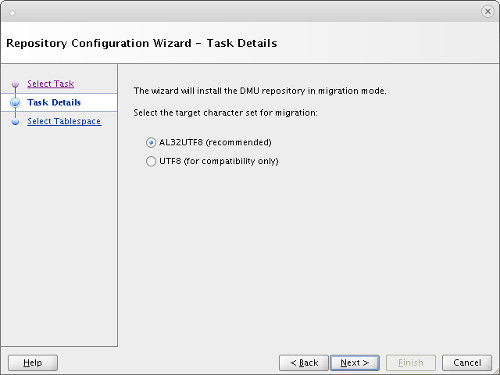
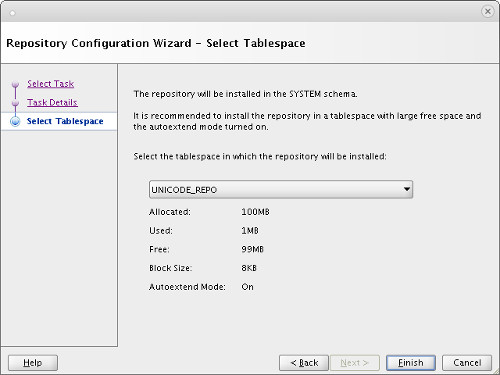
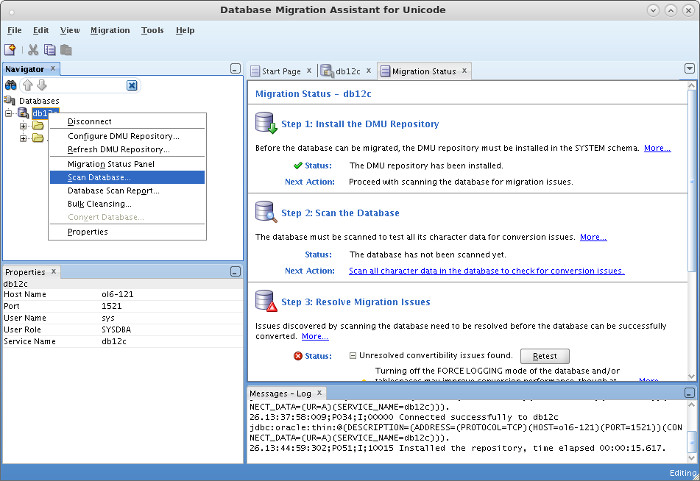
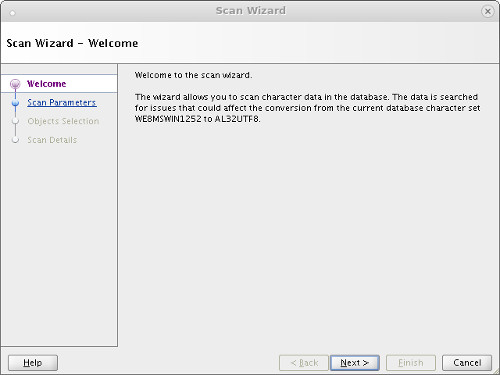
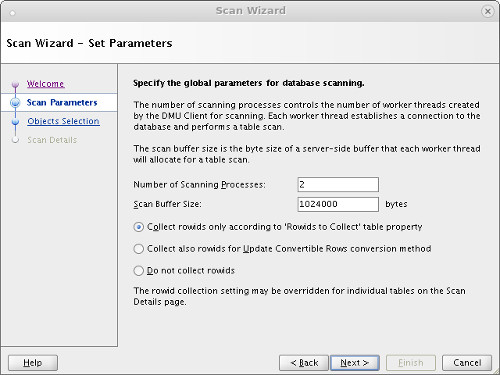
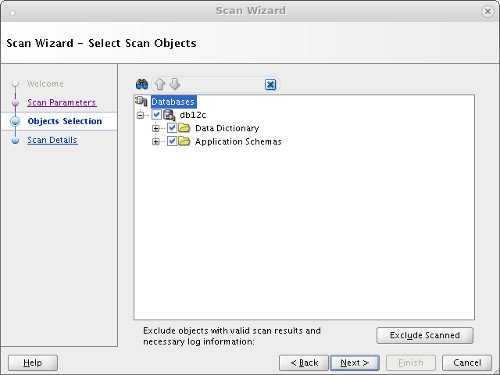
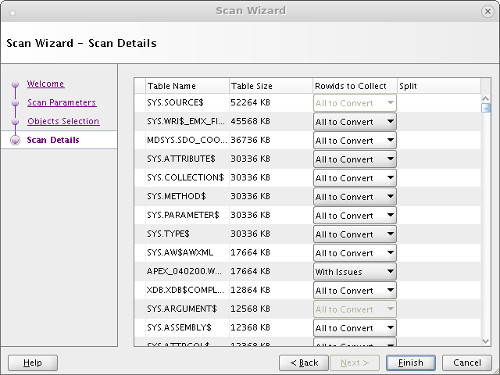
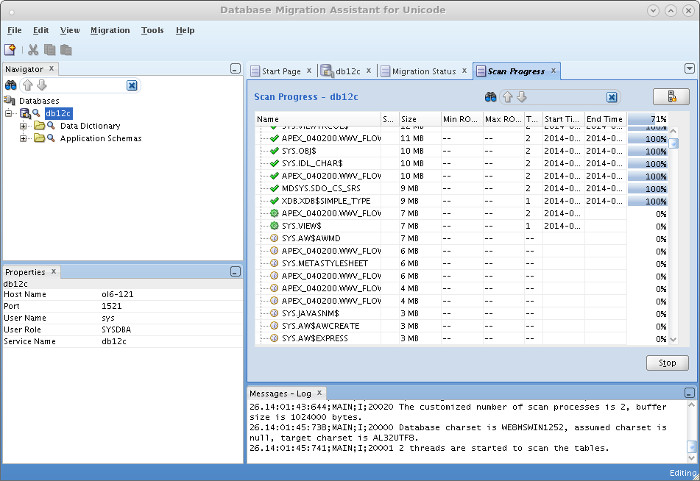
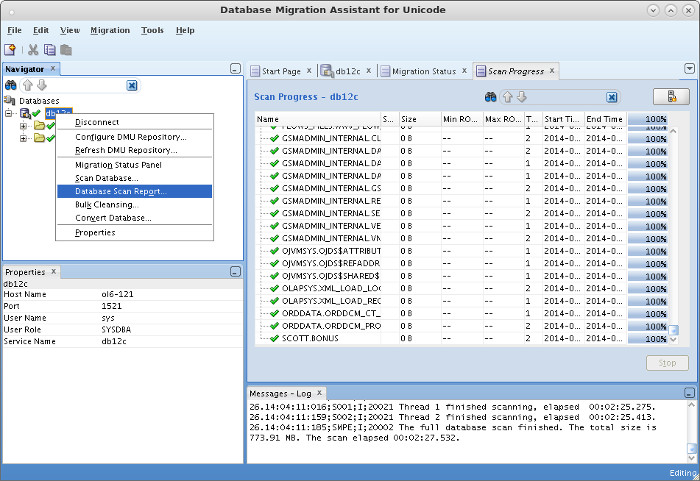
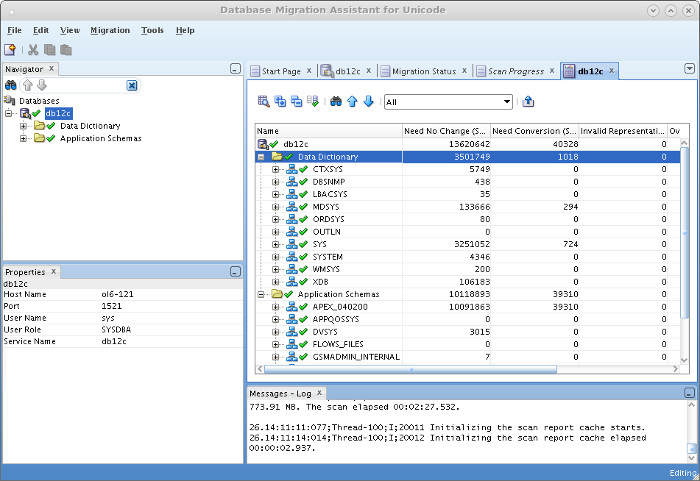
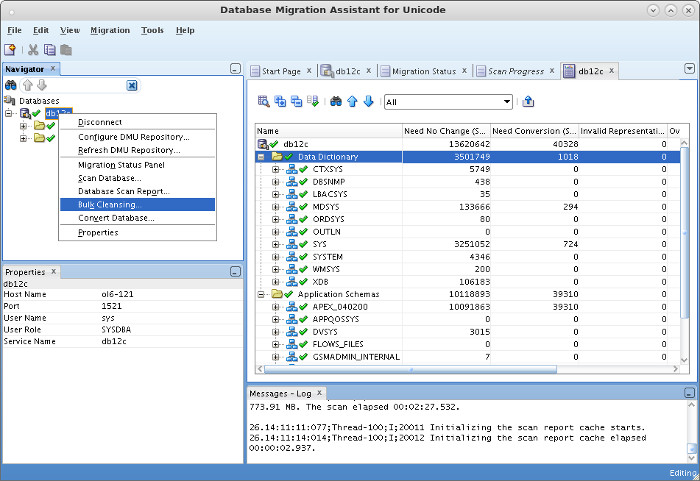
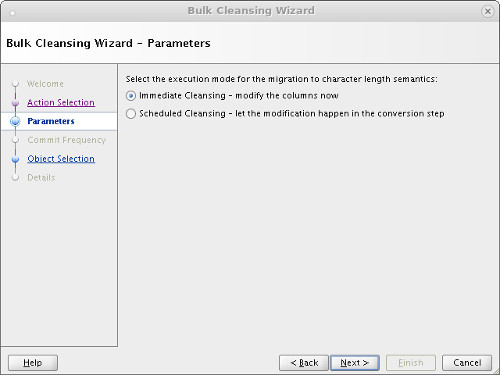
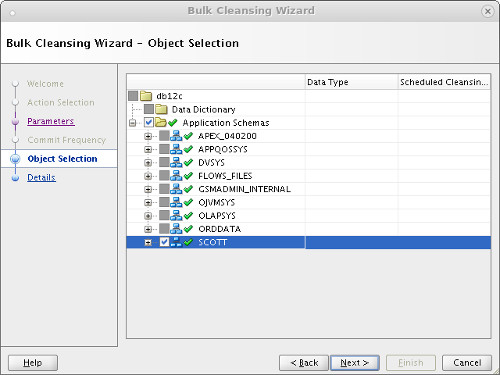
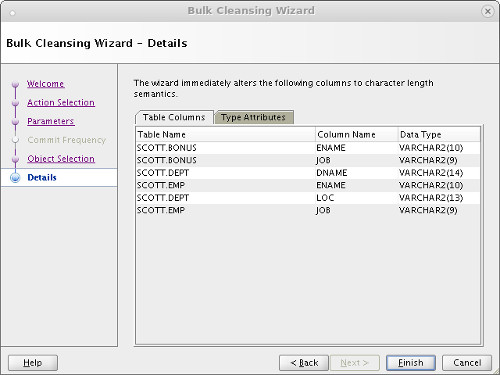
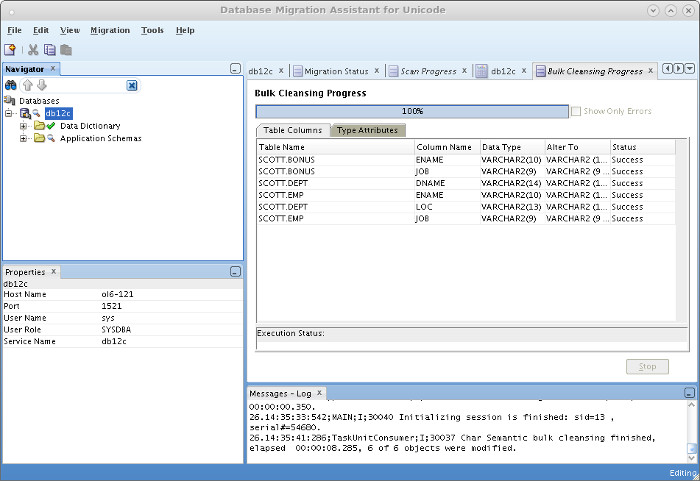
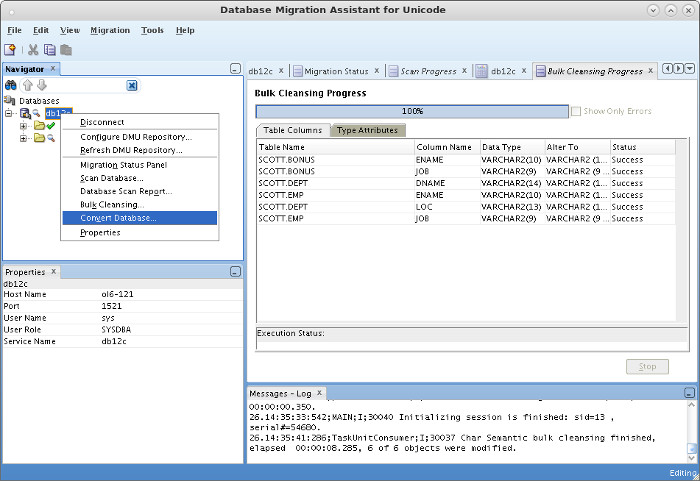
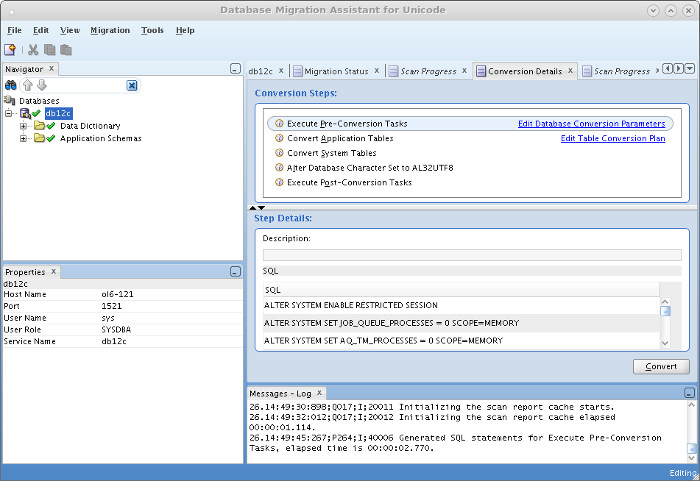
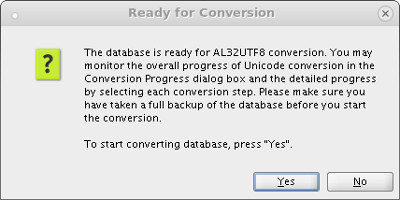
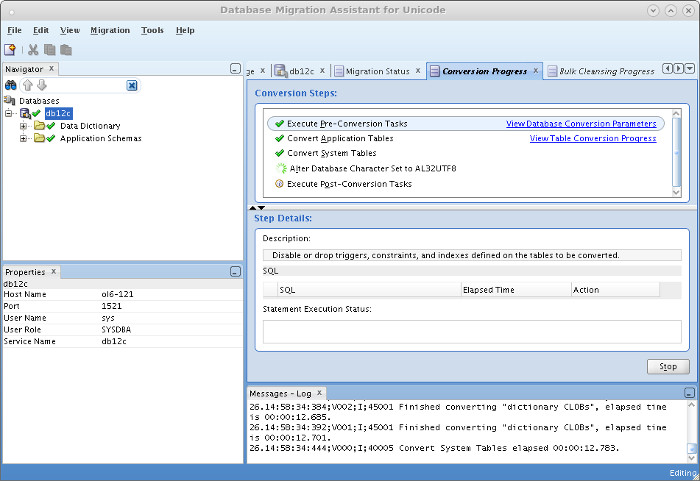
The Database Migration Assistant for Unicode (DMU) allows you to convert databases to use a unicode character set.

oracle 12cconfigurationintermediate
by OracleDba
13 views
1

Migrate

The Database Migration Assistant for Unicode (DMU) is listed as a 12c new feature, but it is actually a separate tool that supports a number of different database versions. - Download - Multitenant - Prepare - Migrate - Tidy Up Related articles. - Character Set Migration using CSSCAN and CSALTER Version 1.2 of the DMU is shipped with the 12c database. You can see it by running the following commands. Oracle recommend you always download the latest release before starting a migration. At the time of writing, version 2.0 is available at OTN. - Oracle Database Migration Assistant for Unicode: Downloads Once you've downloaded it, it can be unzipped and run from anywhere, but I prefer to unzip it under a new directory in the ORACLE_HOME. If you are working with the multitenant architecture, there are a few things to consider. - The DMU can't be used against a CDB. If your CDB is not using AL32UTF8, then create a new CDB and migrate your PDBs into it prior to converting them. From Oracle 12.2 onward a PDB can have a different character set that of the CDB, so long as the CDB uses AL32UTF8 you are fine to proceed. - Perform all the preparation steps against the PDB, not the CDB. - When making a connection from the DMU, connect to the "SYS@PDB AS SYSDBA". If you connect to the CDB it will just produce an error message. Make sure the package is installed. If you have lots of objects in the recycle bin they may be flagged as problem tables, so purge the recycle bin. It's a good idea to create a separate tablespace for the repository, rather than using the SYSAUX tablespace. If you are running against a database version prior to 11.2.0.3, you will probably need to patch your database. You can see the compatibility matrix here and the patch here . During the migration process the Migration Status tab normally tells you the next step to take, and provides links to jump to the next step so you don't have to use the menu. In this article I chose to use the menus directly, but if you don't like that, always click back on the Migration Status tab between steps to see what you should do next. We are now ready to start the migration. Right-click on the "Databases" node in the Navigator pane and select the "New Database Connection" option from the popup menu. Enter the connection details and click the "Test Connection" button. Once you get a successful test, click the "Save" button to return to the previous screen.
Step 1
2

Migrate

When you return to the previous screen, expand the new connection node in the tree to start the Repository Configuration Wizard. Accept the "Install the repository in migration mode" option by clicking the "Next" button.
Step 2
3

Migrate

Accept the "AL32UTF8" option by clicking the "Next" button.
Step 3
4

Migrate

Select the tablespace to hold the repository, then click the "Finish" button. Wait for the repository to be created, then click the "OK" button on the subsequent message box.
Step 4
5

Migrate

Right-click on the database connection and select the "Scan Database" option from the popup menu.
Step 5
6

Migrate

Click the "Next" button.
Step 6
7

Migrate

Alter any parameters as required, then click the "Next" button.
Step 7
8

Migrate

Select the objects to scan, then click the "Next" button.
Step 8
9

Migrate

Check the scan details, then click the "Finish" button.
Step 9
10

Migrate

Wait while the scan takes place. Once complete, click the "OK" button on the message box.
Step 10
11

Migrate

Right-click on the database connection and select the "Database Scan Report" option from the popup menu.
Step 11
12

Migrate

Check the report for possible problems.
Step 12
13

Migrate

Right-click on the database connection and select the "Bulk Cleansing" option from the popup menu.
Step 13
14

Migrate

Click the "Next" button.
Step 14
15

Migrate

Accept the "Migrate to character length semantics" option by clicking the "Next" button.
Step 15
16

Migrate

Decide if you want column changes to happen immediately, or during the conversion. Click the "Next" button.
Step 16
17

Migrate

Select the objects to be converted, then click the "Next" button.
Step 17
18

Migrate

Click the "Finish" button. Wait for the bulk cleansing to complete, then click the "OK" button on the resulting message box.
Step 18
19

Migrate

Check the results of the bulk cleansing.
Step 19
20

Migrate

Right-click on the database connection and select the "Convert Database" option from the popup menu.
Step 20
21

Migrate

Click the "Convert" button.
Step 21
22

Migrate

Click the "Yes" button to start the conversion.
Step 22
23

Migrate

The conversion will initiate the Scan Wizard again. Accept all the defaults by clicking the "Next" and "Finish" buttons where appropriate. Once the "Finish" button is clicked, the conversion will start. Wait for it to complete, then click the "OK" button on the final message box. You are presented with a screen showing you the outcome of the conversion.
Step 23
24

Migrate

The Migration Status tab also shows the conversion is complete.
Step 24
25

Migrate

Right-click on the database connection and select the "Configure DMU Repository" option from the popup menu.
Step 25
26

Migrate

Select the "uninstall the repository" option and click the "Next" button.
Step 26
27

Migrate

Click the "Finish" button. Once complete, click on the "OK" button on the message box.
Step 27
28

Tidy Up

Exit the Database Migration Assistant for Unicode (DMU) using the "File > Exit" menu option. The conversion is complete. If you created a new tablespace for the migration, you can drop it now. For more information see: - Oracle Database Migration Assistant for Unicode Guide Release 2.1 - Oracle Database Migration Assistant for Unicode - Oracle Database Migration Assistant for Unicode: Downloads - Character Set Migration using CSSCAN and CSALTER Hope this helps. Regards Tim...
Step 28

Comments (0)

Please to add comments

No comments yet. Be the first to comment!