DBA Hub

📋Steps in this guide1/30

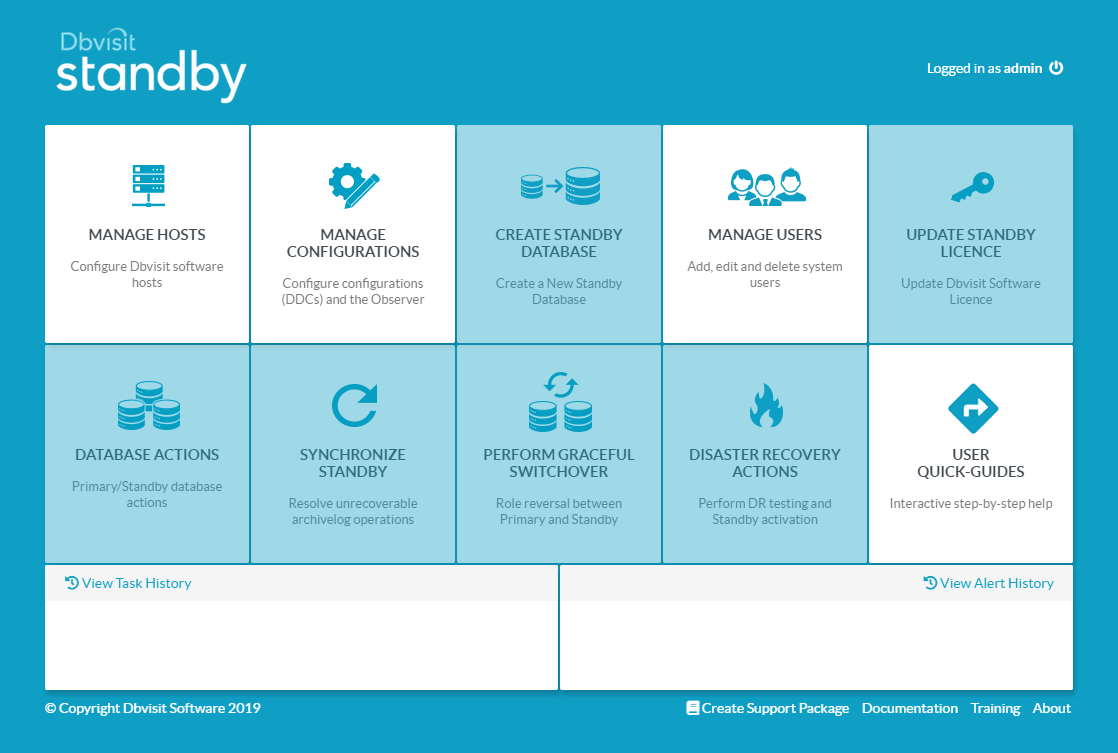
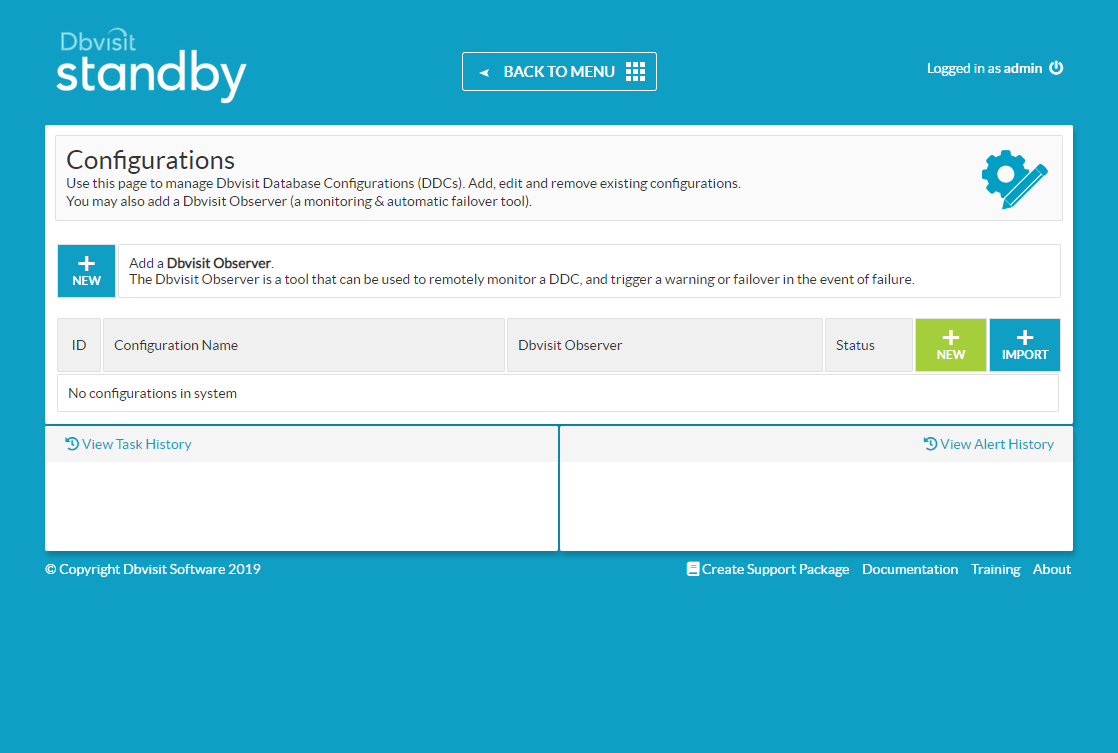
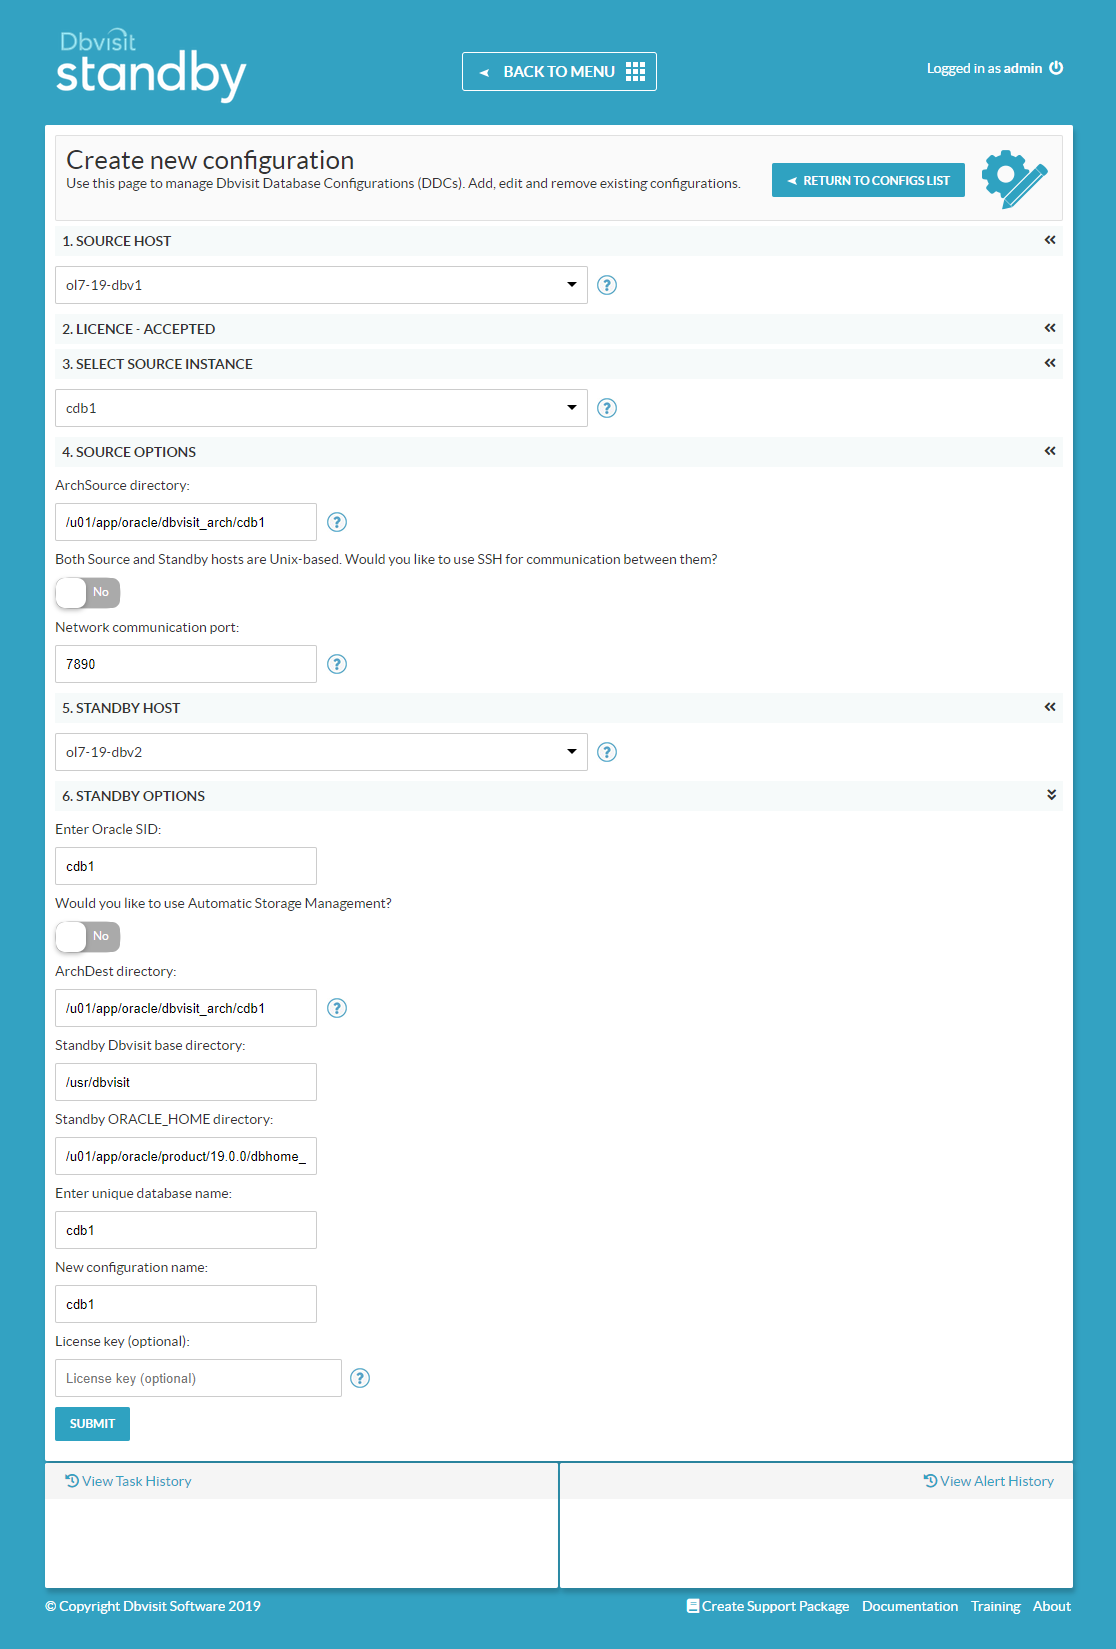
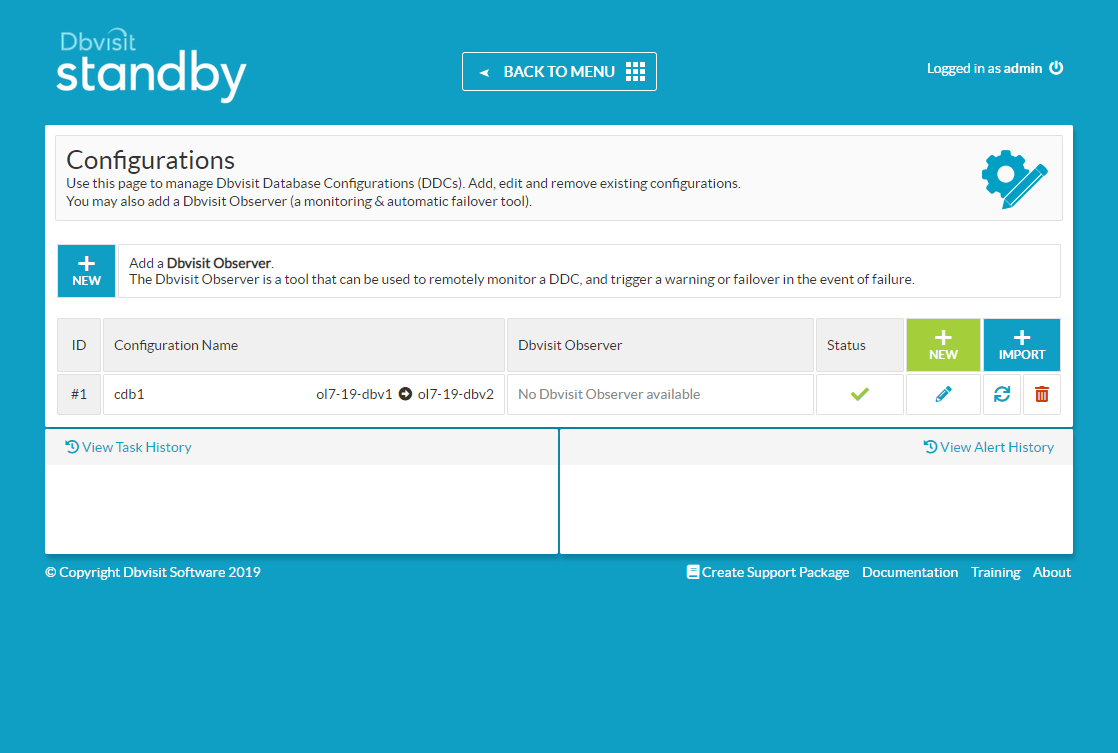
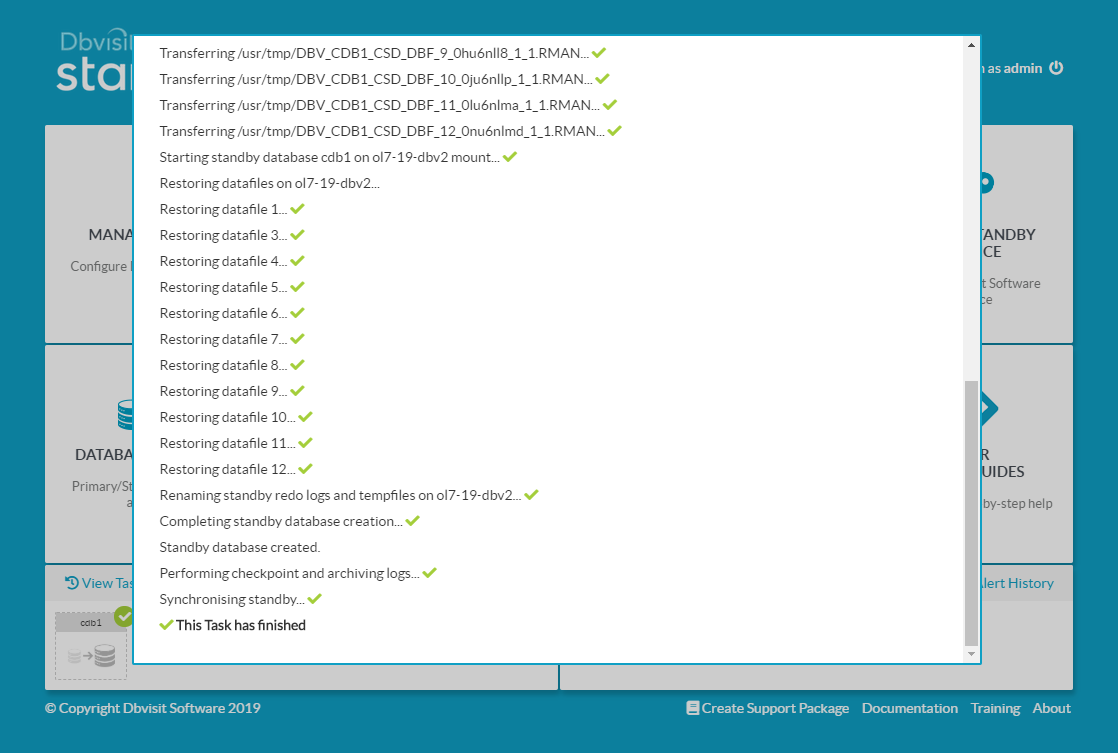
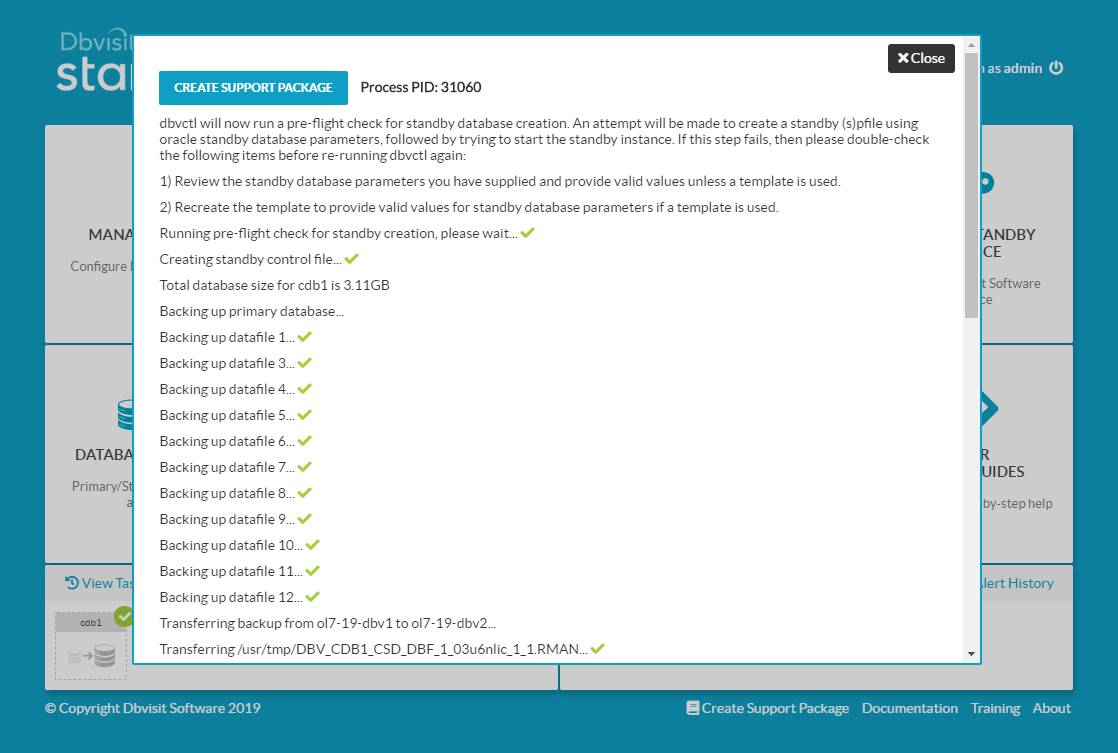
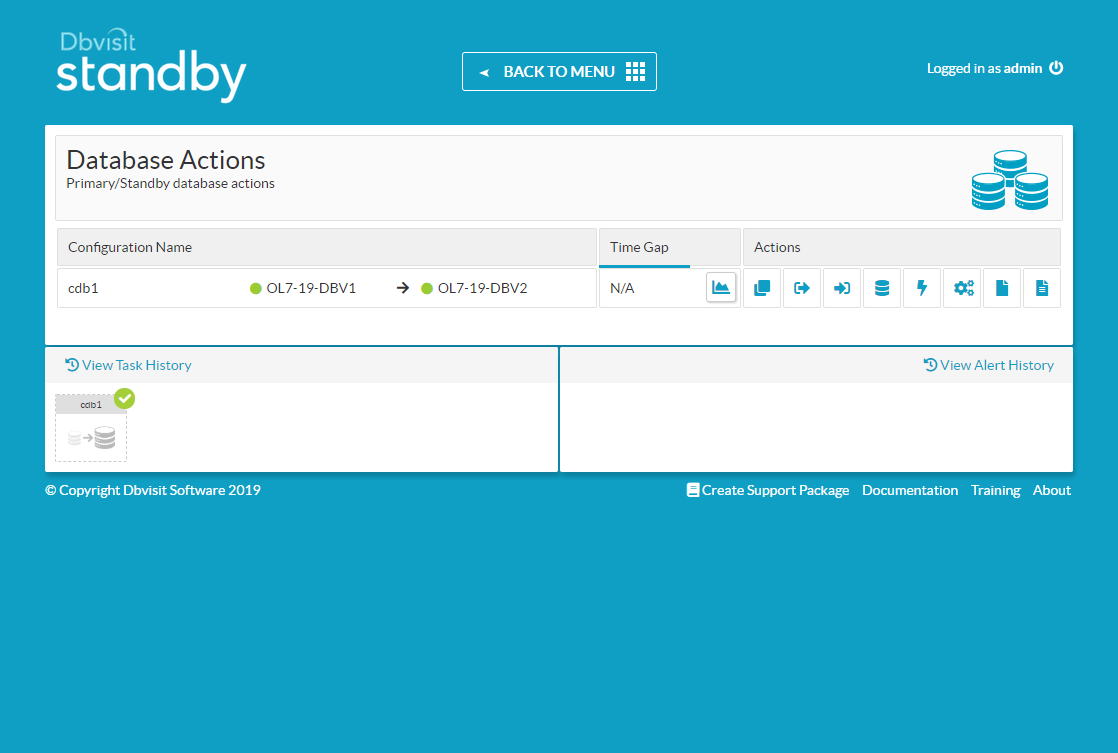
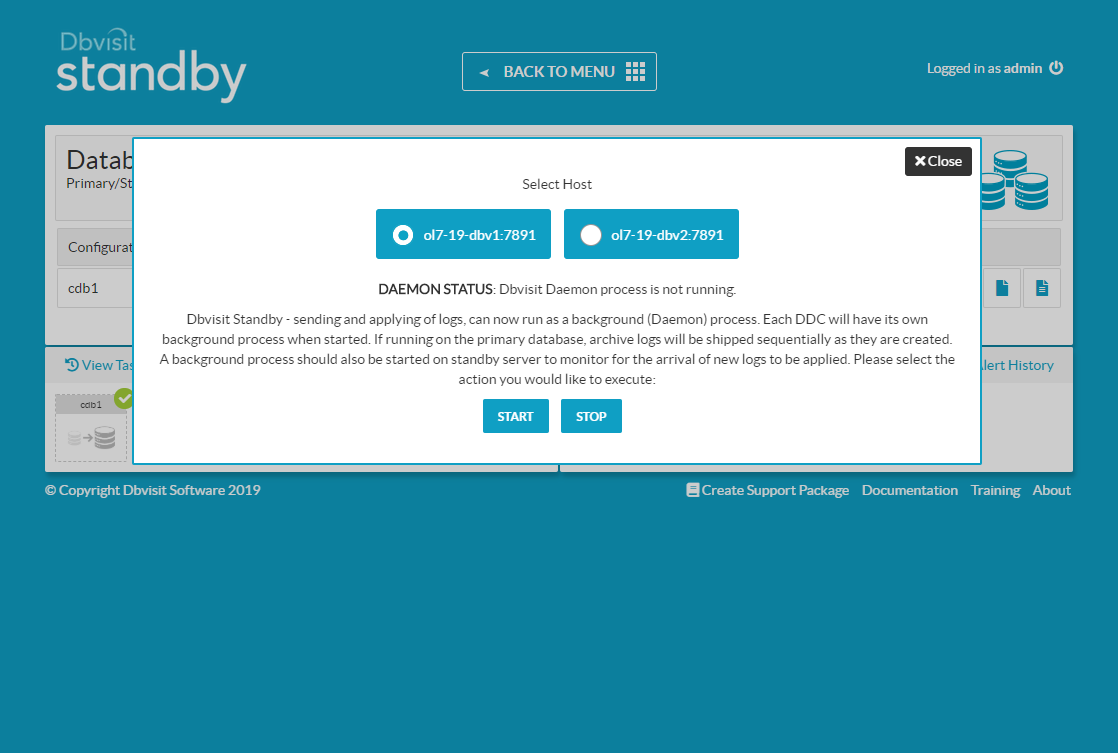
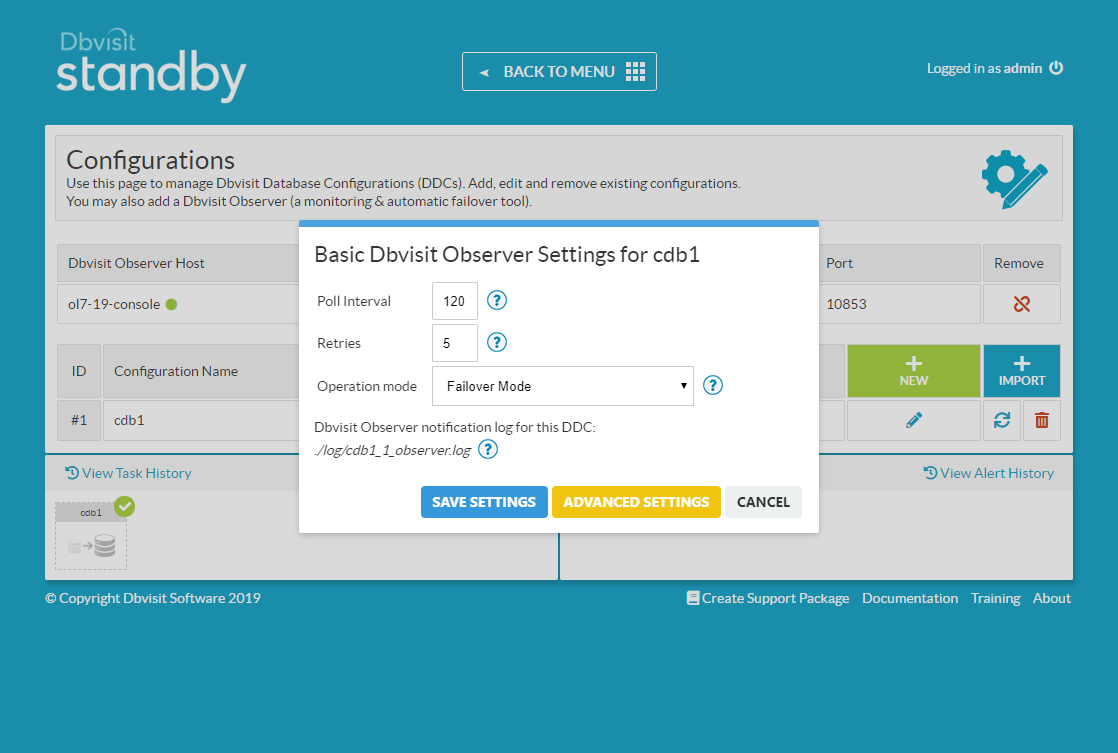
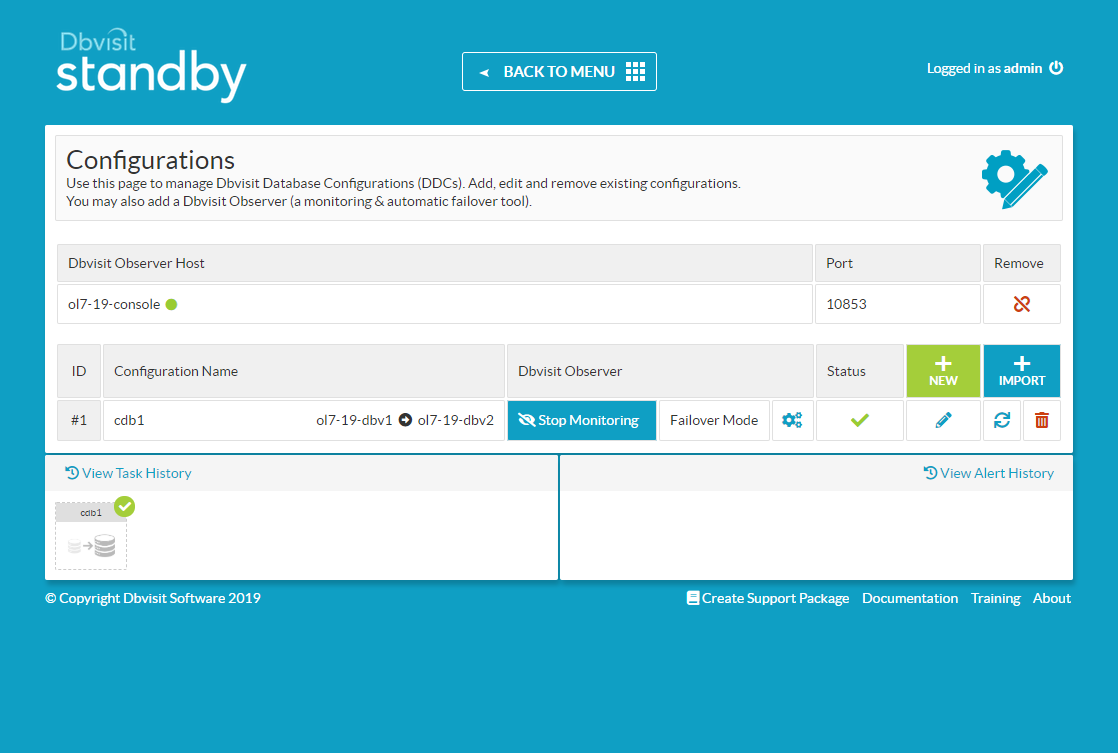
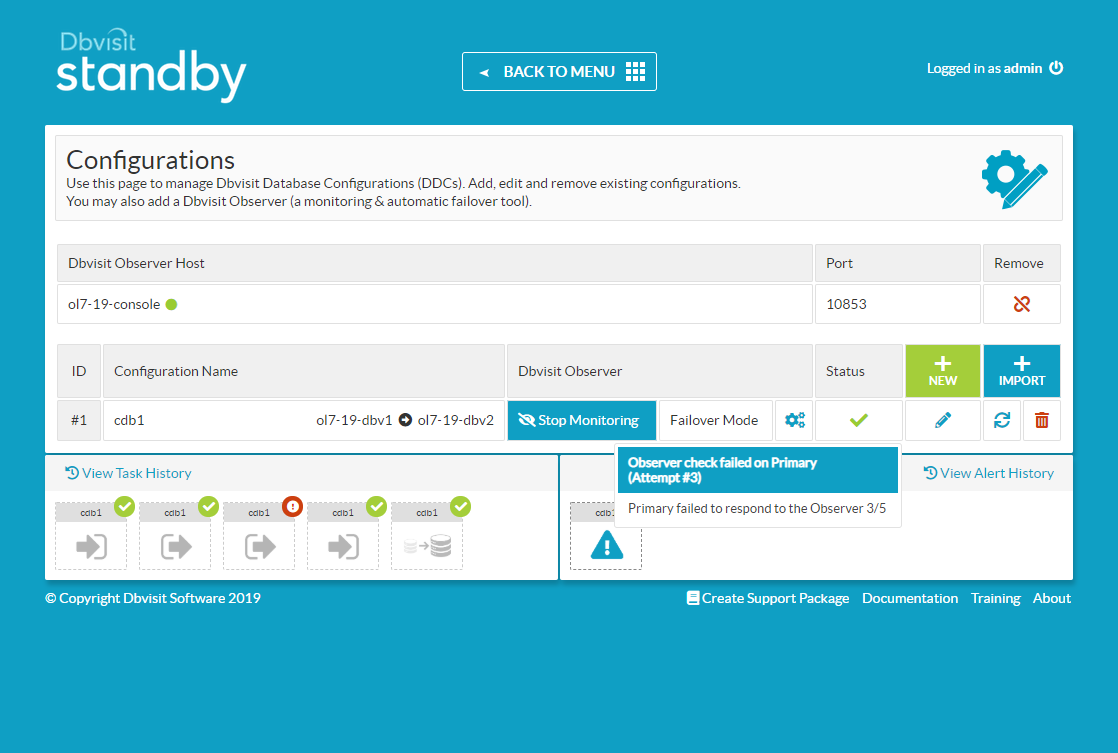
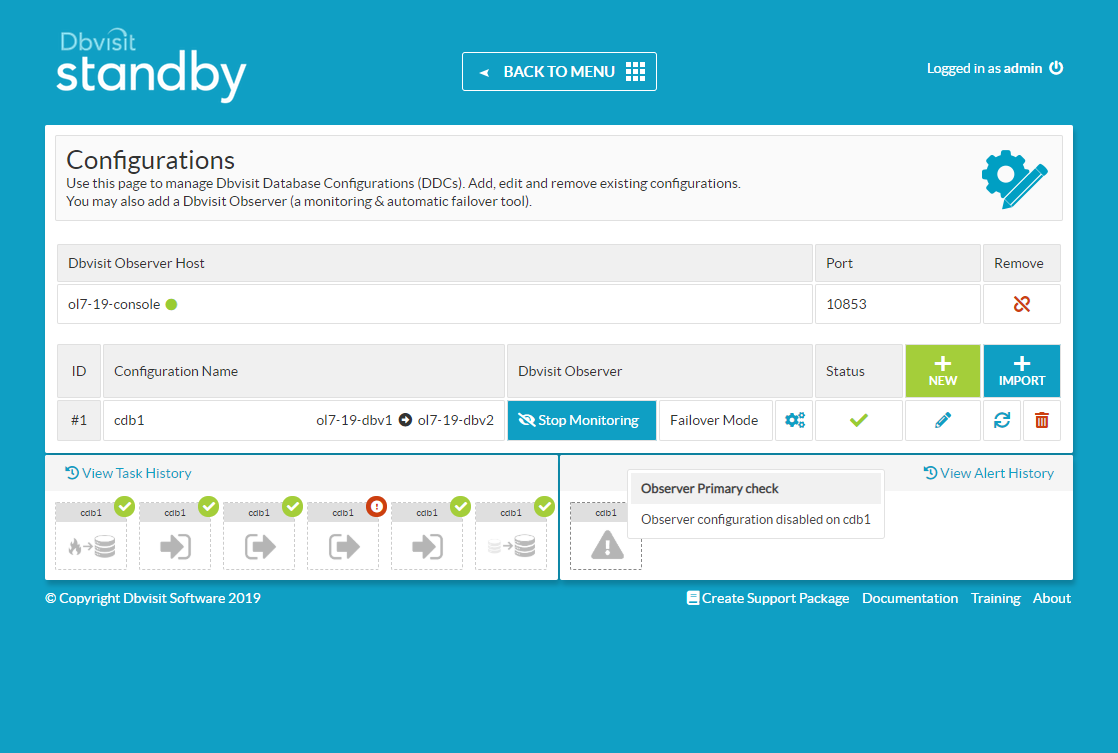
Dbvisit Standby 9 Installation on Oracle Linux 7

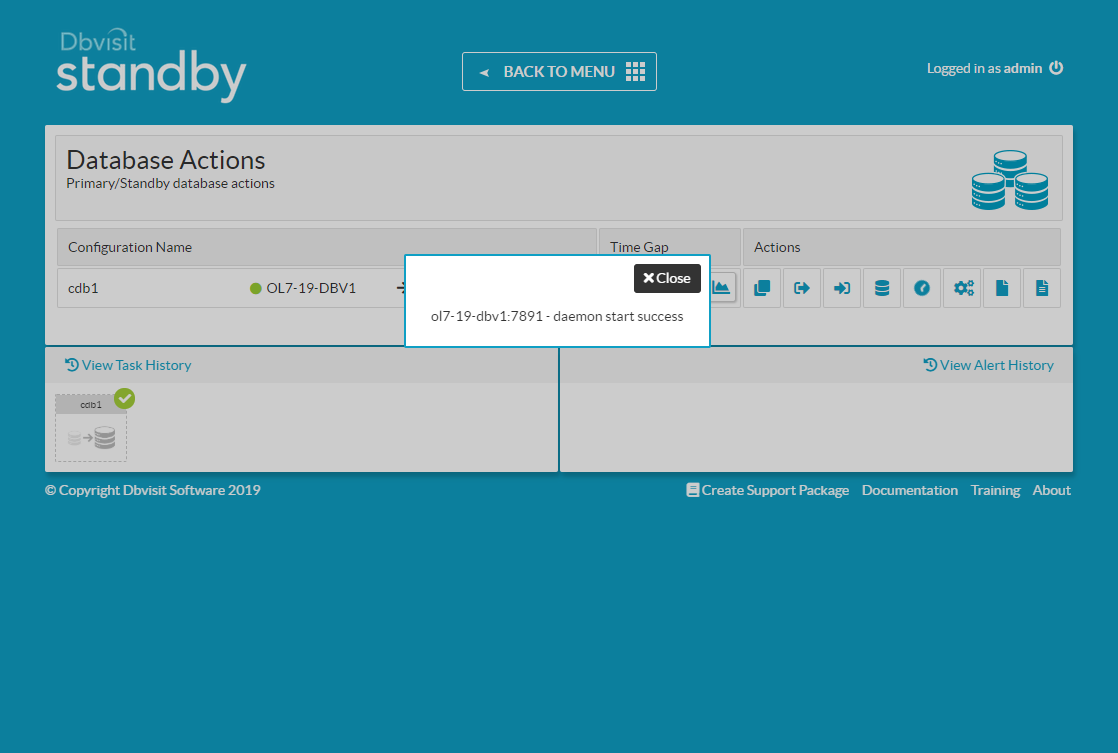
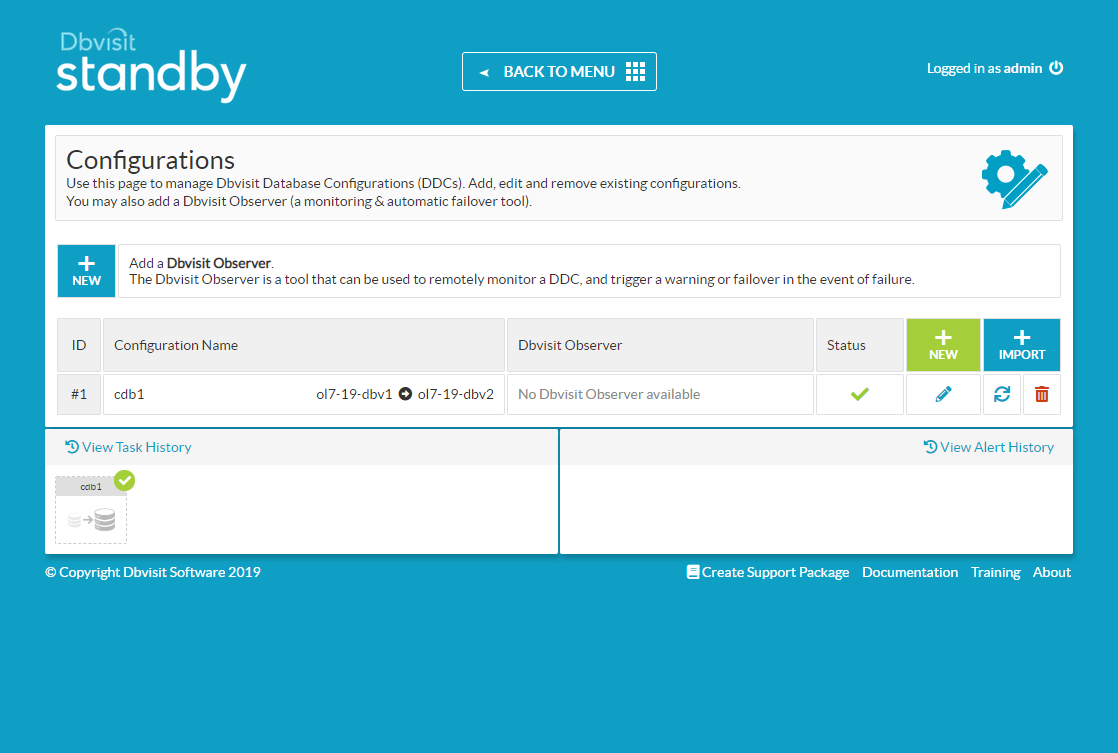
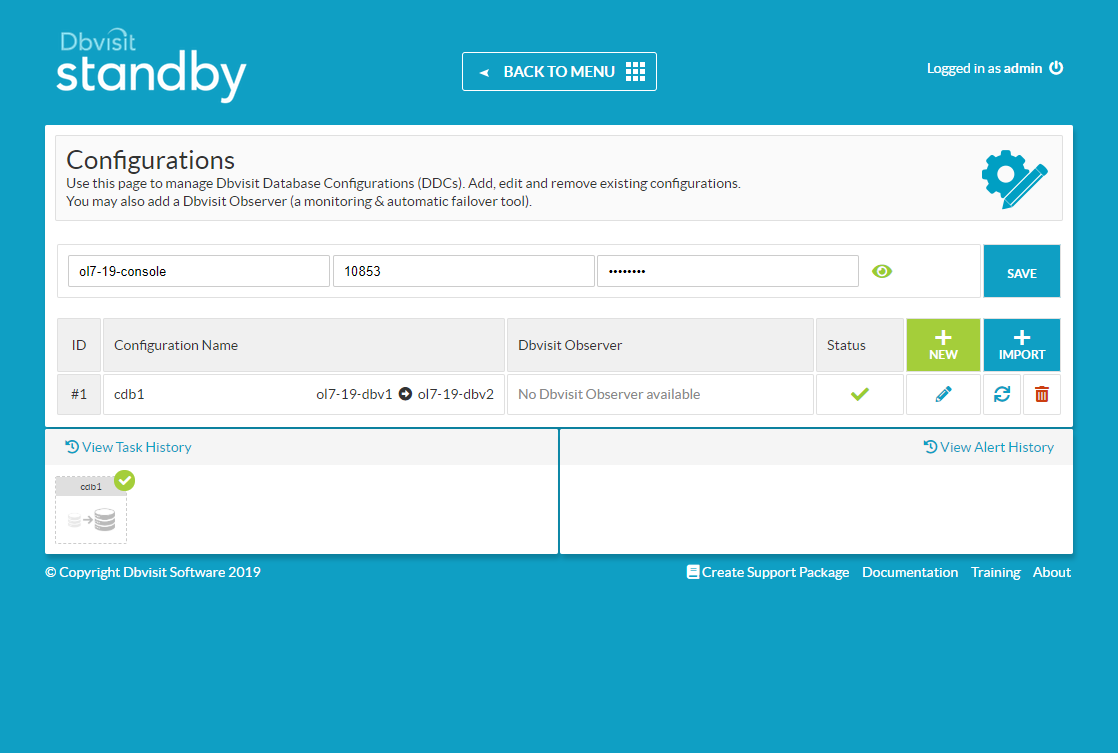
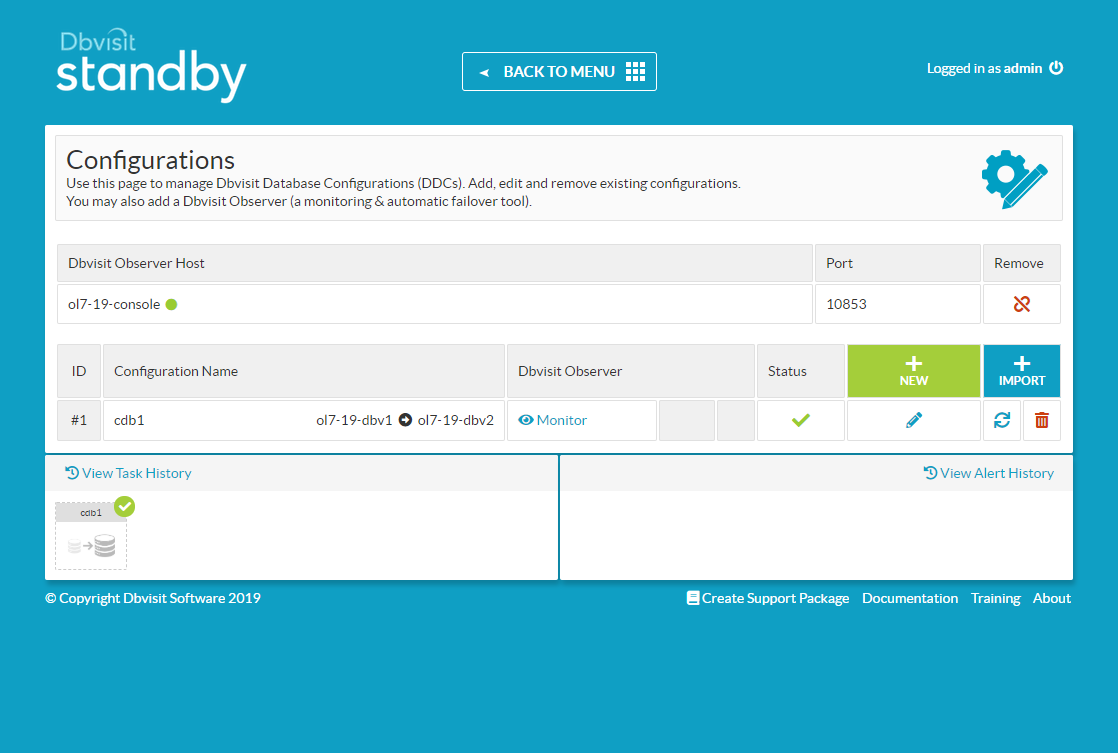
This article describes the installation and usage of Dbvisit Standby 9 on Oracle Linux 7 with Oracle Database 19c.

oracle miscconfigurationintermediate
by OracleDba
14 views
1

Standby Creation

Dbvisit Standby is an alternative to Oracle Data Guard for creating and managing standby databases. Dbvisit Standby works equally well on Standard Edition databases, unlike Data Guard, which is an Enterprise Edition option. The Installing Dbvisit Standby document provides detailed information for the installation of the product on different operating systems and for different database configurations. In this article we will be focusing on the Linux installation and configuration for a simple standby setup. - TL;DR - Assumptions - Installation - Standby Creation - Startup/Shutdown of Databases - Send and Apply Logs Manually - Read-Only Standby - Switchover - Failover - Automatic Failover If you want to jump straight into playing with the product, you can use the Vagrant build available here . This will allow you to go straight to the Standby Creation section. The following information may help you to tailor the installation for your own installation. For more complex installations, like those involving RAC, check out the Installing Dbvisit Standby documentation. Make sure the "/etc/hosts" file or DNS contains entries for all servers. In this example we added the following to all three servers. As the "root" user, create the Dbvisit base directory on each server using the following commands. The console server doesn't contain any Oracle software, but I've kept the OS installation and user name the same for consistency. As the "oracle" user, prepare the software for installation on each server. On the primary server issue the following commands. Notice, in addition to installing the software, we've started the "dbvnet" and "dbvagent" services. You will need a safer passphrase than the one used here. On the secondary server issue the following commands. It's similar to those used on the primary, but with the local and remote servers swapped as we are on a different machine. You will need a safer passphrase than the one used here. On the console server we issue the following commands. Notice, we start the "dbvserver" service and the observer. The installation of all servers is now complete. Once the installation is complete you should be able to get to console using a URL like "https://ol7-19-console:4433. You will be presented with the login screen. Use the username "admin" and the password "admin". You can change the password once logged into the console. Click on the "MANAGE HOSTS" tile.
Step 1
2

Standby Creation

To add the first host, which holds the primary database, click the "+NEW" button.
Step 2
3

Standby Creation

Enter the host details and the passphrase you used during the installation. Click the "CREATE NEW HOST" button.
Step 3
4

Standby Creation

To add the second host, which will hold the standby database, click the "+NEW" button.
Step 4
5

Standby Creation

Enter the host details and the passphrase you used during the installation. Click the "CREATE NEW HOST" button.
Step 5
6

Standby Creation

Click the "BACK TO MENU" button.
Step 6
7

Standby Creation

Click the "MANAGE CONFIGURATIONS" tile.
Step 7
8

Standby Creation

Click the "+NEW" button.
Step 8
9

Standby Creation

The resulting page looks quite long, but you will mostly use defaults on your first attempt. Select the primary host, agree to the license agreement, then select the primary instance. You can then select the secondary host, and give details about the standby database. Most of them will be pre-filled. You can enter your license key now, but we will add it later. Click the "SUBMIT" button.
Step 9
10

Standby Creation

Click the "BACK TO MENU" button.
Step 10
11

Standby Creation

Click the "UPDATE STANDBY LICENSE" tile.
Step 11
12

Standby Creation

Select the configuration you just defined, and enter the license number. Click the "LICENSE DBVISIT" button.
Step 12
13

Standby Creation

Click the "CREATE STANDBY DATABASE" tile.
Step 13
14

Standby Creation

Select the configuration you defined previously, and click the "NEW DATABASE" option. I accepted the defaults for everything except the temp locations. I also used the default of "Create Standby Database". Click the "SUBMIT" button.
Step 14
15

Standby Creation

Click on the task in the "View Task History" section on the bottom-left of the console.
Step 15
16

Standby Creation

Wait while all the actions complete.
Step 16
17

Standby Creation

Once complete, either click outside the task window, or scroll to the top and click the "Close" button.
Step 17
18

Standby Creation

Click the "DATABASE ACTIONS" tile.
Step 18
19

Standby Creation

Click on the lightening bolt icon to start/stop the deamon processes.
Step 19
20

Standby Creation

Select the primary node and click the start button to automate the sending of logs.
Step 20
21

Standby Creation

Click the "Close" button on the confirmation.
Step 21
22

Standby Creation

Repeat for the standby node, to make sure all sent logs are applied. You now have a functioning standby database. From 9.0.02 onward, you can configure an observer for automatic failover. From the console click the "MANAGE CONFIGURATIONS" tile.
Step 22
23

Standby Creation

Click the "+ NEW" button next to the "Add a Dbvisit Observer" message.
Step 23
24

Standby Creation

Enter the host or IP address of the observer. In this case we installed it on the console machine. Enter the default passphrase "admin900" and click the "SAVE" button.
Step 24
25

Standby Creation

Click the "Monitor" link that is now present for the configuration.
Step 25
26

Standby Creation

Select the "Operation mode" of "Failover Mode" and click the "SAVE SETTINGS" button.
Step 26
27

Standby Creation

The "Failover Mode" is now listed against the configuration, along with the "Stop Monitoring" button, should you wish to do so.
Step 27
28

Automatic Failover

You can read more about the Failover Mode here . Most management tasks can be done using the console, but the examples in the rest of the article will use the command line utility. The following stop, start and restart commands can be used on the primary or standby database. The start and restart action varies depending on which server they are run from. On the primary the database is started. On the standby, the database is put recovery mode. You can check the status of the primary or standby database using the following command. Send logs from primary server using this command. Apply logs on the standby server using the following command. To open the standby database in redo-only mode, simply issue the following command as the "oracle" user on the standby server. When you need to switch it back to regular standby mode, either stop and start the standby database, or do a restart. To run a graceful (and reversible) switchover, issue the following command on either of the servers. To switch back, just repeat the command. Failover should only be used if you need to activate the standby database in the absence of the primary database. A failover is initiated using the following command on the standby server. The simplest way to test the automatic failover is to turn off the network adapter on the primary server. When we configured the observer we used the default values, which mean it polls the server every 120 seconds, and will retry 5 times before performing a failover. Hovering over the alert in the Alert History displays the number of failed checks.
Step 28
29

Automatic Failover

Once the final pool failure takes place the failover is initiated and the observer reports as disabled for this configuration.
Step 29
30

Automatic Failover

For more information see: - Dbvisit.com - Dbvisit Standby 9.0 - Installing Dbvisit Standby - Dbvisit Standby Command Line Interface (CLI) - Advanced Option - Automatic Failover (Dbvisit Observer) Hope this helps. Regards Tim...
Step 30

Comments (0)

Please to add comments

No comments yet. Be the first to comment!