Scheduling Dbvisit
Dbvisit Standby is an alternative to Oracle Data Guard for creating and managing standby databases. Although I normally stick to core Oracle technologies, I thought it was worth investigating because Dbvisit Standby works equally well on Standard Edition databases, unlike Data Guard, which is an Enterprise Edition option.
The Dbvisit Standby User Guide 6.0 provides detailed information for the installation of the product on Linux, Windows and various flavors of UNIX. In this article I will be focusing on the Linux installation only.
- Assumptions
- Common Setup
- Standby Creation
- Automating Service Startup
- Scheduling Dbvisit
- Startup/Shutdown of Databases
- Read-Only
- Switchover
- Failover
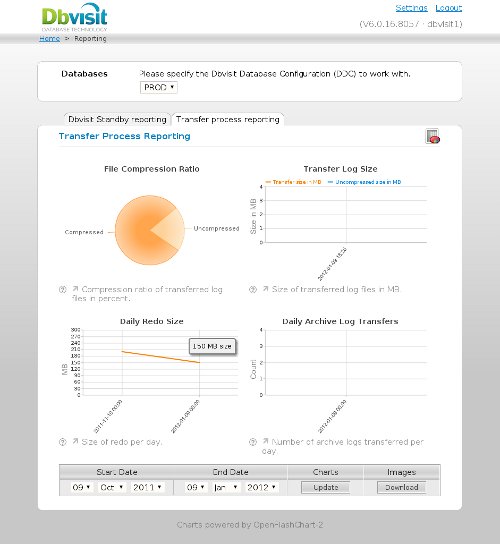
- Reporting
- You are using version 6.0.16 of the Dbvisit Standby product.
- You have two servers (physical or VMs) with an operating system and Oracle installed on them. In this case I've used Oracle Linux 5.7 and Oracle Database 11.2.0.3.
- The primary server has a database running in archivelog mode.
- The standby server has a software only installation.
The following information may help you to tailor the installation for your own installation.
For more complex installations, like those involving RAC, check out the Dbvisit Standby User Guide 6.0 .
Unless otherwise stated, the following setup should be done on both the primary and standby server. I find it easier if I do them at the same time, step-for-step.
Create a location for the Dbvisit Standby software by running the following commands as the "root" user.
From this point on, all operations will be performed as the "oracle" user.
Unzip and install the Dbvisit Standby software.
Configure user equivalence by isuing the following sequence of commands. Generate keys on both servers.
Copy the keys between servers.
Create directories to hold logs and archive files on both servers.
On the standby server, set up the directories necessary to run the standby database. This is essentially any paths reverenced in the spfile of the primary database.
The configuration of both servers is now complete.
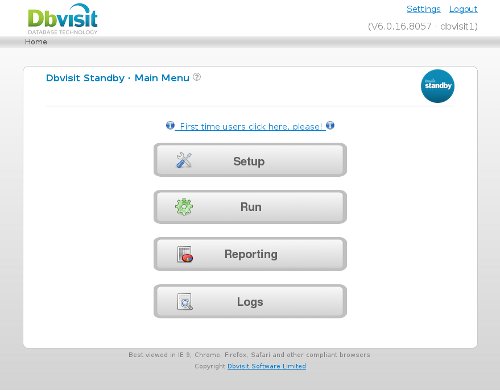
There are two ways to create and manage the standby database:
- Command Line Interface (CLI): Initiated using the "/usr/local/dbvisit/standby/dbvisit_setup" command on the primary server.
- Web Interface: Initiated from a browser pointing to the relevant URL of the service on the primary server, in this case "http://dbvisit1:8081" URL on the primary server.
Web Interface: Initiated from a browser pointing to the relevant URL of the service on the primary server, in this case "http://dbvisit1:8081" URL on the primary server.
Web Interface: Initiated from a browser pointing to the relevant URL of the service on the primary server, in this case "http://dbvisit1:8081" URL on the primary server.
Both methods ask a number of questions regarding the setup of the primary and standby servers. For the most part they are pretty self explanatory. If you need more information, check out the PDF document that ships with the software, or read it online here .
Once complete, run the following command on each server to make sure they are in sync.
Alternatively, use the "Run Interactive" screen on the web interface to to this (Home > Run > Run Interactive).
To configure the service to start automatically on server startup, simply copy the sample script provided in the software directory using the following commands, issued as the "root" user.
In addition to starting automatically on server startup, the service can be manually stopped and started with the following commands issued by the "root" user.
Archived redo logs are transported from the primary to the standby server when the command is called. So this must be scheduled on the both the primary and standby servers. The frequency you choose depends on a number of factors including server and network load etc. If you want to transfer the files every 10 minutes you might use the following schedule in the crontab for the "oracle" user on the primary server.
You need to configure the same call on the standby server, but it makes sense to run it a little later to allow for time it takes to ship the logs.
If you don't want to use the operating system scheduler, you can use the internal scheduler, configurable using the web interface (Home > Run > Schedule).