Install the Grid Infrastructure
This article describes the installation of Oracle Database 12c Release 2 (12.1 64-bit) RAC on Oracle Linux 6.7 64-bit using NFS to provide the shared storage.
- Introduction
- Download Software
- Operating System Installation
- Oracle Installation Prerequisites Automatic Setup Manual Setup Additional Setup
- Automatic Setup
- Manual Setup
- Additional Setup
- Create Shared Disks
- Install the Grid Infrastructure
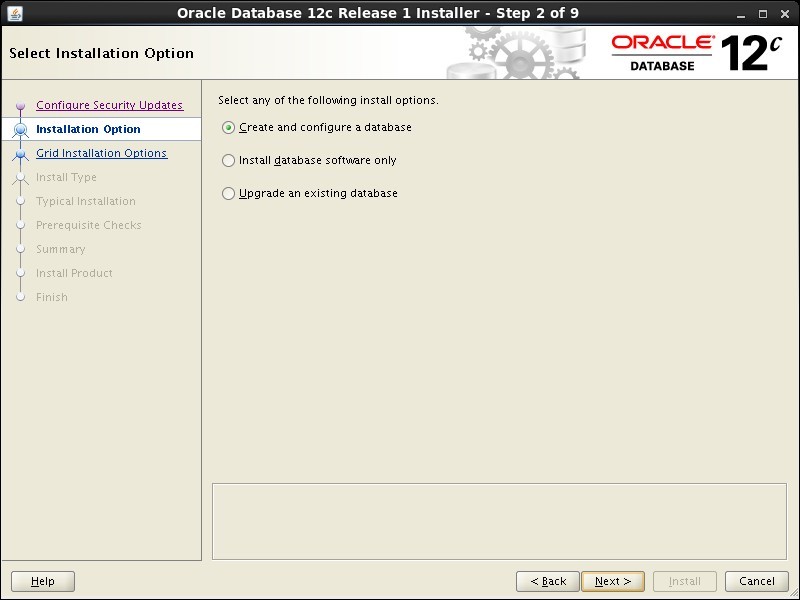
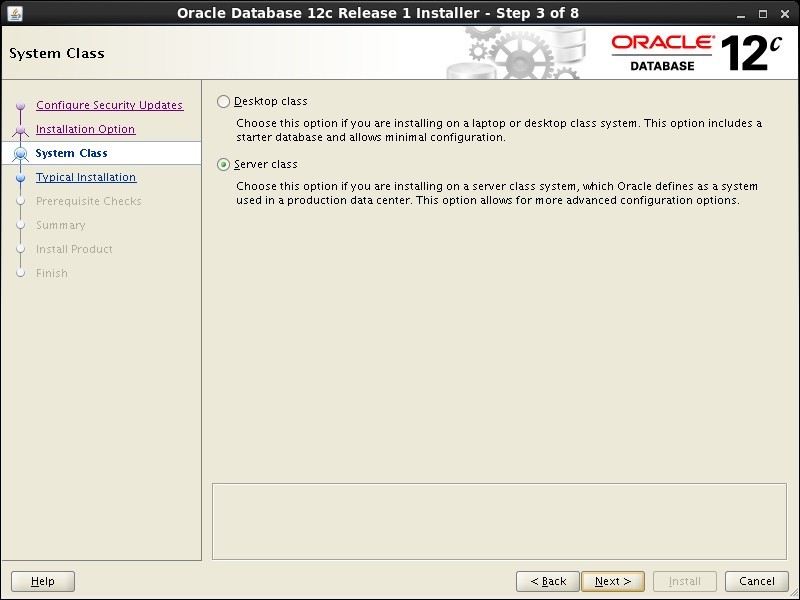
- Install the Database
- Check the Status of the RAC
- Direct NFS Client
- Automatic Setup
- Manual Setup
- Additional Setup
NFS is an abbreviation of Network File System, a platform independent technology created by Sun Microsystems that allows shared access to files stored on computers via an interface called the Virtual File System (VFS) that runs on top of TCP/IP. Computers that share files are considered NFS servers, while those that access shared files are considered NFS clients. An individual computer can be either an NFS server, a NFS client or both.
We can use NFS to provide shared storage for a RAC installation. In a production environment we would expect the NFS server to be a NAS, but for testing it can just as easily be another server, or even one of the RAC nodes itself.
In this case, I'm doing the installations on VirtualBox VMs and the NFS shares are on the host server. If you have access to a NAS or a third server you can easily use that for the shared storage. Whichever route you take, the fundamentals of the installation are the same.
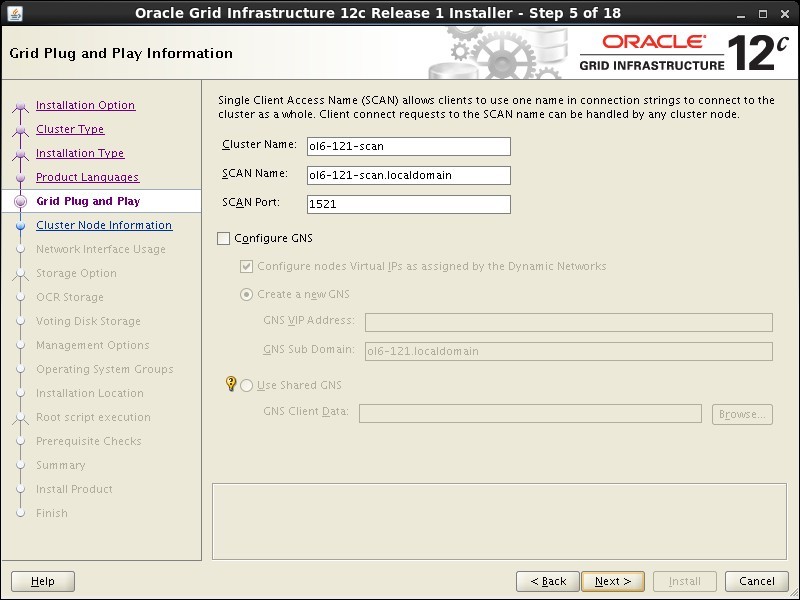
The Single Client Access Name (SCAN) should really be defined in the DNS or GNS and round-robin between one of 3 addresses, which are on the same subnet as the public and virtual IPs. You can try to use a single IP address in the "/etc/hosts" file, which it will cause the cluster verification to fail, but it allows me to complete the install without the presence of a DNS.
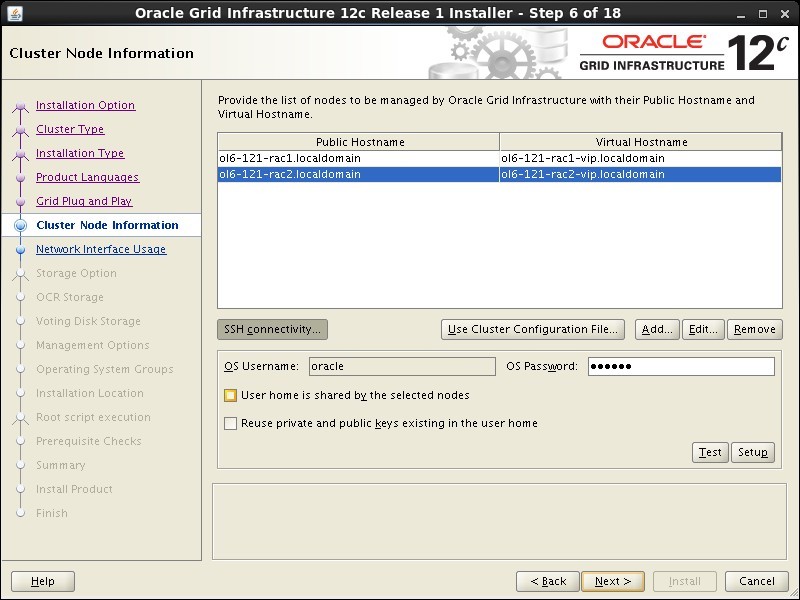
Assumptions. You need two machines available to act as your two RAC nodes. They can be physical or virtual. In this case I'm using two virtual machines called "ol6-121-rac1" and "ol6-121-rac2". If you want a different naming convention or different IP addresses that's fine, but make sure you stay consistent with how they are used.
Download the following software.
This article uses Oracle Linux 6.7. A general pictorial guide to the operating system installation can be found here . More specifically, it should be a server installation with a minimum of 2G swap (preferably 3-4G), firewall disabled and SELinux set to permissive. Oracle recommend a default server installation, but if you perform a custom installation include the following package groups.
- Base System > Base
- Base System > Compatibility Libraries
- Base System > Large Systems Performance
- Base System > Network Files System Client
- Base System > Perl Support
- Servers > Server Platform
- Servers > System Administration Tools
- Desktops > Desktop
- Desktops > Desktop Debugging and Performance Tools
- Desktops > Desktop Platform
- Desktops > Fonts
- Desktops > General Purpose Desktop
- Desktops > Graphical Administration Tools
- Desktops > Input Methods
- Desktops > Legacy X Windows System Compatibility
- Desktops > Remote Desktop Clients
- Desktops > X Window System
- Applications > Internet Browser
- Development > Additional Development
- Development > Development Tools
- UEK3 Kernel Repo > UEK3 Kernel Repo
To be consistent with the rest of the article, the following information should be set during the installation.
Node 1.
- hostname: ol6-121-rac1.localdomain
- eth0: DHCP (Connect Automatically)
- eth1: IP=192.168.56.201, Subnet=255.255.255.0, Gateway=192.168.56.1, DNS=192.168.56.1, Search=localdomain (Connect Automatically)
- eth2: IP=192.168.1.201, Subnet=255.255.255.0, Gateway=<blank>, DNS=<blank>, Search=<blank> (Connect Automatically)
Node 2.
- hostname: ol6-121-rac2.localdomain
- eth0: DHCP (Connect Automatically)
- eth1: IP=192.168.56.202, Subnet=255.255.255.0, Gateway=192.168.56.1, DNS=192.168.56.1, Search=localdomain (Connect Automatically)
- eth2: IP=192.168.1.202, Subnet=255.255.255.0, Gateway=<blank>, DNS=<blank>, Search=<blank> (Connect Automatically)
You are free to change the IP addresses to suit your network, but remember to stay consistent with those adjustments throughout the rest of the article.
In this article, I performed the installation using VirtualBox virtual machines, so I also configured a NAT adapter on each machine to allow access to the internet. If you are using physical machines, or virtual machines with direct access to the internet over the public network, like bridged connections, this extra adapter will not be necessary, so ignore the references to it.
Perform either the Automatic Setup or the Manual Setup to complete the basic prerequisites. The Additional Setup is required for all installations.
If you plan to use the "oracle-rdbms-server-12cR1-preinstall" package to perform all your prerequisite setup, issue the following command.
Earlier versions of Oracle Linux required manual setup of the Yum repository by following the instructions at http://public-yum.oracle.com .
It is probably worth doing a full update as well, but this is not strictly speaking necessary.
If you have not used the "oracle-rdbms-server-12cR1-preinstall" package to perform all prerequisites, you will need to manually perform the following setup tasks.
Add or amend the following lines to the "/etc/sysctl.conf" file.
Run the following command to change the current kernel parameters.
Add the following lines to the "/etc/security/limits.conf" file.
In addition to the basic OS installation, the following packages must be installed whilst logged in as the root user. This includes the 64-bit and 32-bit versions of some packages.
Create the new groups and users.
Uncomment the extra groups you require.
The following steps must be performed, whether you did the manual or automatic setup.
Perform the following steps whilst logged into the "ol6-121-rac1" virtual machine as the root user.
Set the password for the "oracle" user.
Apart form the localhost address, the "/etc/hosts" file can be left blank, but I prefer to put the addresses in for reference.
The SCAN address is commented out of the hosts file because it must be resolved using a DNS, so it can round-robin between 3 addresses on the same subnet as the public IPs. The DNS can be configured on the host machine using BIND or Dnsmasq , which is much simpler. If you are using Dnsmasq, put the RAC-specific entries in the hosts machines "/etc/hosts" file, with the SCAN entries uncommented, and restart Dnsmasq.
Make sure the "/etc/resolv.conf" file includes a nameserver entry that points to the correct nameserver. Also, if the "domain" and "search" entries are both present, comment out one of them. For this installation my "/etc/resolv.conf" looked like this.
If you are doing this installation on a virtual machine and you've configured a NAT interface, you might find the changes to the "resolv.conf" will be overwritten by the network manager. For this reason, this interface should now be disabled on startup. You can enable it manually if you need to access the internet from the VMs. Edit config file associated with the NAT network adapter, in this case the "/etc/sysconfig/network-scripts/ifcfg-eth0 file, making the following change. This will take effect after the next restart.
There is no need to do the restart now. You can just run the following command. Remember to amend the adapter name if yours are named differently.
At this point, the networking for the first node should look something like the following. Notice that eth0, my NAT adapter, has no associated IP address because it is disabled. If you are not using a VM and only configured two network adapters, you will not see this.
With this in place and the DNS configured the SCAN address is being resolved to all three IP addresses.
Amend the "/etc/security/limits.d/20-nproc.conf" file as described below. See MOS Note [ID 1487773.1]
Change the setting of SELinux to permissive by editing the "/etc/selinux/config" file, making sure the SELINUX flag is set as follows.
If you have the Linux firewall enabled, you will need to disable or configure it, as shown here or here . The following is an example of disabling the firewall.
Either configure NTP, or make sure it is not configured so the Oracle Cluster Time Synchronization Service (ctssd) can synchronize the times of the RAC nodes. If you want to deconfigure NTP do the following, which is what I did for this installation.
If your RAC is going to be permanently connected to your main network and you want to use NTP, you must add the "-x" option into the following line in the "/etc/sysconfig/ntpd" file.
Then restart NTP.
Log in as the "oracle" user and add the following lines at the end of the "/home/oracle/.bash_profile" file.
Remember to set the hostnames and ORACLE_SID values correctly in the following scripts. Node 2 will use ol6-121-rac2 and cdbrac2.
Create a file called "/home/oracle/grid_env" with the following contents.
Create a file called "/home/oracle/db_env" with the following contents.
Once the "/home/oracle/.bash_profile" has been run, you will be able to switch between environments as follows.
We've made a lot of changes, so it's worth doing a reboot of the machines at this point to make sure all the changes have taken effect.
First we need to set up some NFS shares. In this case we will do on the host machine, but you can do the on a NAS or a third server if you have one available. Create the following directories.
Add the following lines to the "/etc/exports" file.
Run the following command to export the NFS shares.
On both ol6-121-rac1 and ol6-121-rac2 create the directories in which the Oracle software will be installed.
Add the following lines to the "/etc/fstab" file.
Mount the NFS shares on both servers.
Make sure the permissions on the shared directories are correct.
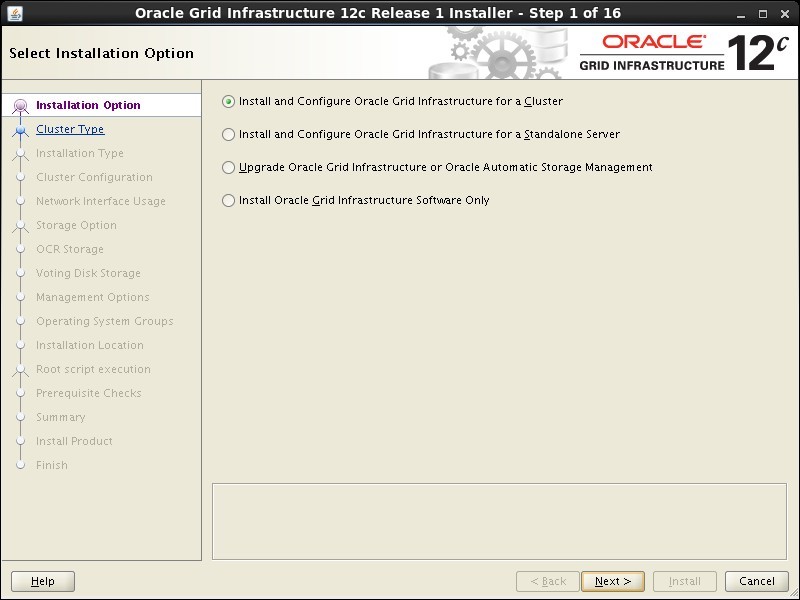
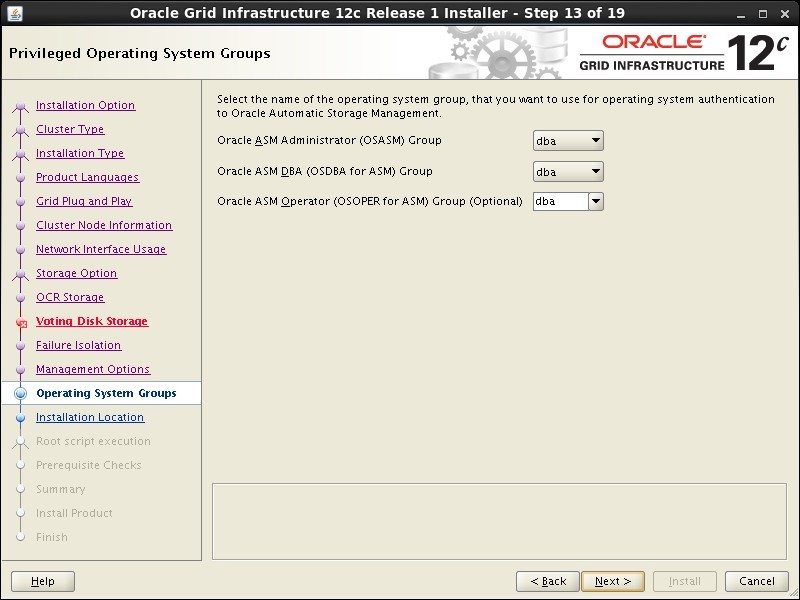
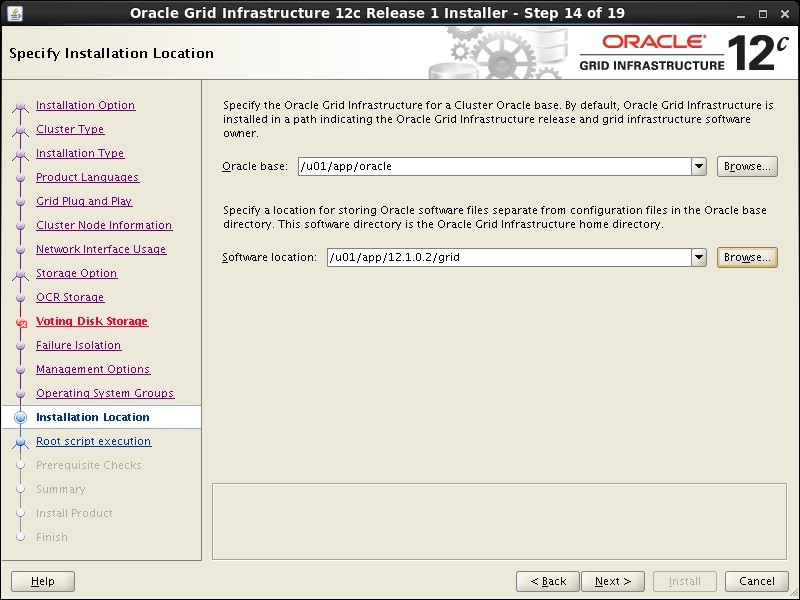
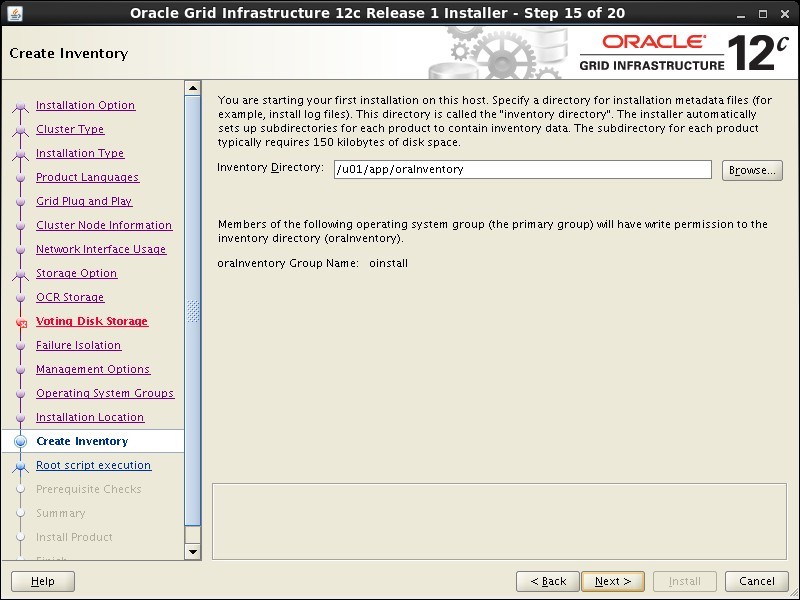
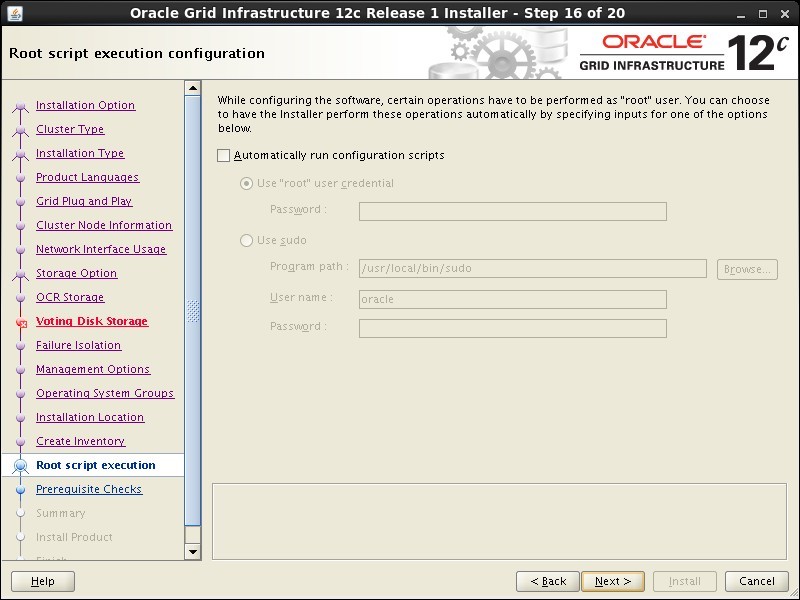
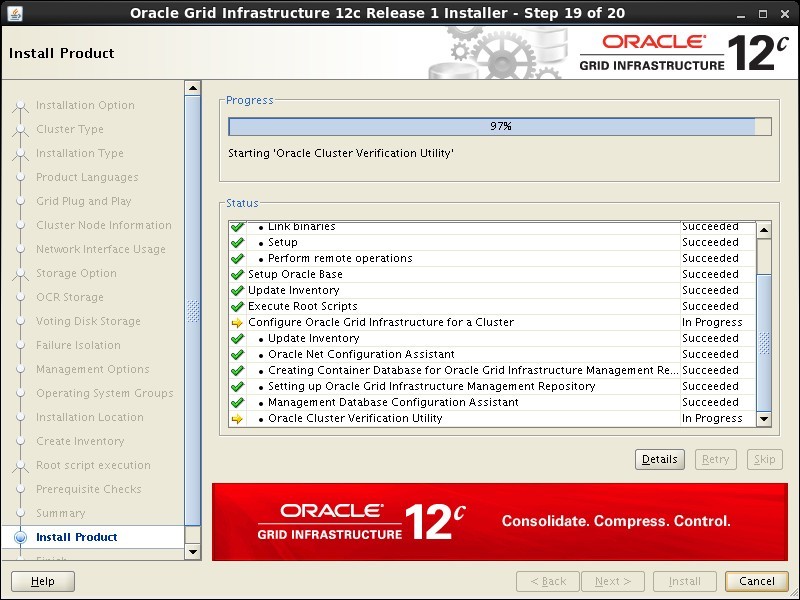
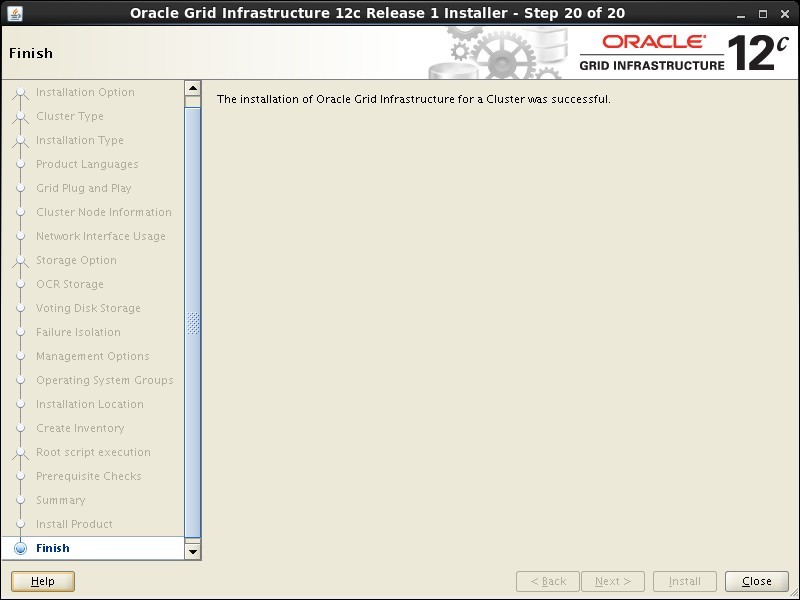
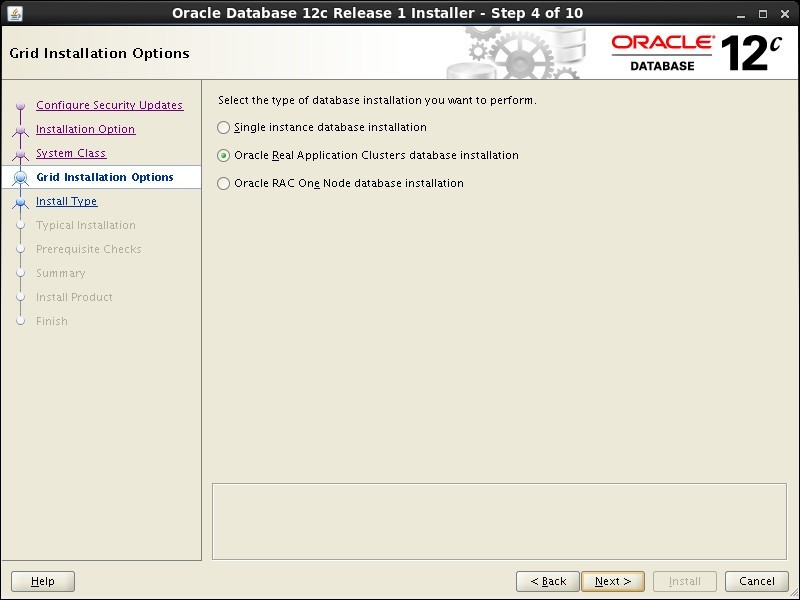
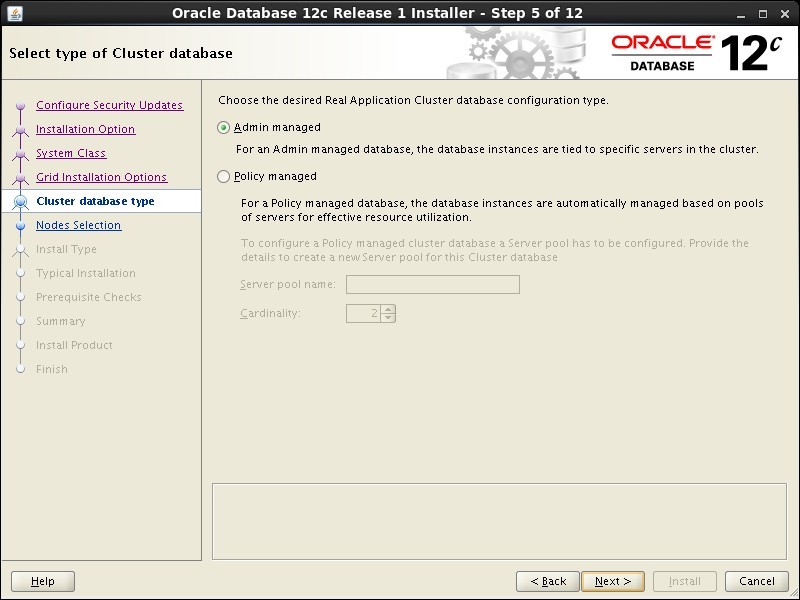
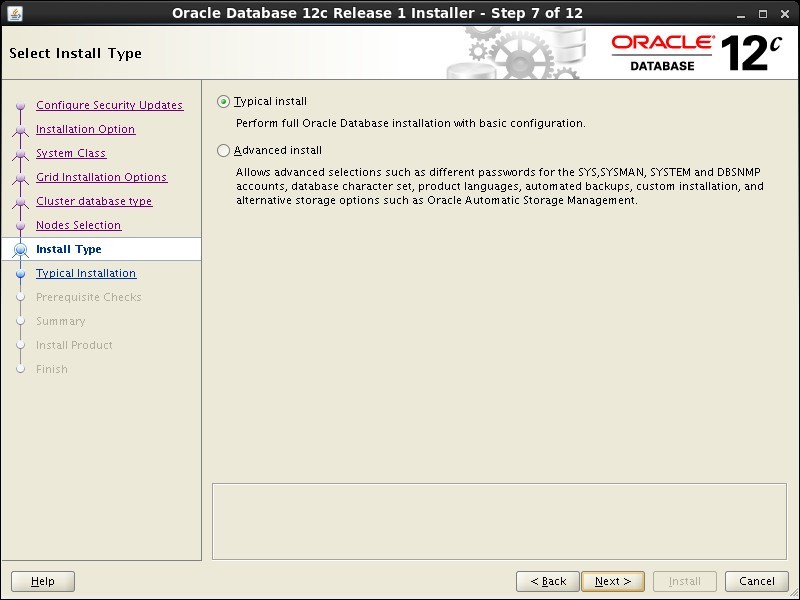
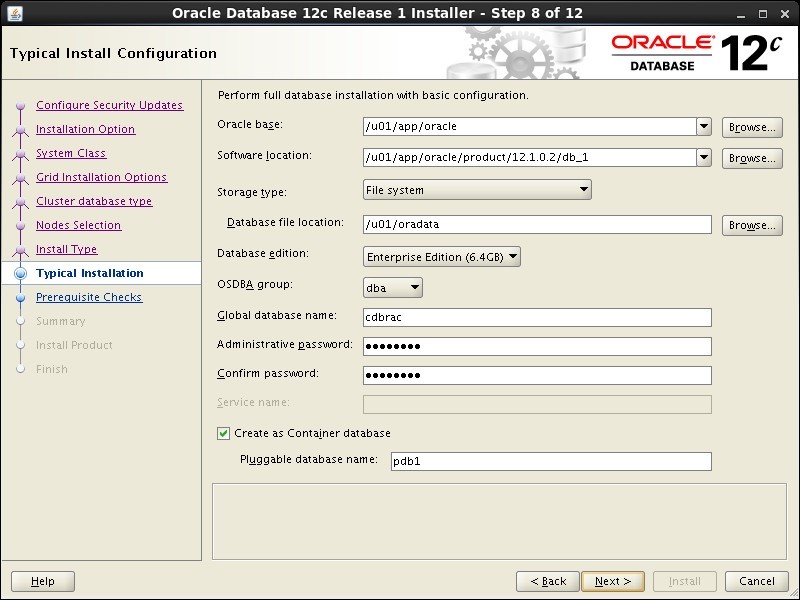
Start both RAC nodes, login to ol6-121-rac1 as the oracle user and start the Oracle installer.
Select the "Install and Configure Grid Infrastructure for a Cluster" option, then click the "Next" button.
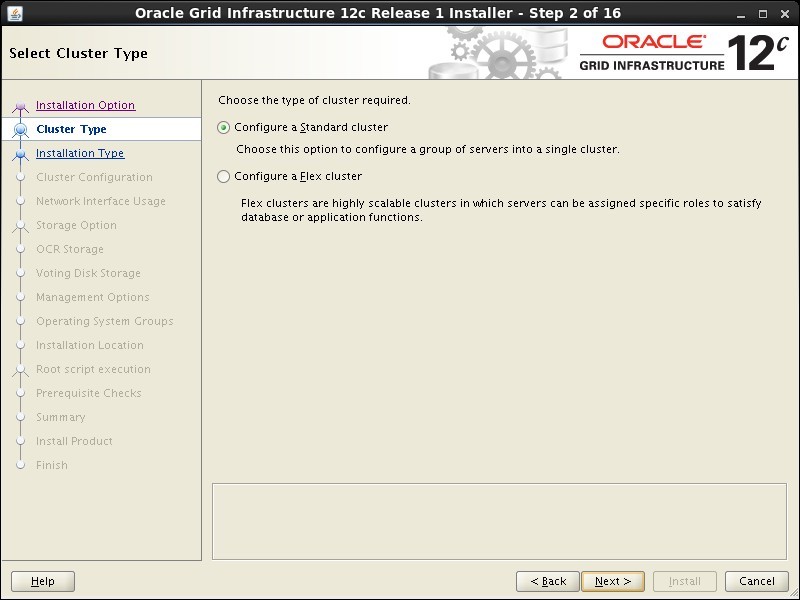
Select the "Configure a Standard Cluster" option, then click the "Next" button.