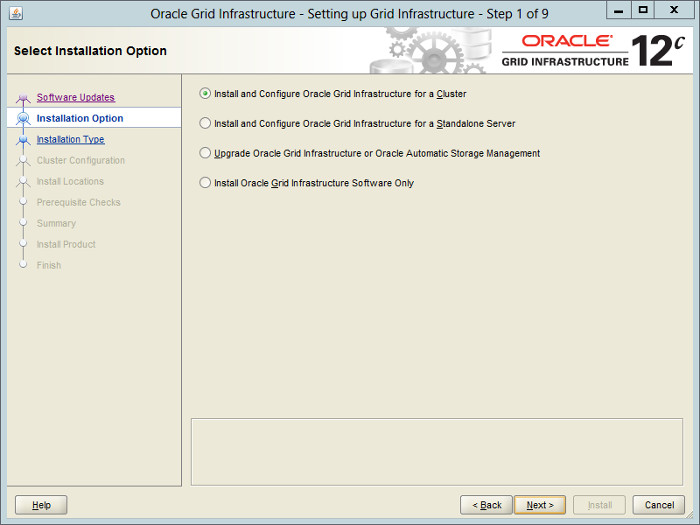
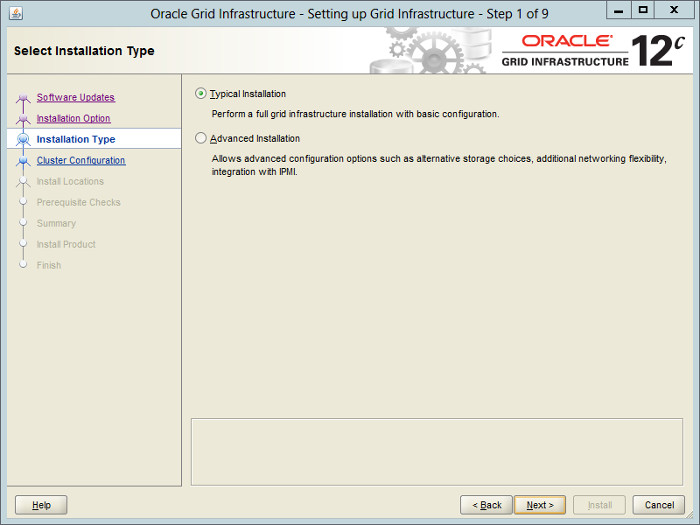
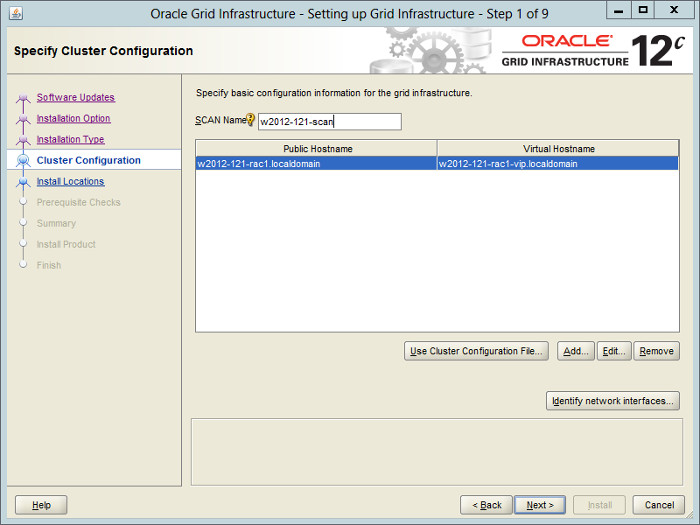
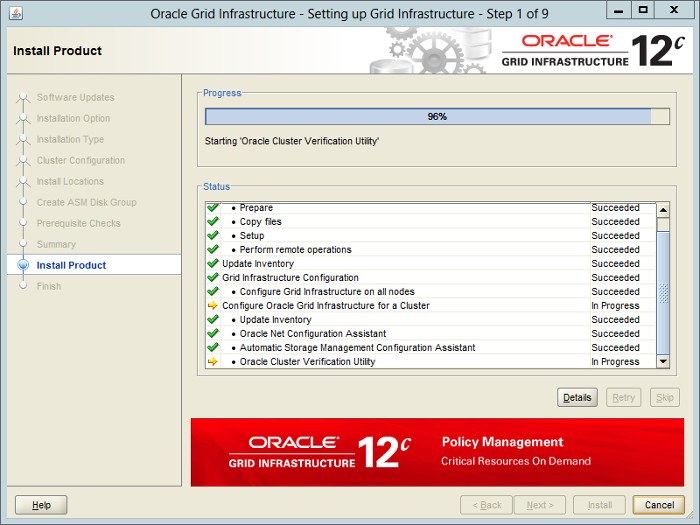
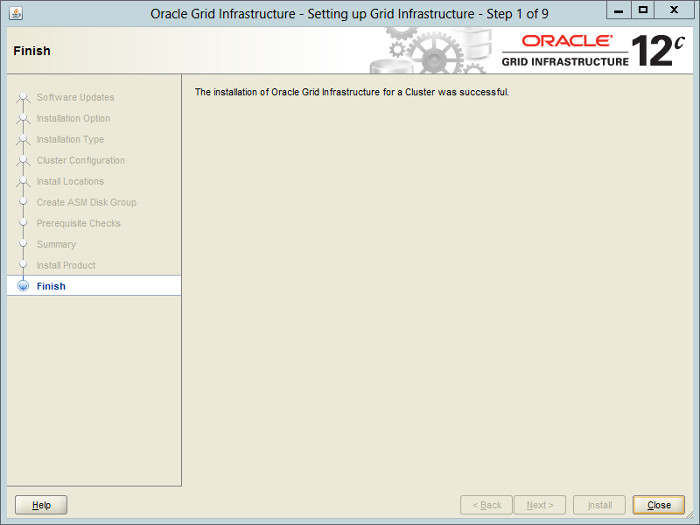
Install the Grid Infrastructure
The VM will need to be restarted for the guest additions to be used properly. The next section requires a shutdown so no additional restart is needed at this time. Once the VM is restarted, the shared folder will be available as the "E:\" drive.
Perform the following steps whilst logged into the virtual machine.
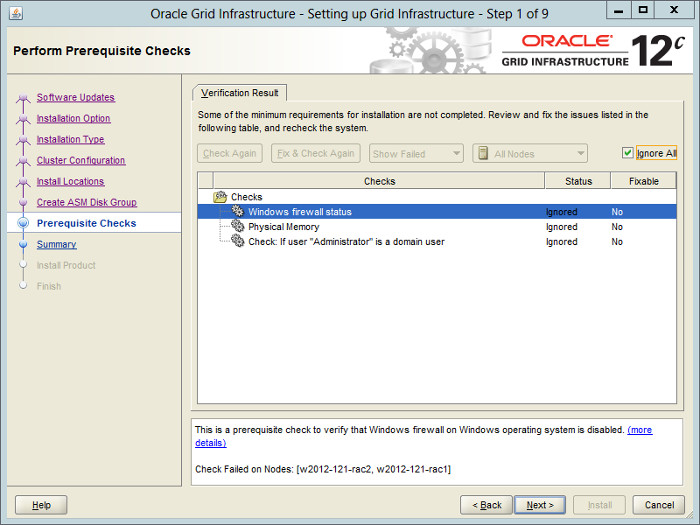
Turn off the Windows firewall "Server Manager > Local Server > Windows Firewall > Public:On > Turn Windows Firewall on or off" to prevent it from interfering with the sever communication. You can turn it on later and open up any required ports if you want to.
Amend the "C:\windows\system32\drivers\etc\hosts" file to contain the following information. Even if you are using DNS to resolve the SCAN, include the SCAN entries in the "hosts" files. Without them the installer had trouble recognising the SCAN.
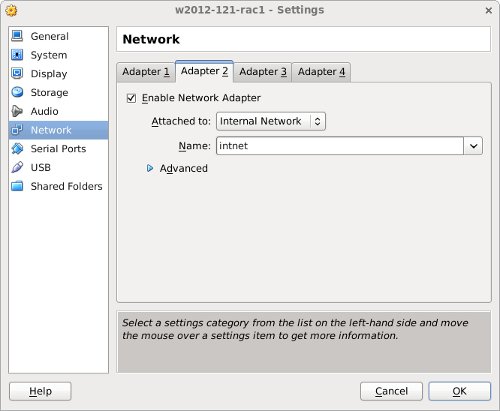
Open the "Network Connections" screen (Server Manager > Local Server > Ethernet (click link next to it)). Rename the "Ethernet" to "public" and "Ethernet 2" to "private", making sure you apply the names to the appropriate connections. You can do this by right-clicking on the connection and selecting "Rename" from the pop-up menu.
Set the correct IP information for the public and private connections. Right-click on a connection and select the "Properties" menu option. Click on "Internet Protocol Version 4 (TCP/IPv4)" option and click the "Properties. button. Enter the appropriate IP, subnet, default gateway and DNS for the networks.
public:
- IP Address: 192.168.0.151
- Subnet: 255.255.255.0
- Default Gateway: 192.168.0.1
- DNS: 192.168.0.6
private:
- IP Address: 192.168.1.151
- Subnet: 255.255.255.0
- Default Gateway: N/A
- DNS: N/A
Click on the "Advanced" button, followed by the "DNS" tab. Select the "Append these DNS suffixes (in order)" option and add the domain suffix, in this case "localdomain". Use the "OK" buttons to exit the dialogs.
It's worth double-checking the MAC addresses of the network adapters in the VM against those of the network interfaces on the guest operating system. Make sure the public interface is the bridged connection. The guest OS sometimes shows the interfaces out of order.
If any of the network connections are left in a disabled state, right-click on then and select the "Diagnose" option to repair them.
Ensure the public interface is first in the bind order:
- On the "Network Connections" dialog, press "Alt+N" to show the advanced menu. Select "Advanced Settings...".
- On the "Adapters and Bindings" tab, make sure the public interface is the first interface listed.
- Click on each network in turn and make sure the "TCP/IPv4" bindings come before the "TCP/IPv6" bindings. This should be correct by default.
- Accept any modifications by clicking on the "OK" button and exiting the "Network Connections" dialog.
Disable Windows Media Sensing for TCP/IP:
- Backup the Windows registry.
- Run the Registry Editor (Regedit.exe) and find the following key.
Run the Registry Editor (Regedit.exe) and find the following key.
- Add the following registry value.
Add the following registry value.
- This change will not take effect until the computer is restarted.
Run the Registry Editor (Regedit.exe) and find the following key.
Add the following registry value.
Open the "System Properties" dialog (Start > Control Panel > System and Security > System > Change Settings) and do the following:
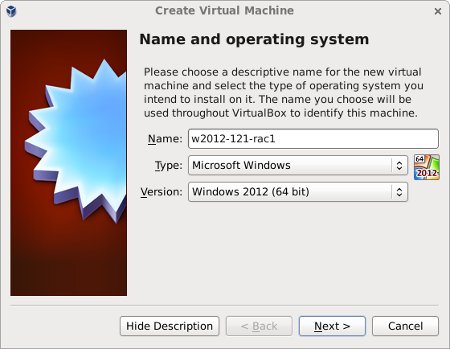
- Click the "Change" button, enter the machine name "w2012-121-rac1" then click the "OK" button.
- Click on the Advanced tab and the "Environment Variables" button.
- Edit both the "TEMP" and "TMP" environment variables to be "%WINDIR%\temp", which is "C:\Windows\temp".
- Click the "OK" button and "Apply" out of the "System" dialog.
Restart the server.
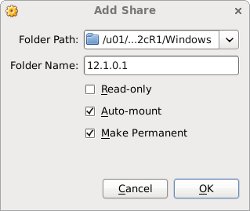
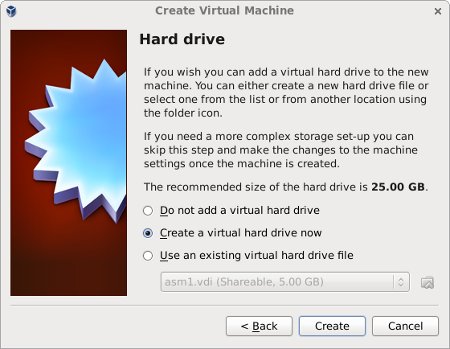
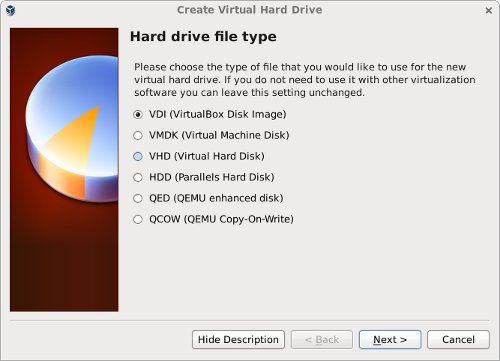
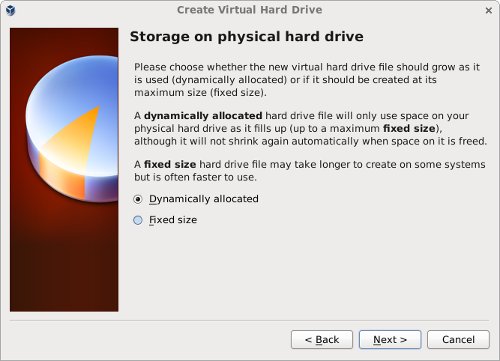
Make sure the VM is shutdown, create a directory to host the shared virtual disks on the host OS, then create the shared disks. My host is Linux, so the paths to the virtual disks are UNIX-style paths. If your host is Windows, then you will be using Windows-style paths.
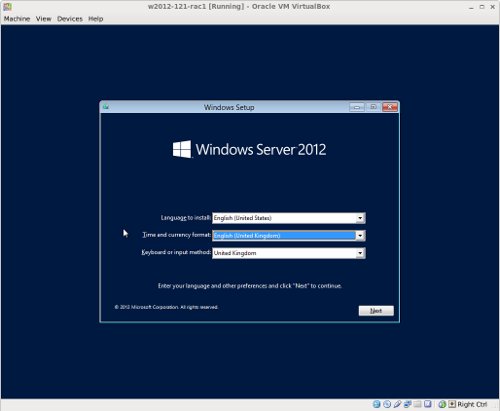
Start the w2012-121-rac1 virtual machine by clicking the "Start" button on the toolbar. When the server has started, log in so you can partition the disks.
We will partition the disks using the "DiskPart" utility. To get alist of the current disks do the following.
In the diskpart utility we will perform the following commands.
Stamp the disks for use with ASM. This is done using the asmtool that comes with the Grid Infrastructure media.
The shared disks are now configured.
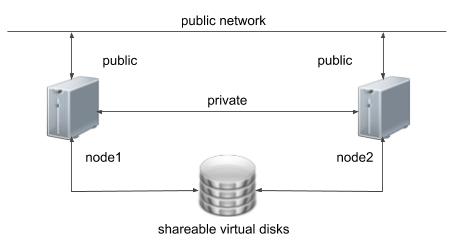
VirtualBox allows you to clone VMs, but these also attempt to clone the shared disks, which is not what we want. Instead we must manually clone the VM.
Shutdown the "w2012-121-rac1" VM.
Manually clone the virtual disk using the following commands on the host server.
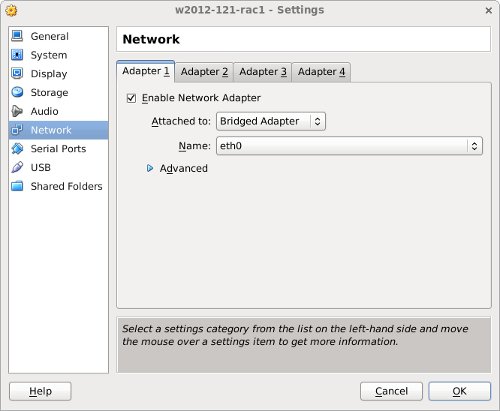
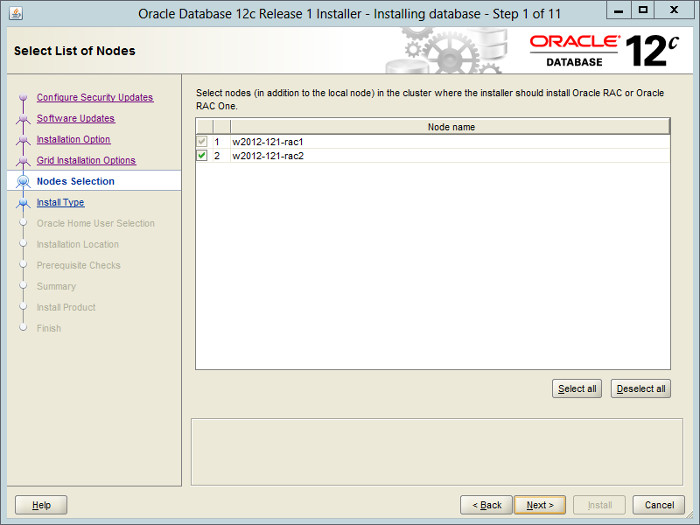
Create the "w2012-121-rac2" virtual machine in VirtualBox in the same way as you did for "w2012-121-rac1", with the exception of using an existing "w2012-121-rac2.vdi" virtual hard drive.
Remember to add the three network adaptors as you did on the first VM. When the VM is created, attach the shared disks to this VM.
Start the "w2008-112-rac2" virtual machine.
Open the "Network Connections" screen (Server Manager > Local Server > Ethernet (click link next to it)) and amend the IP address values of each network to the appropriate values for the second node.
Open the "System Properties" dialog (Start > Control Panel > System and Security > System > Change Settings) and change the machine name by clicking the "Change" button. Click all "OK" buttons to exit the "System Properties" dialog and restart the server when prompted.
Once the RAC2 virtual machine has restarted, start the RAC1 virtual machine. When both nodes have started, check they can both ping all the public and private IP addresses using the following commands.
At this point the virtual IP addresses defined in the hosts file will not work, so don't bother testing them.
The virtual machine setup is now complete.
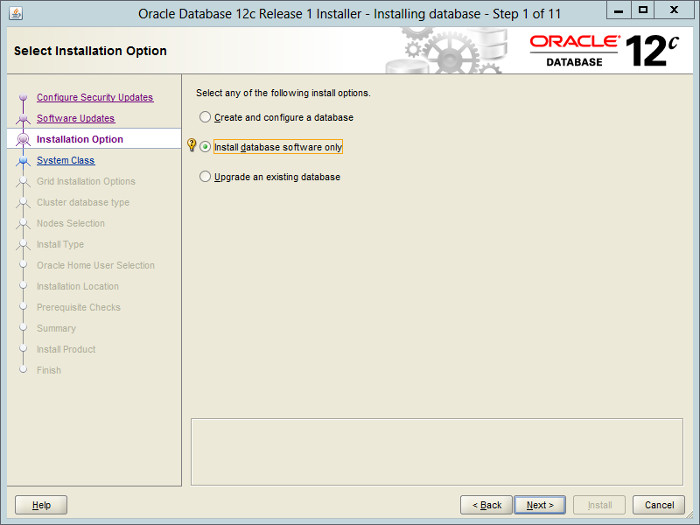
Make sure both virtual machines are started. Login to "w2012-121-rac1" and start the Oracle installer.
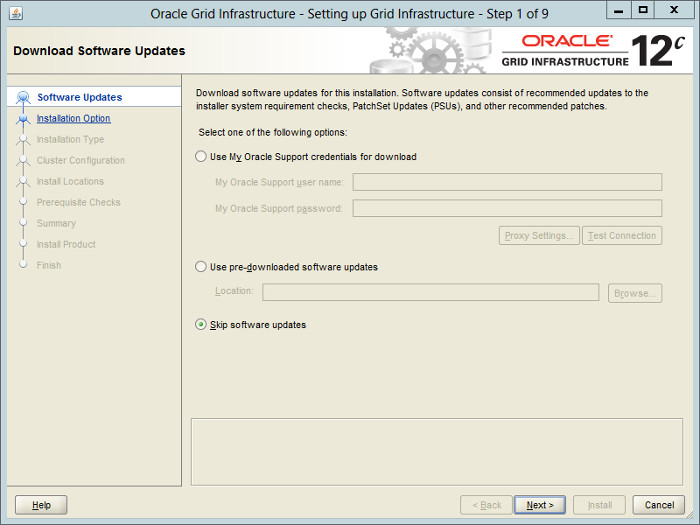
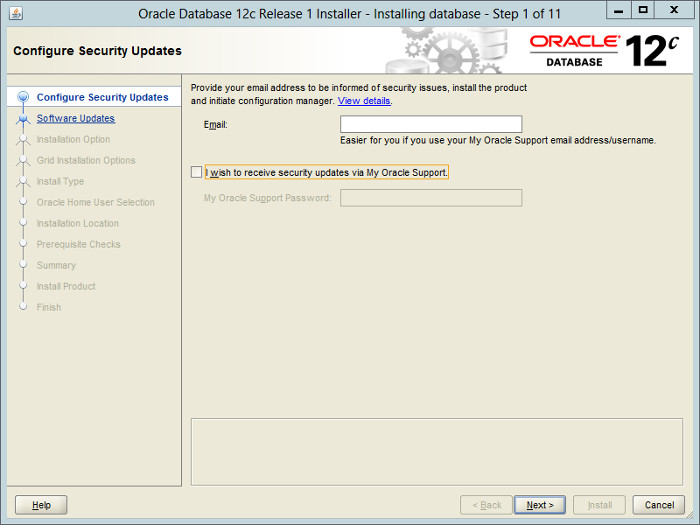
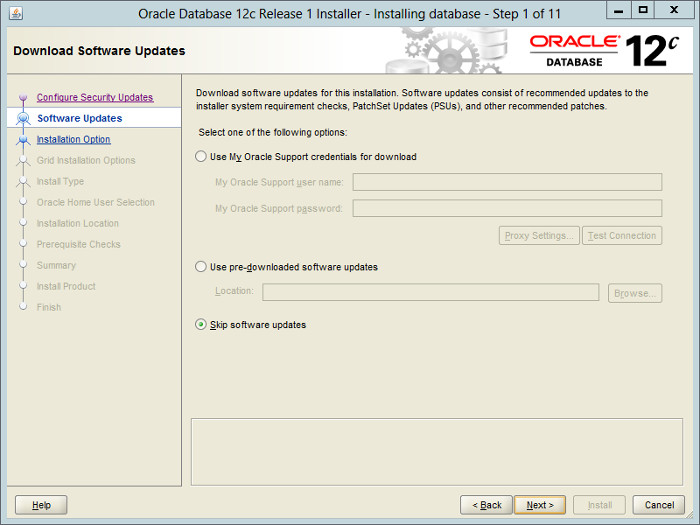
Select the "Skip software updates" option, then click the "Next" button.