DBA Hub

📋Steps in this guide1/10

Oracle Database File System (DBFS) Enhancements in Oracle Database 12c Release 1 (12.1)

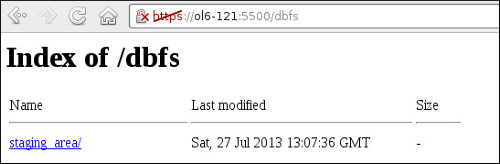
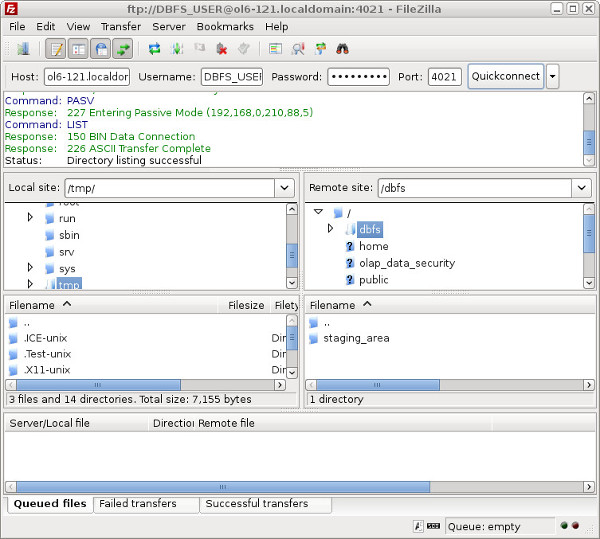
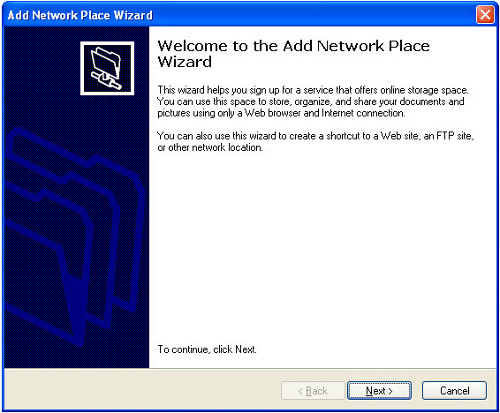
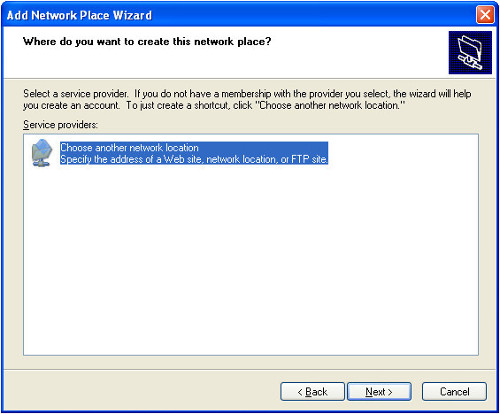
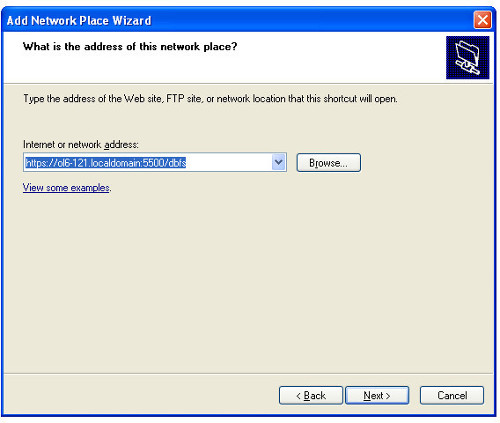
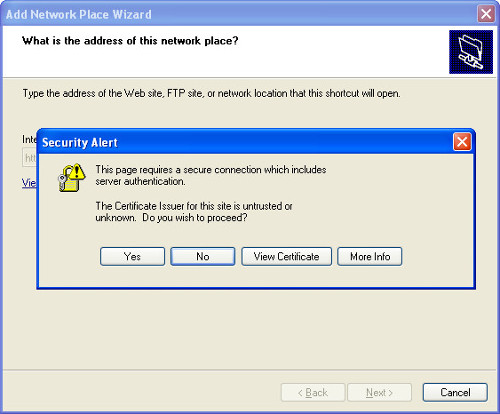
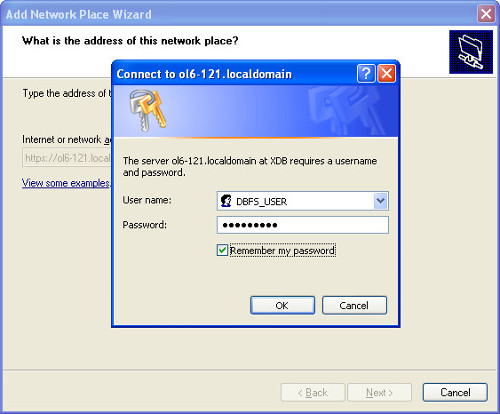
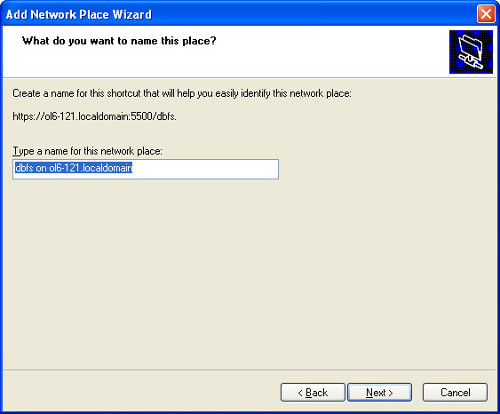
Access your DBFS file systems via HTTP/HTTPS, FTP and WebDAV in Oracle Database 12c Release 1.

oracle 12cconfigurationintermediate
by OracleDba
13 views
1

FTP Access

The Oracle Database File System (DBFS) functionality was introduced in Oracle 11g. The major downside to this feature was real file system style access was only available on the Linux platform due to the reliance on the FUSE project. All other platforms were limited to using the client tool to access the file system. Oracle 12c introduces HTTP/HTTPS, FTP and WebDAV access to DBFS via the "/dbfs" virtual directory in the XML DB repository. - Setup - HTTP and HTTPS Access - FTP Access - WebDAV Access - Digest Authentication Related articles. The setup of a DBFS file system in 12c is the same as that for Oracle 11g, explained here . The following code creates a new tablespace, user and DBFS file system. Oracle 12c automatically enables read-only access to the DBFS file systems via the "/dbfs" virtual directory in the XML DB repository. Check the HTTPS port is configured on your server. If it is set to "0", set the desired port using the following command. The DBFS file system should now be visible using the following style of URL. By default, both HTTP and HTTPS use basic authentication, so if you do not specify the credentials in the URL you will need to enter them when prompted. Both the username and password are case sensitive, so specify the username in uppercase. The browser displays the file system in the usual manner. If you need HTTP access, check the HTTP port number and set it if it is currently set to "0". Oracle 12c automatically enables FTP access to the DBFS file systems via the "/dbfs" virtual directory in the XML DB repository. Check the FTP port is configured on your server. If it is set to "0", set it to the desired port. The DBFS file system will now be available using any FTP client using the host:port combination you have specified, along with the credentials of the owner of the file system.
Step 1
2

WebDAV Access

The HTTP/HTTPS address specified previously can also be used to enable WebDAV access to the DBFS file system. It seems WebDAV doesn't really work in some old builds of Windows 7. To test this functionality I fired up a Windows XP virtual machine. Start the "Add Network Place Wizard" (Start > Control Panel > Network Connections > My Network Places > Add a new network place). Click the "Next" button.
Step 2
3

WebDAV Access

Click the "Next" button.
Step 3
4

WebDAV Access

Enter the HTTP/HTTPS URL as the WebDAV address, then click the "Next" button.
Step 4
5

WebDAV Access

If you are using HTTPS and you are using the demo certificate, you will have to click the "Yes" button on two warning dialogs.
Step 5
6

WebDAV Access

Enter the WebDAV credentials and click the "OK" button.
Step 6
7

WebDAV Access

Alter the name of the network place if you wish, then click the "Next" button.
Step 7
8

WebDAV Access

Click the "Finish" button.
Step 8
9

WebDAV Access

The network place is now available from Windows explorer. You can use it like any other file system on your machine. Notice the file system we created called "staging_area".
Step 9
10

Digest Authentication

HTTP access to the database can now be configured to use Digest Authentication, as described here . For more information see: Hope this helps. Regards Tim...
Step 10

Comments (0)

Please to add comments

No comments yet. Be the first to comment!