Oracle REST Data Services (ORDS) : Using SQL Developer
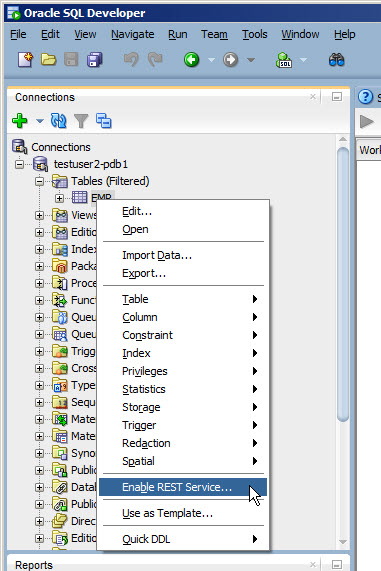
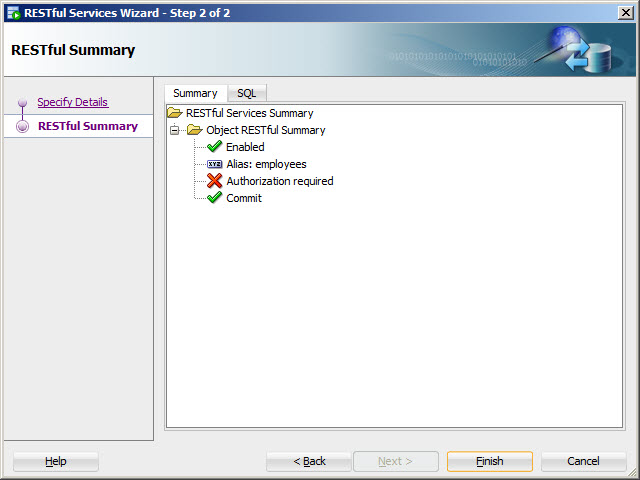
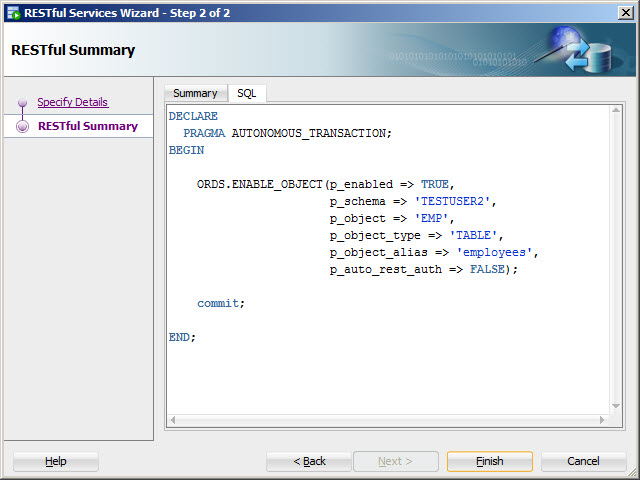
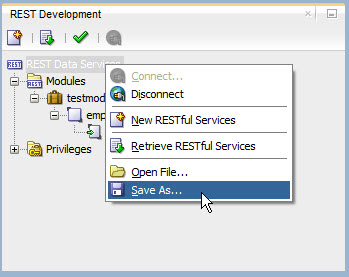
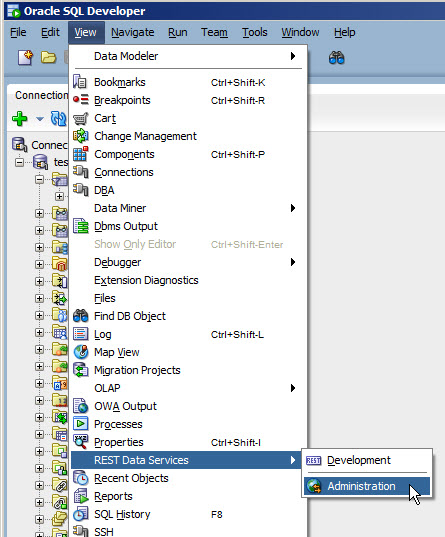
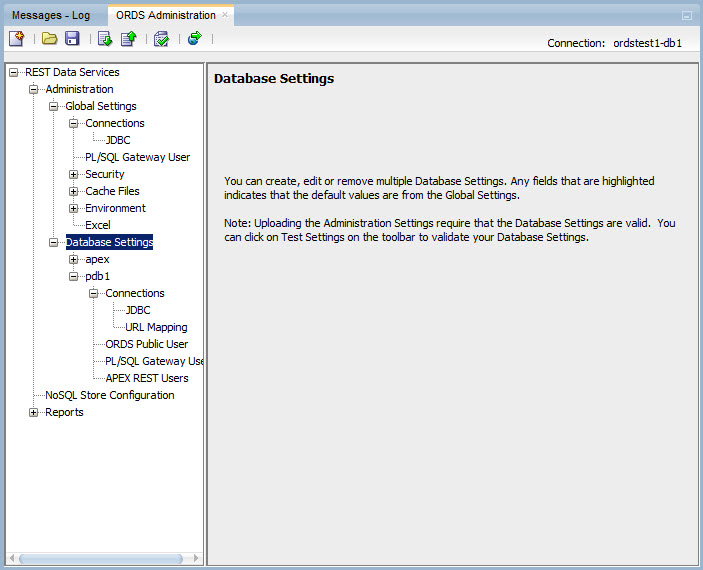
This article gives an overview of using SQL Developer to interact with Oracle REST Data Services (ORDS).
oracle miscconfigurationintermediate
by OracleDba
24 views
This article gives an overview of using SQL Developer to interact with Oracle REST Data Services (ORDS).


Please to add comments
No comments yet. Be the first to comment!