Step 1
This article provides a pictorial guide for performing a default installation of Solaris 10 (x86-32) . The installation is reasonably straight forward, but it is not as simple and takes significantly longer than most modern Linux installations.
At the time of writing, Oracle Database 10g Release 2 for Solaris (x86-32) is not available!
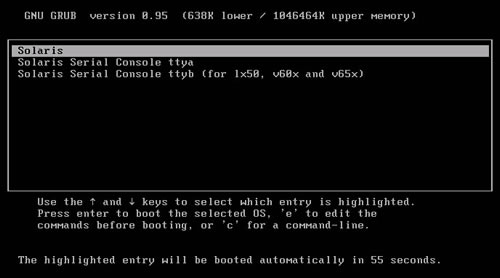
- Boot from the DVD. At the GRUB screen, press the "Enter" key, or wait for the timeout period.
Boot from the DVD. At the GRUB screen, press the "Enter" key, or wait for the timeout period.
- Wait while the Solaris installer boots. This can take quite a long time, so don't panic.
Wait while the Solaris installer boots. This can take quite a long time, so don't panic.
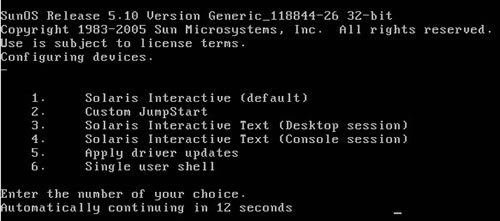
- Select the installation type. This installation is based on the default "Solaris Interactive" installation.
Select the installation type. This installation is based on the default "Solaris Interactive" installation.
- Accept the detected configuration by pressing the "Enter" key, or alter it as appropriate. Once the configuration is accepted, the rest of the installation is done from within an "X" session.
Accept the detected configuration by pressing the "Enter" key, or alter it as appropriate.
Once the configuration is accepted, the rest of the installation is done from within an "X" session.
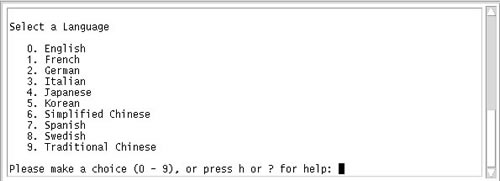
- Select the appropriate language for the installation.
Select the appropriate language for the installation.
- On the "Welcome" screen, click the "Next >" button.
On the "Welcome" screen, click the "Next >" button.
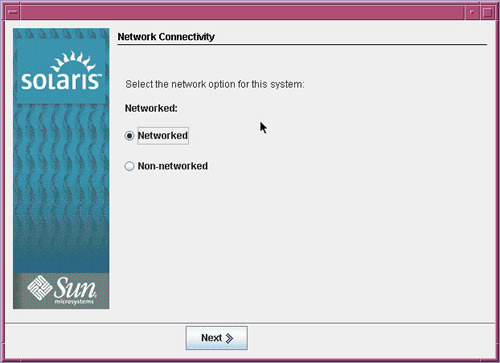
- On the "Network Connectivity" screen, select the "Networked" option and click the "Next >" button.
On the "Network Connectivity" screen, select the "Networked" option and click the "Next >" button.
- Select the appropriate DHCP option and click the "Next >" button. In this case I chose not to use DHCP, so the following screens allow are used to set the relevant network information.
Select the appropriate DHCP option and click the "Next >" button. In this case I chose not to use DHCP, so the following screens allow are used to set the relevant network information.
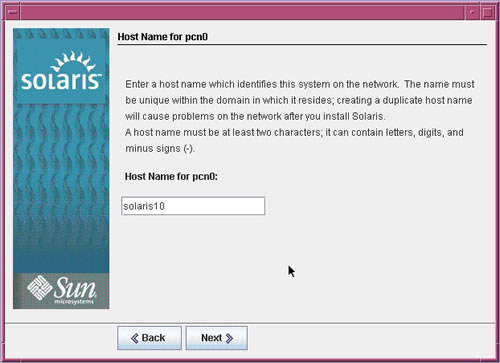
- Enter the appropriate "Host Name" for the network interface and click the "Next >" button.
Enter the appropriate "Host Name" for the network interface and click the "Next >" button.
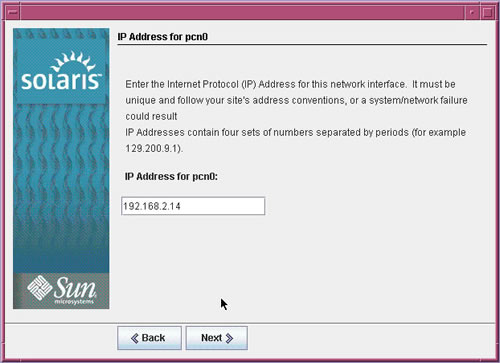
- Enter the appropriate "IP Address" for the network interface and click the "Next >" button.
Enter the appropriate "IP Address" for the network interface and click the "Next >" button.
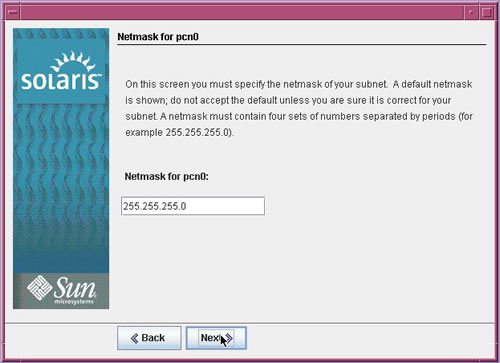
- Enter the appropriate "Netmask" for the network interface and click the "Next >" button.
Enter the appropriate "Netmask" for the network interface and click the "Next >" button.
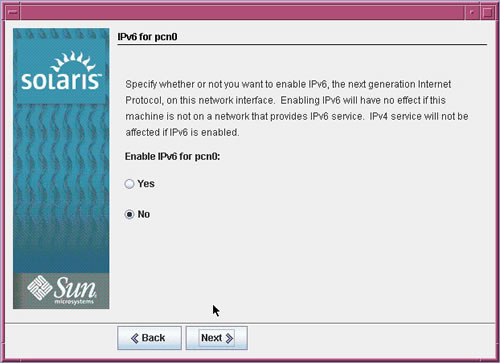
- Decide whether "IPv6" should be enabled on the network interface and click the "Next >" button.
Decide whether "IPv6" should be enabled on the network interface and click the "Next >" button.
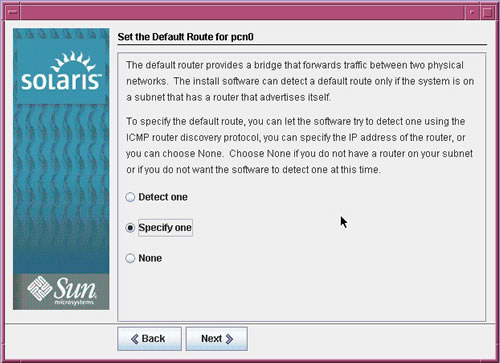
- Decide whether to set a "Default Router" for the network interface and click the "Next >" button. I chose to specify my router manually.
Decide whether to set a "Default Router" for the network interface and click the "Next >" button. I chose to specify my router manually.
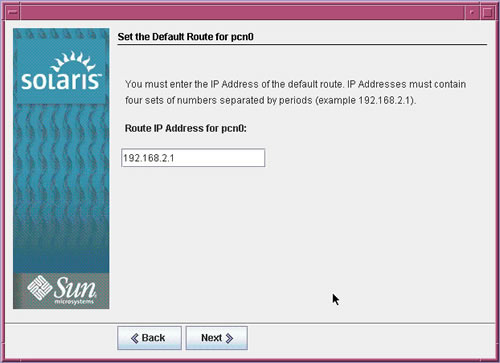
- If you chose to set a "Default Router", enter the router "IP Address" and click the "Next >" button.
If you chose to set a "Default Router", enter the router "IP Address" and click the "Next >" button.
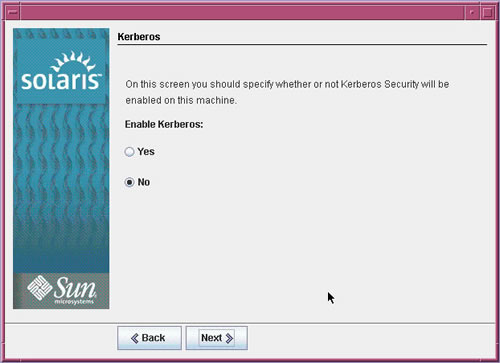
- Decide whether to set a "Kerberos" for the network interface and click the "Next >" button.
Decide whether to set a "Kerberos" for the network interface and click the "Next >" button.
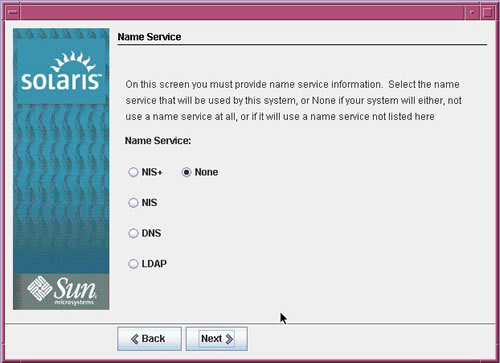
- Specify a "Name Server" to be used with the installation if required.
Specify a "Name Server" to be used with the installation if required.
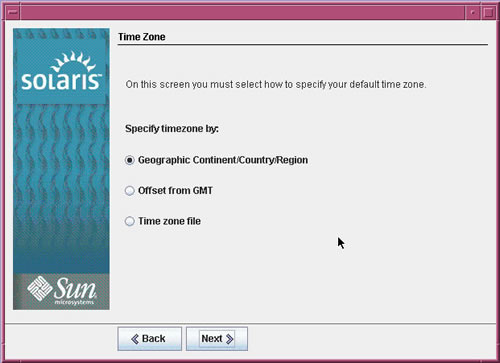
- Specify how the "Timezone" should be configured on the server and click the "Next >" button.
I used the "Continent And Country" option.
Specify how the "Timezone" should be configured on the server and click the "Next >" button.
I used the "Continent And Country" option.
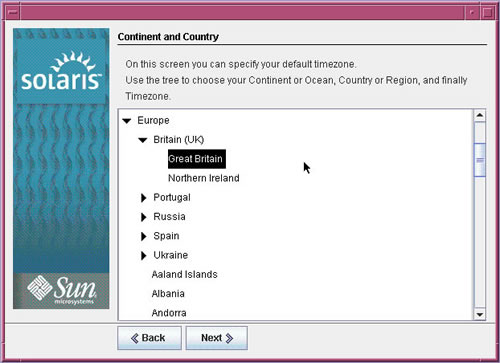
- Select the appropriate time zone and click the "Next >" button.
Select the appropriate time zone and click the "Next >" button.
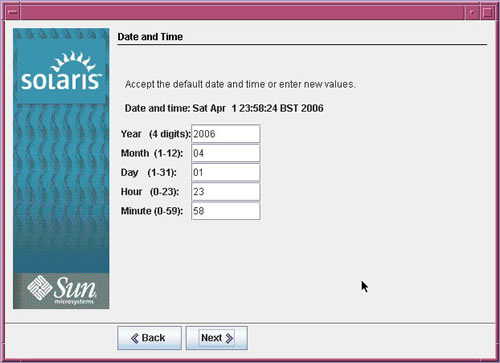
- Adjust the date-time settings if necessary and click the "Next >" button.
Adjust the date-time settings if necessary and click the "Next >" button.
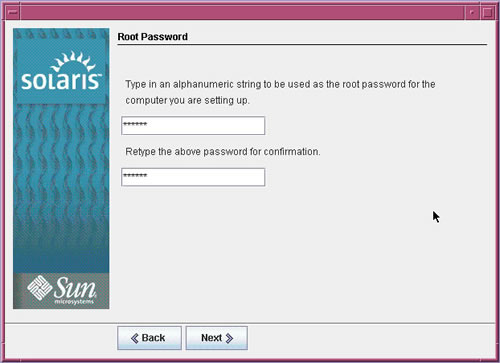
- Enter the root password for the server and click the "Next >" button.
Enter the root password for the server and click the "Next >" button.
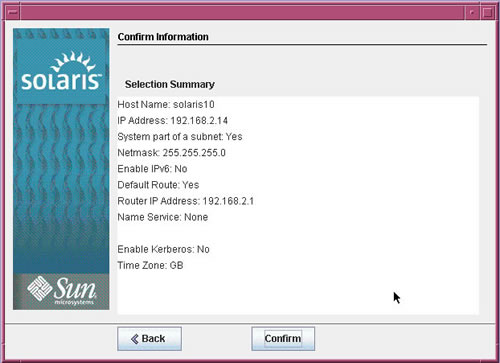
- The "Confirm Information" screen allows you to review the information entered so far. If it is correct, click the "Confirm" button.
The "Confirm Information" screen allows you to review the information entered so far. If it is correct, click the "Confirm" button.
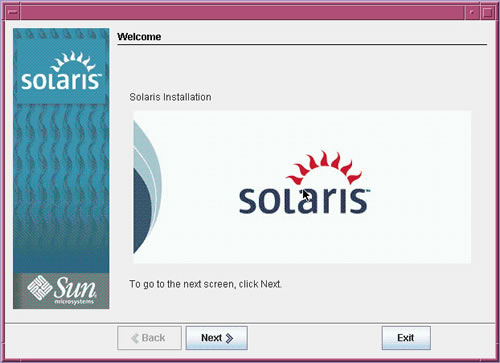
- Click the "Next >" button on the "Welcome" screen.
Click the "Next >" button on the "Welcome" screen.
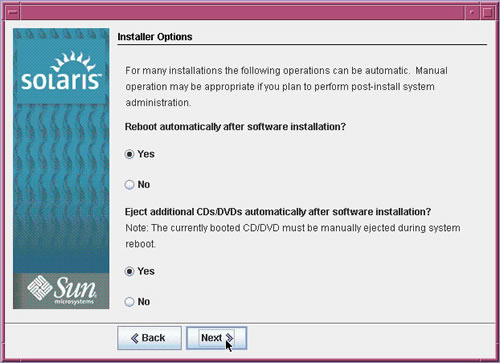
- On the "Installer Options" screen, click the "Next >" button.
On the "Installer Options" screen, click the "Next >" button.
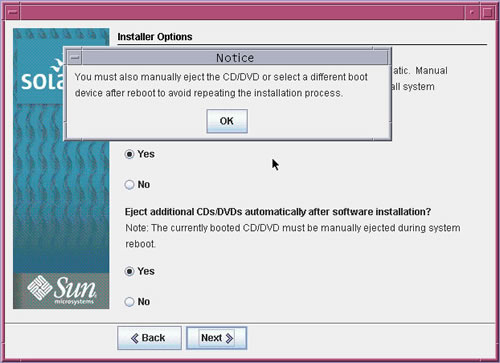
- Click the "OK" button on the "Notice" dialog.
Click the "OK" button on the "Notice" dialog.
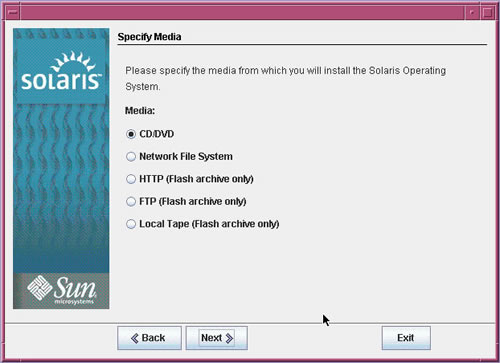
- Select the type of installation media and click the "Next >" button. In this case I was installing from a DVD.
Select the type of installation media and click the "Next >" button. In this case I was installing from a DVD.
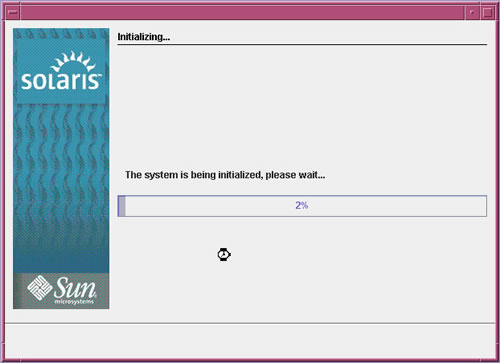
- Wait while the installation initializes.
Wait while the installation initializes.
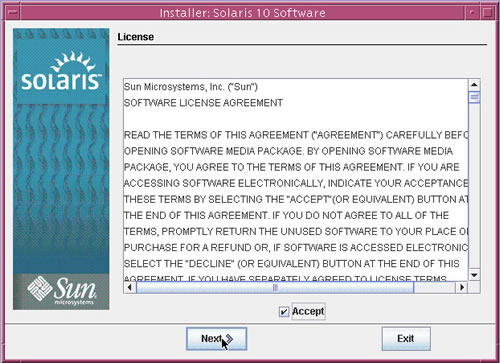
- Accept the license agreement and click the "Next >" button.
Accept the license agreement and click the "Next >" button.
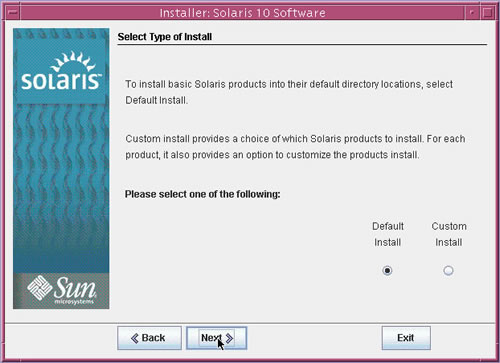
- Select the default installation and click the "Next >" button. Alternatively, customize your installation and disk partitions.
Select the default installation and click the "Next >" button. Alternatively, customize your installation and disk partitions.
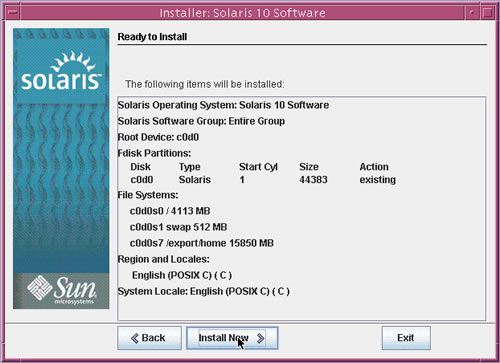
- At the "Ready to Install" dialog, and click the "Install Now" button.
At the "Ready to Install" dialog, and click the "Install Now" button.
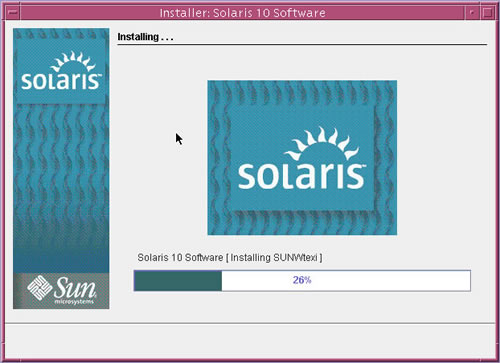
- Wait while the installation completes. This took an absolute age, so I ended up leaving it overnight. Once the installation is complete the system reboots.
Wait while the installation completes. This took an absolute age, so I ended up leaving it overnight.
Once the installation is complete the system reboots.
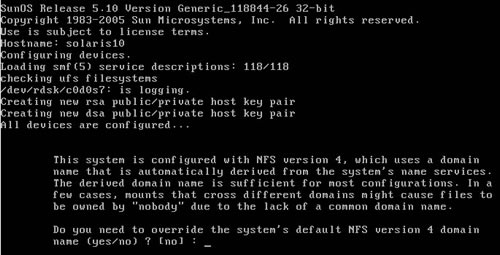
- Accept the default NFS configuration.
Accept the default NFS configuration.
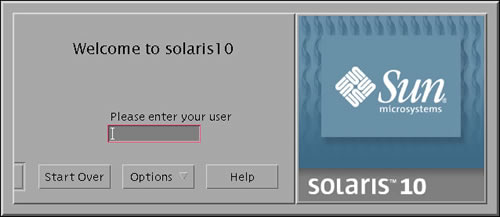
- Log in as the "root" user, using the password you specified during the installation.
Log in as the "root" user, using the password you specified during the installation.
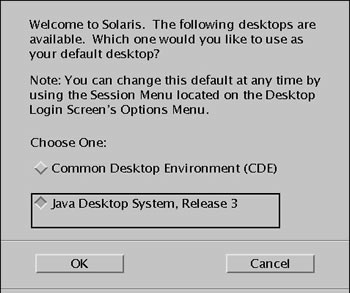
- Select the desired desktop. I chose the "Java Desktop System" option as it uses a Gnome desktop, which is a little more pleasing to they eye than the Common Desktop Environment (CDE).
Select the desired desktop. I chose the "Java Desktop System" option as it uses a Gnome desktop, which is a little more pleasing to they eye than the Common Desktop Environment (CDE).
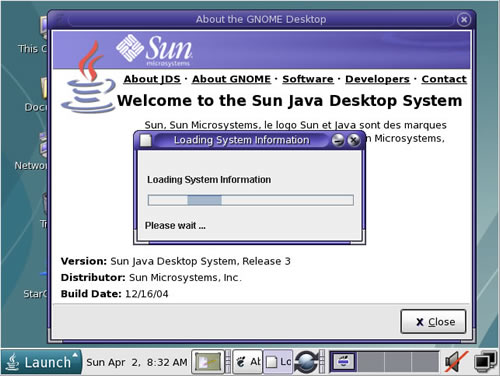
- Close the welcome spash screen.
Close the welcome spash screen.
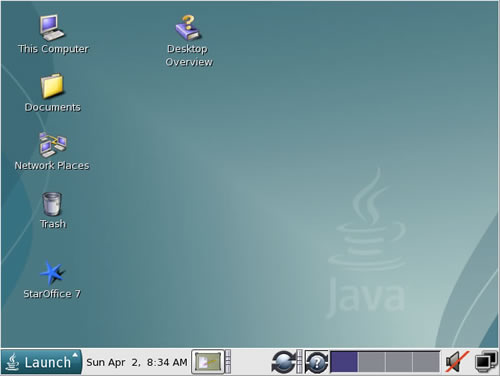
- You have now completed the installation and have a functional Gnome desktop.
You have now completed the installation and have a functional Gnome desktop.
Boot from the DVD. At the GRUB screen, press the "Enter" key, or wait for the timeout period.
Wait while the Solaris installer boots. This can take quite a long time, so don't panic.