This article describes the bare-metal installation and basic usage of VMware ESX Server 3.5 Update 2.
oracle miscconfigurationintermediate
by OracleDba
21 views
1
VMware ESX Server Installation
Products such as VMware Server and VMware Workstation are hypervisors that sit on top of a guest operating system, so some of the server resources are taken up by the host operating system. ESX Server is the enterprise level hypervisor from VMware, which installs on the "bare-metal", making it significantly more efficient.
Once installed, you are able to create virtual machines, each running as a complete system, with processors, memory, networking, storage and BIOS.
This article describes the "bare-metal" installation and basic usage of VMware ESX Server 3.5 Update 2.
- Download Software
- VMware ESX Server Installation
- VMware Infrastructure Client Installation
- Virtual Machine Setup
- Guest Operating System Installation
- VMware Tools Installation
Download the following software.
- VMware ESX Server
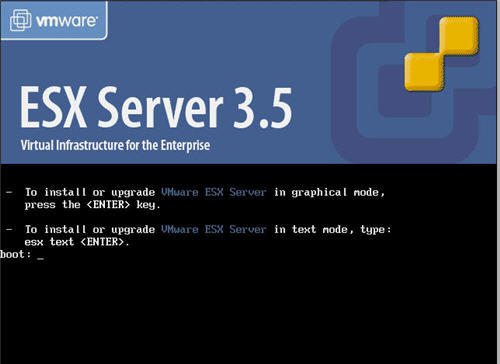
Start the VMware ESX Server installation by booting from the VMware ESX Server CD.
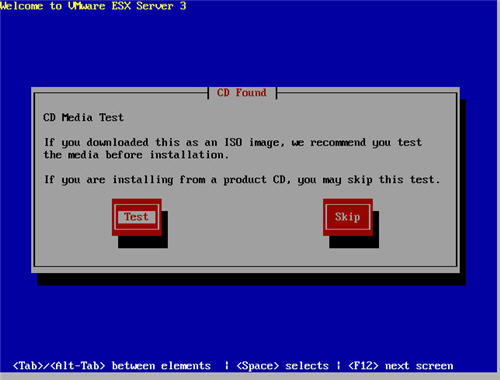
Tab to the "Skip" button and press the "Enter" key to skip the media test.
2
VMware ESX Server Installation
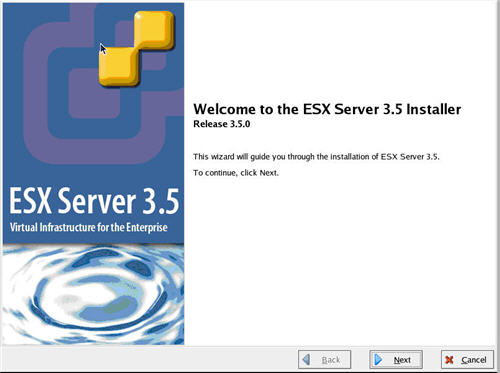
Click the "Next" button on the welcome screen.
3
VMware ESX Server Installation
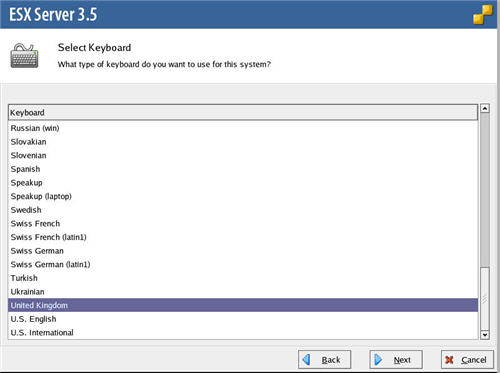
Select the relevant keyboard option, then click the "Next" button.
4
VMware ESX Server Installation
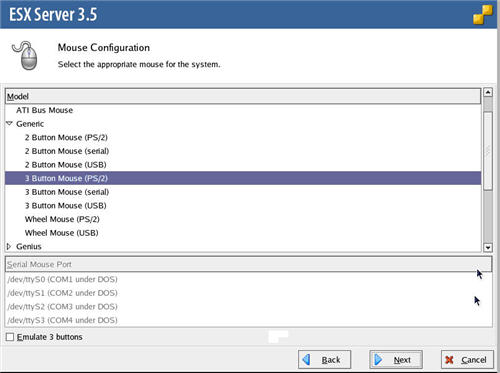
Select the relevant mouse option, then click the "Next" button.
5
VMware ESX Server Installation
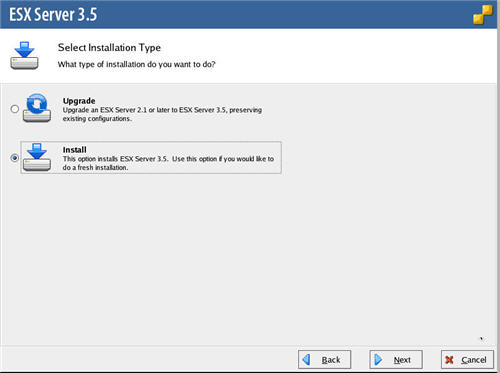
Select the "Install" installation type option, then click the "Next" button.
6
VMware ESX Server Installation
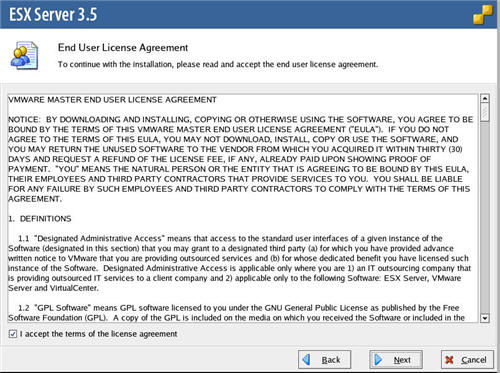
Accept the license agreement, then click the "Next" button.
7
VMware ESX Server Installation
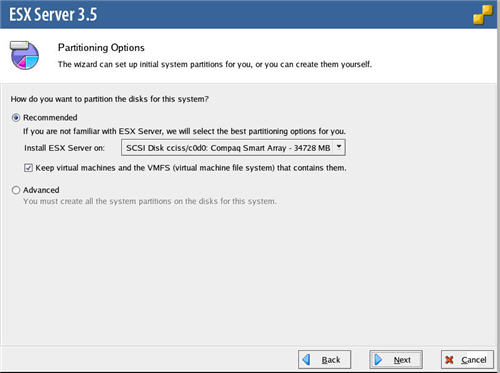
Accept the default partitioning option by clicking the "Next" button.
8
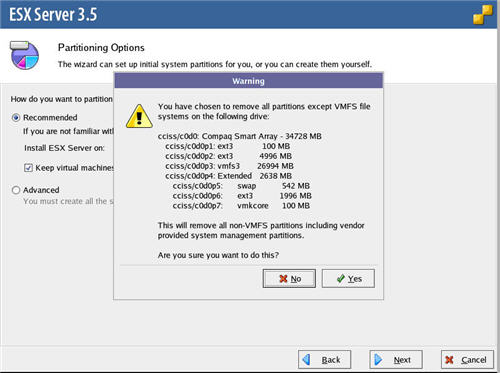
VMware ESX Server Installation
Click the "Yes" button on the subsequent "Warning" dialog.
9
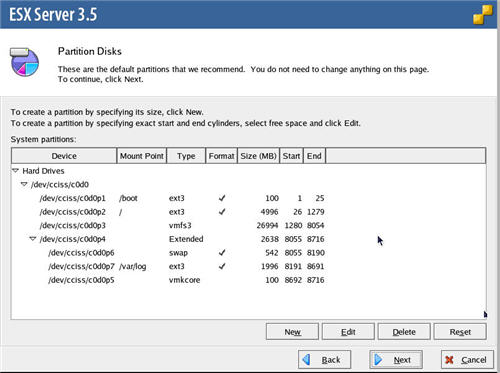
VMware ESX Server Installation
Accept the default partition structure by clicking the "Next" button.
10
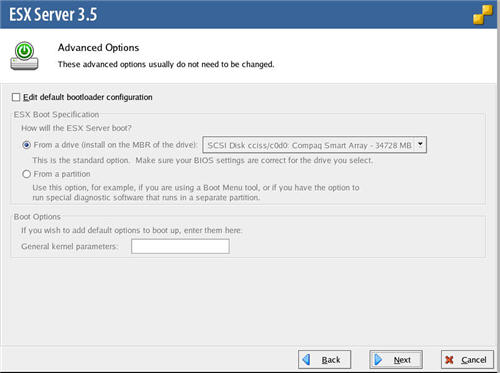
VMware ESX Server Installation
Click the "Next" button on the "Advanced Options" screen.
11
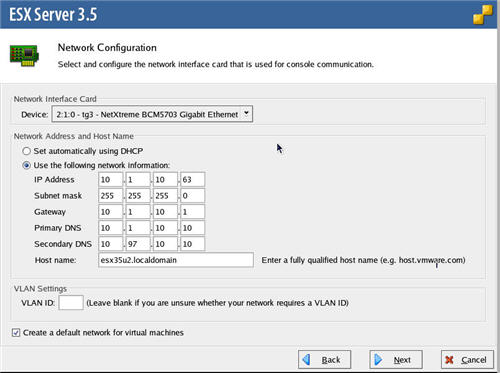
VMware ESX Server Installation
Enter the appropriate network information for your site, then click the "Next" button.
12
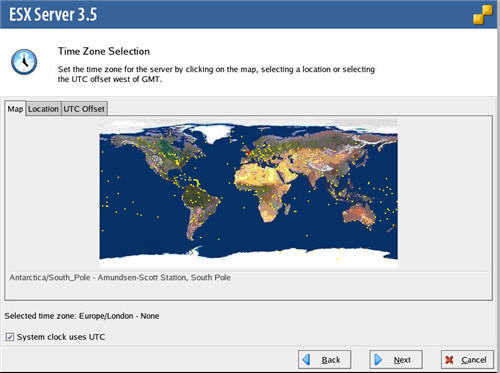
VMware ESX Server Installation
Select your time zone by clicking on the map or selecting the location on the "Location" tab, then click the "Next" button.
13
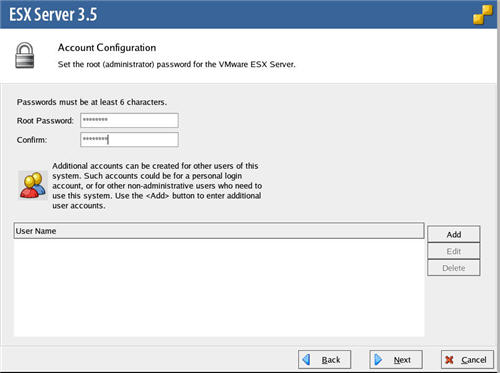
VMware ESX Server Installation
Enter the "root" password, and create any additional users required. Additional users can also be created from the client tool at a later time. Click the "Next" button.
14
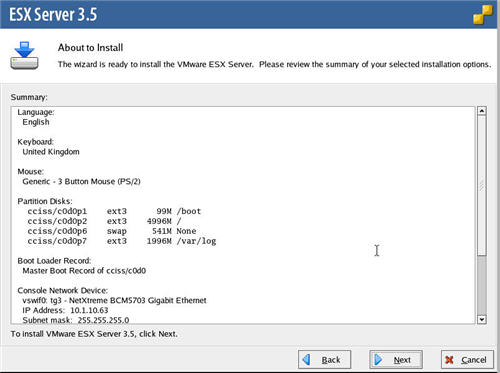
VMware ESX Server Installation
Check the summary information for the installation, then click the "Next" button.
15
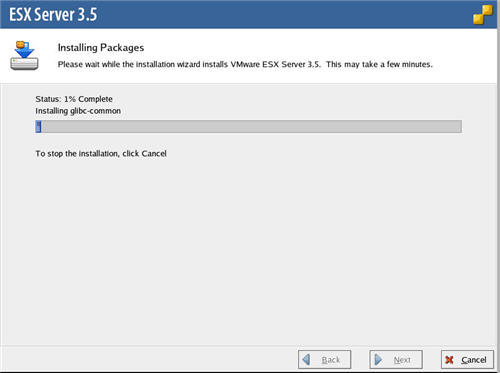
VMware ESX Server Installation
Wait while the installation takes place.
16
VMware ESX Server Installation
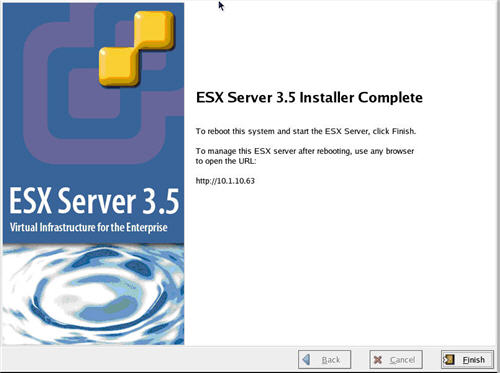
Once the installation is complete, click the "Finish" button.
17
VMware ESX Server Installation
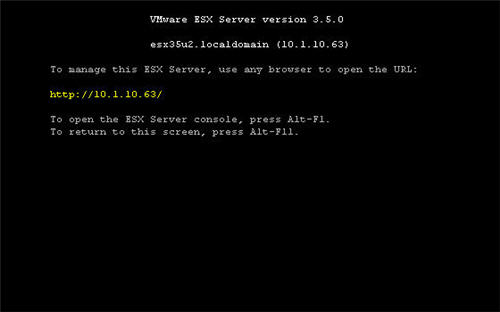
Once the server has rebooted, you are presented with the console window, which lists the URL for the VMware ESX Server 3 welcome page.
18
VMware ESX Server Installation
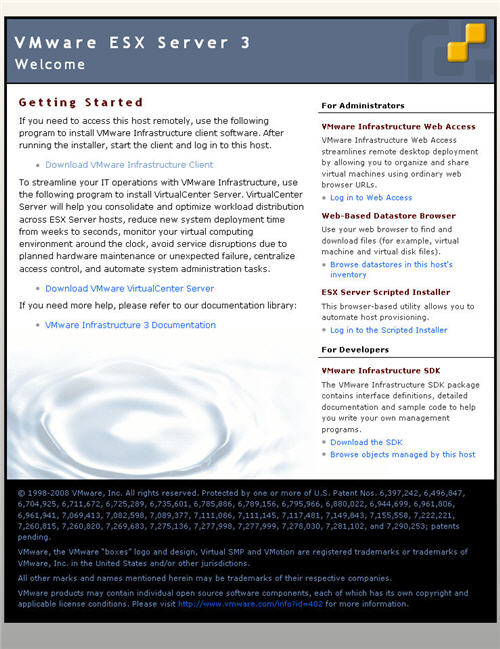
Open a browser on a client PC and got to the link specified on console screen.
19
VMware Infrastructure Client Installation
The resulting page includes a link to the VMware Infrastructure Client installation, which we will install next.
Navigate to the VMware ESX Server 3 welcome page using the URL listed on the console and click the "Download VMware Infrastructure Client" link. Start the installation once the download is complete.
Select the appropriate setup language and click the "OK" button.
20
VMware Infrastructure Client Installation
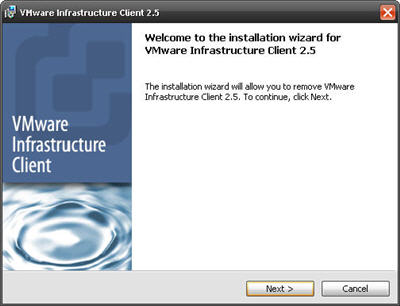
Click the "Next" button on the welcome page.
21
VMware Infrastructure Client Installation
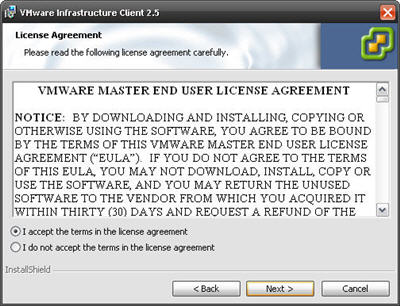
Accept the license agreement and click the "Next" button.
22
VMware Infrastructure Client Installation
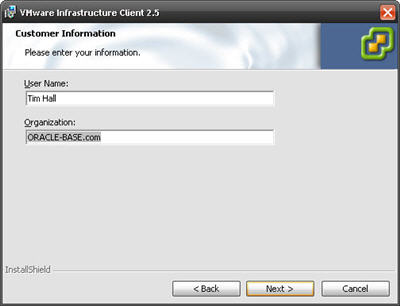
Enter the customer information and click the "Next" button.
23
VMware Infrastructure Client Installation
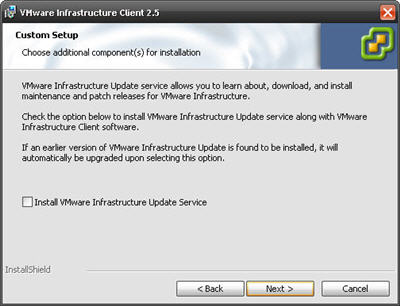
Click the "Next" button on the "Custom Setup" screen.
24
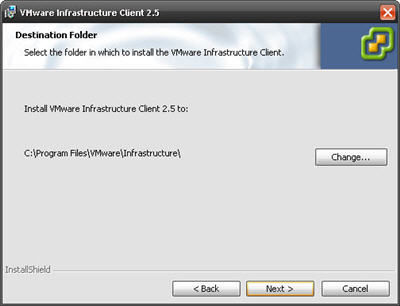
VMware Infrastructure Client Installation
Accept the default destination folder by clicking the "Next" button.
25
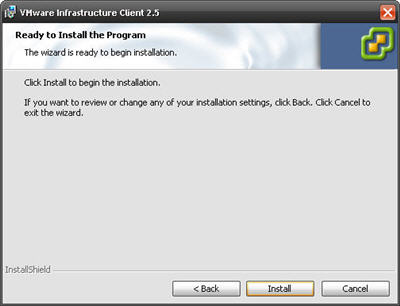
VMware Infrastructure Client Installation
Click the "Install" button.
26
VMware Infrastructure Client Installation
Wait while the installation takes place.
27
VMware Infrastructure Client Installation
When the installation is complete, click the "Finish" button.
28
VMware Infrastructure Client Installation
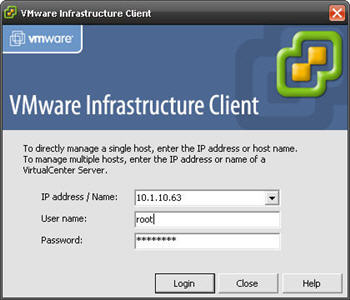
Start the client application and log in to the ESX server with the credentials specified during the installation.
29
VMware Infrastructure Client Installation
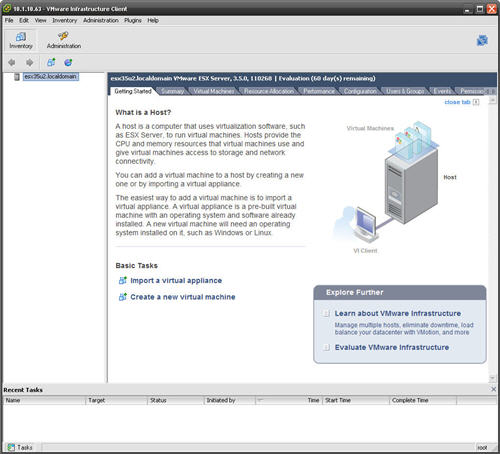
You are then presented with the console.
30
Virtual Machine Setup
You are now ready to start creating virtual machines.
The virtual machine creation process will vary a little depending on your requirement. To give you a feel for the process I will set up a small Red Hat Enterprise Linux (RHEL) 5 virtual machine.
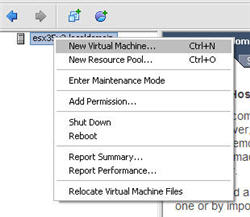
Right-click on the ESX server in the left-hand pane and select the "New Virtual Machine..." menu option.
31
Virtual Machine Setup
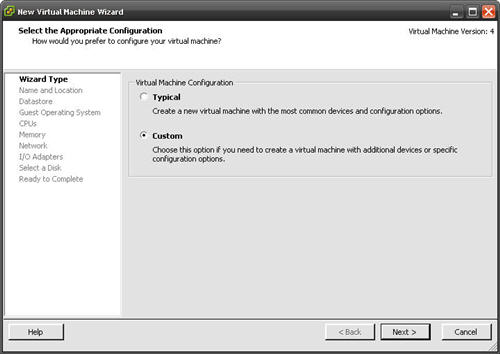
Select the custom option and click the "Next" button.
32
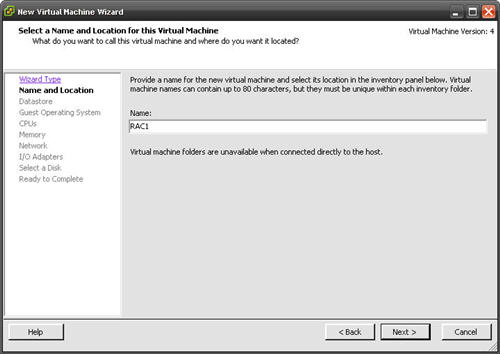
Virtual Machine Setup
Enter the virtual machine name as you would like it to appear in the right-hand pane of the client, then click the "Next" button.
33
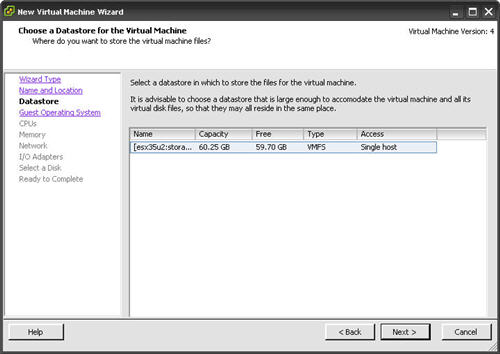
Virtual Machine Setup
Select the default datastore by clicking the "Next" button.
34
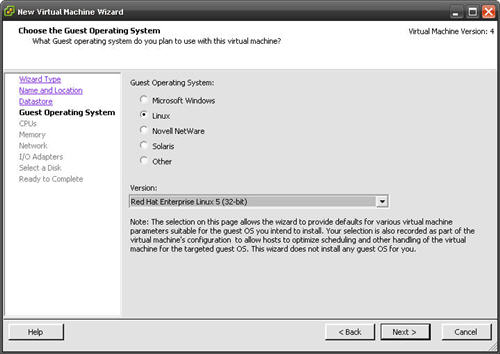
Virtual Machine Setup
Select the appropriate operating system and version, then click the "Next" button.
35
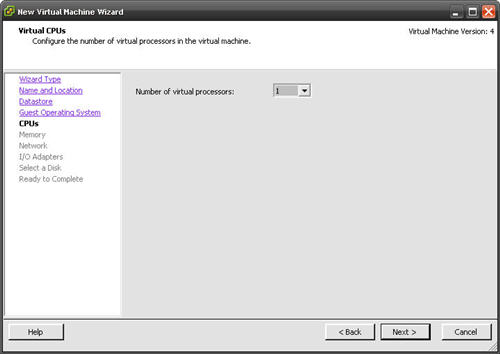
Virtual Machine Setup
Select the required number of CPUs for the virtual machine, then click the "Next" button.
36
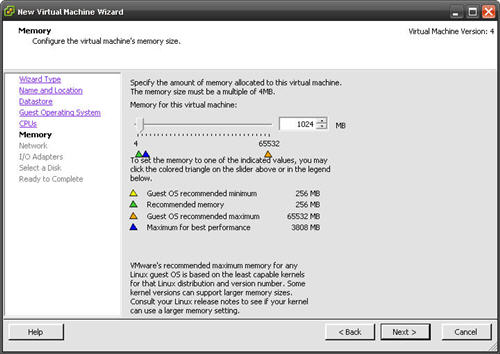
Virtual Machine Setup
Enter the required amount of memory for the virtual machines, then click the "Next" button.
37
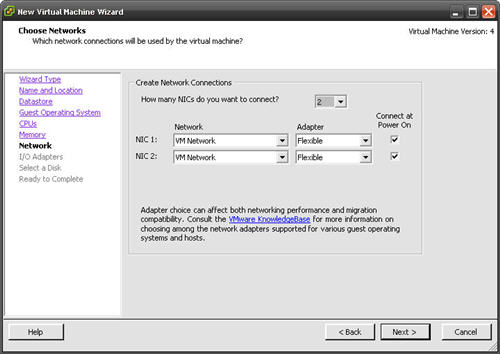
Virtual Machine Setup
Select the number and type of networks cards required, then click the "Next" button.
38
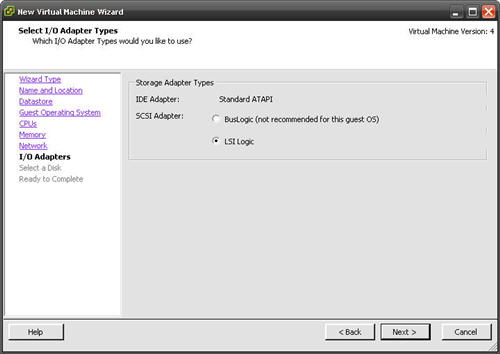
Virtual Machine Setup
Accept the default storage adapter by clicking the "Next" button.
39
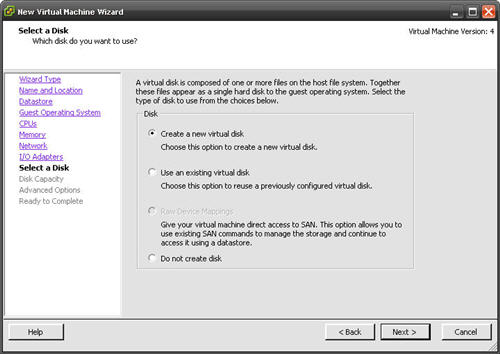
Virtual Machine Setup
Accept the "Create a new virtual disk" option by clicking the "Next" button.
40
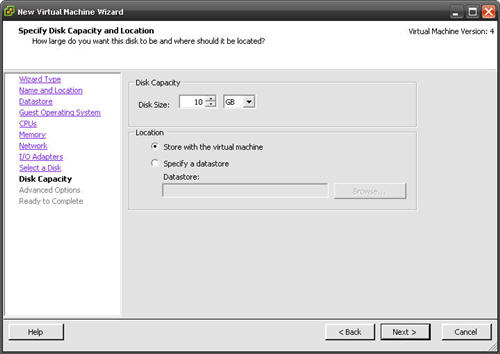
Virtual Machine Setup
Enter the appropriate disk capacity, then click the "Next" button.
41
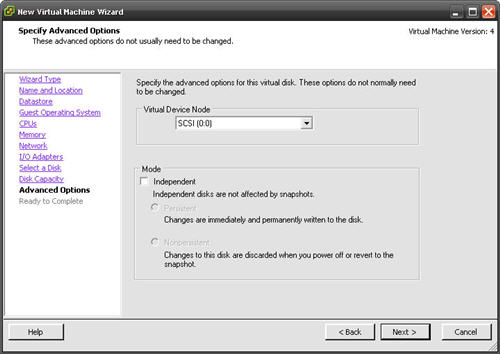
Virtual Machine Setup
Click the "Next" button to ignore the advanced options.
42
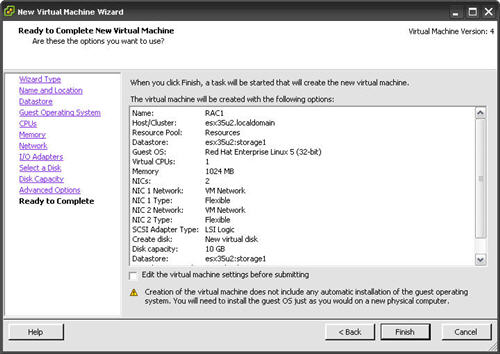
Virtual Machine Setup
If you are happy with the summary information, click the "Finish" button.
43
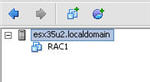
Virtual Machine Setup
The virtual machine is now visible in the left-hand pane.
44
Guest Operating System Installation
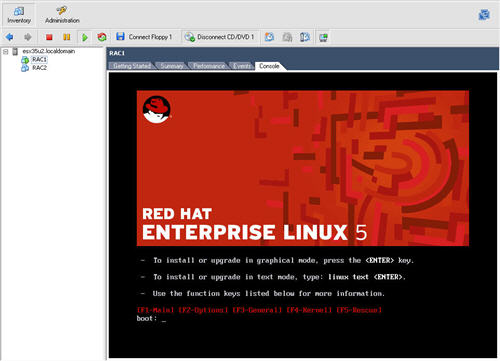
To start the virtual machine, click the play button on the toolbar. The virtual machine will start and attempt to boot from any installable media, or the network.
Place the operating system disk in the client PC's CD drive and start the virtual machine by clicking the play button on the toolbar. The right pane of the client should display a boot loader, then the operating system installation screen.
45
VMware Tools Installation
Continue through the operating system installation as you would for a normal server.
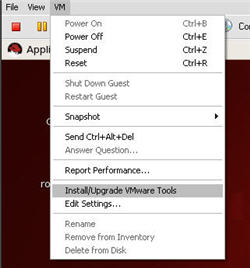
Once the operating system installation is complete, you should install the VMware tools. The process my vary a little depending on the operating system. This example shows the installation on Red Hat Enterprise Linux (RHEL) 5.
From the "VM" menu, select the "Install/Upgrade VMware Tools" menu option.
46
VMware Tools Installation
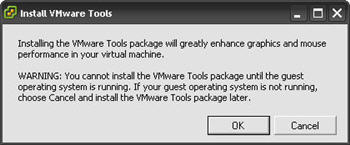
Click the "OK" button in the information dialog.
47
VMware Tools Installation
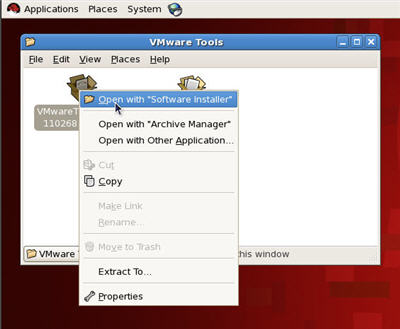
A folder group will appear containing an "RPM" file. Right-click on the file and select the "Open with "Software Installer"" menu option.
48
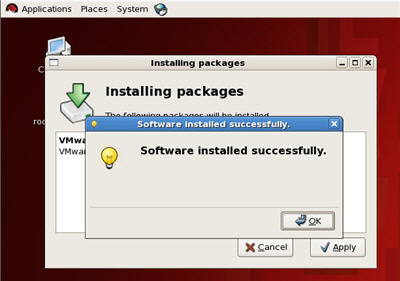
VMware Tools Installation
Once the software has installed, click the "OK" button and the CD should unmount automatically.
49
VMware Tools Installation
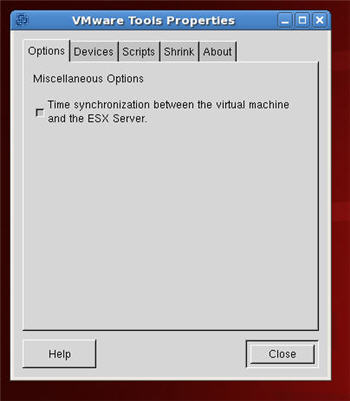
You must then run the "vmware-config-tools.pl" script as the root user.
Accept all the default settings and pick the screen resolution of your choice. The VMware tools are now installed.
Start the VMware Toolbox using the "vmware-toolbox" command.
Select the time synchronization options, then close the dialog.
50
VMware Tools Installation
Reboot the server and the virtual machine installation is complete. You can now start using your virtual machine just like any other server.
For more information see:
- VMware
Hope this helps. Regards Tim...