DBA Hub

📋Steps in this guide1/13

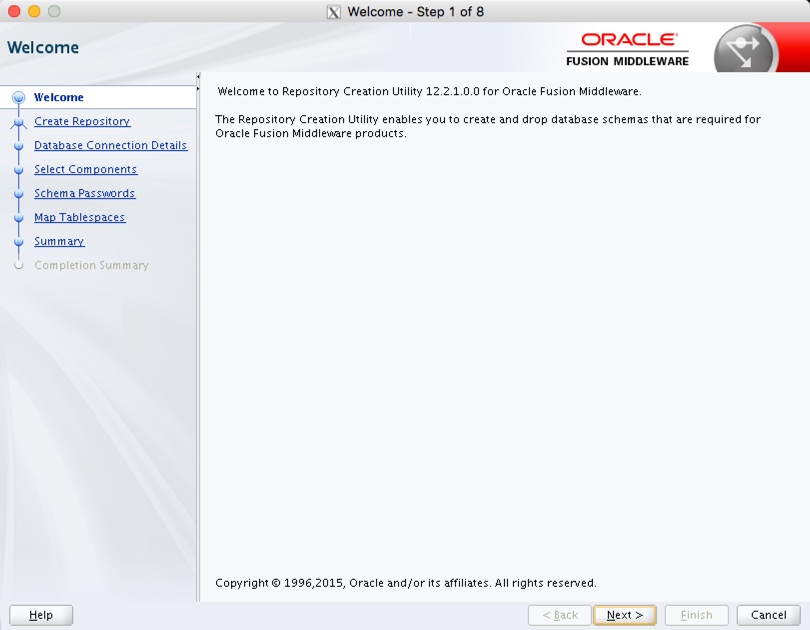
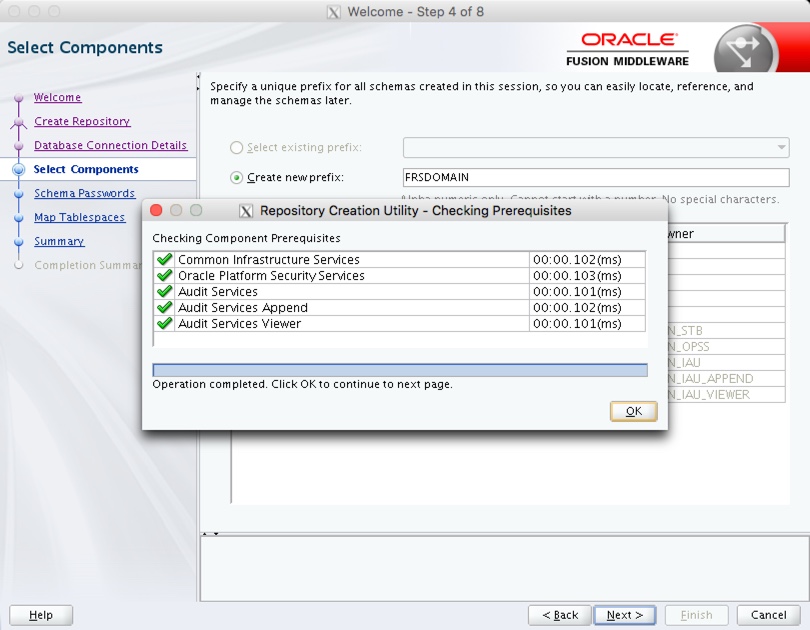
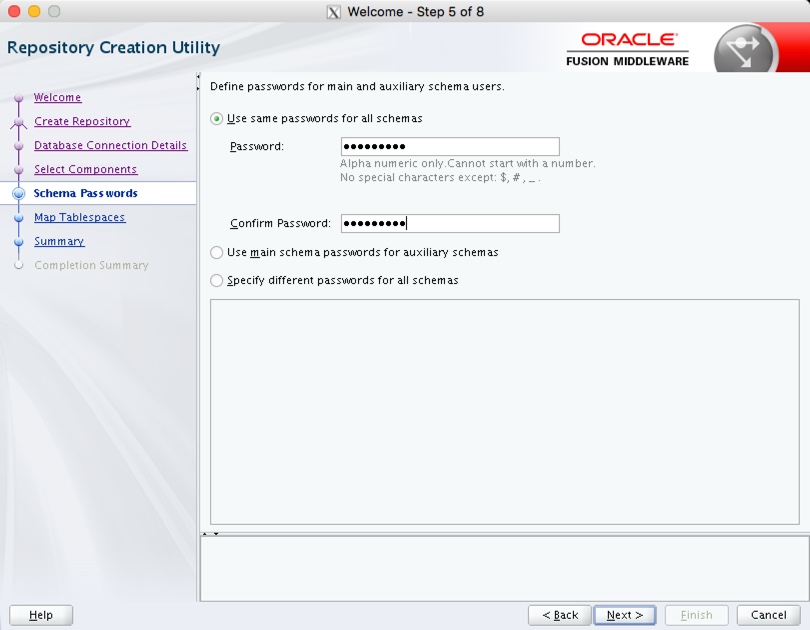
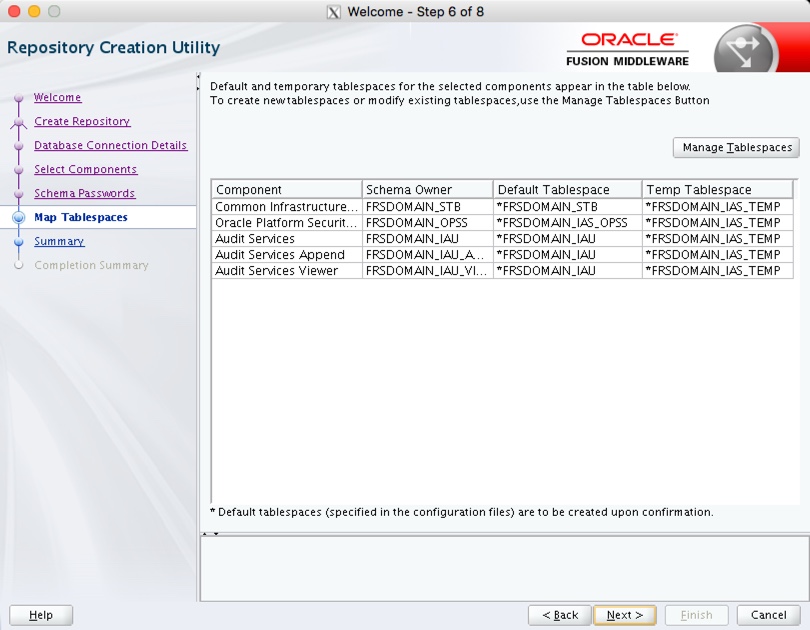
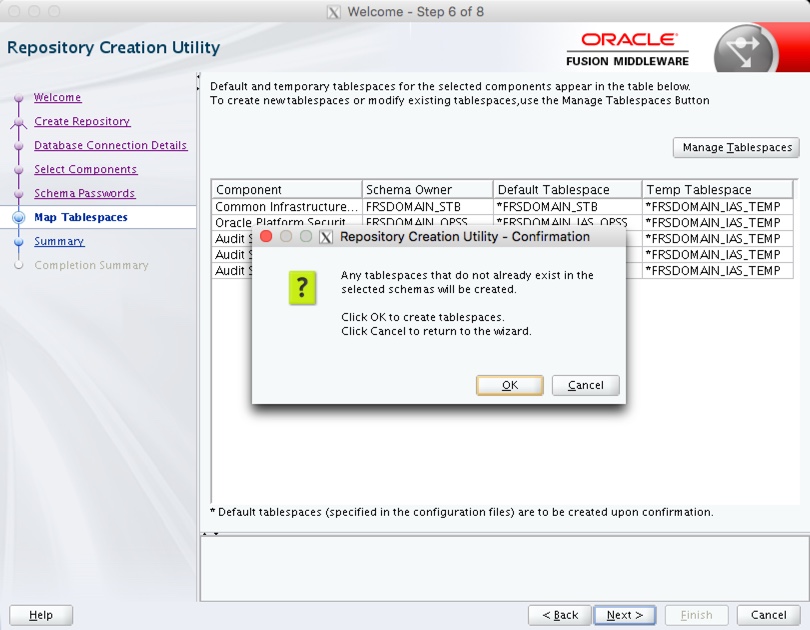
WebLogic Server 12cR2 (12.2.1) : ADF Application Development Runtime - Repository Configuration Utility (RCU)

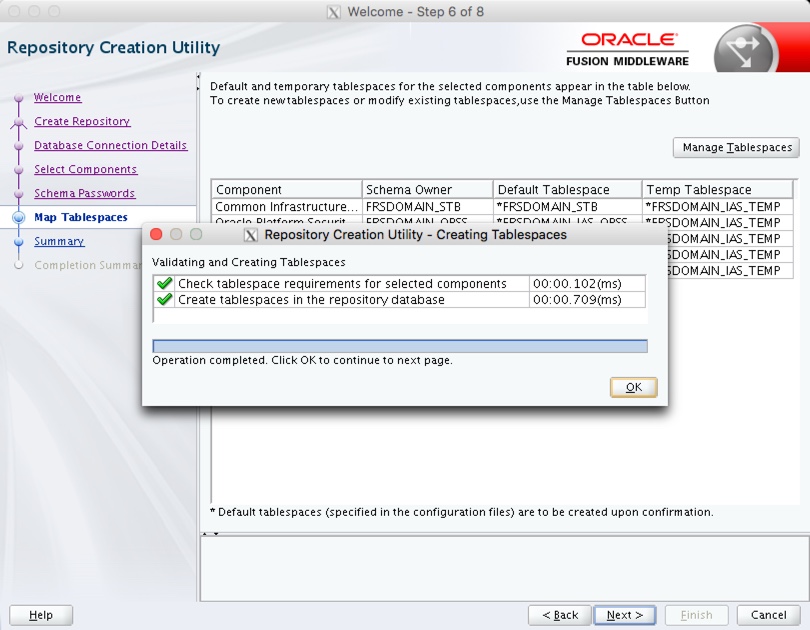
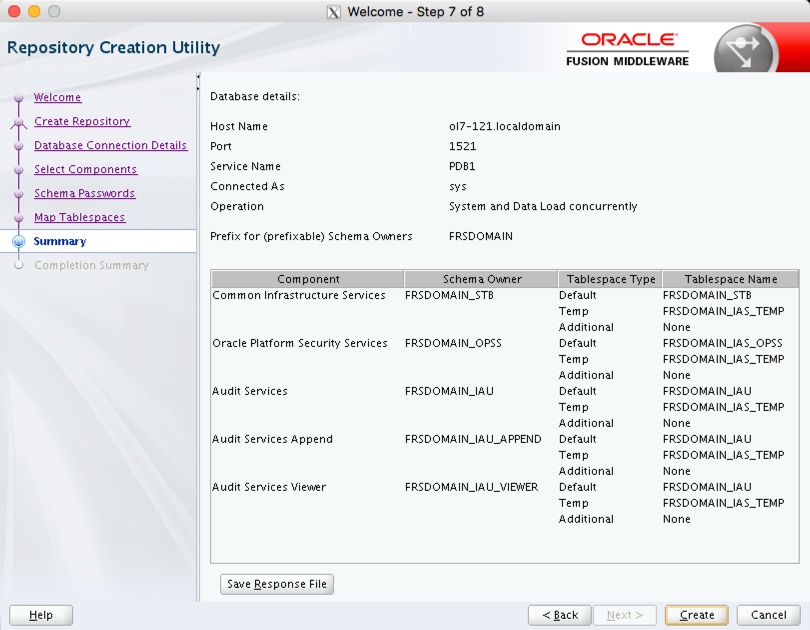
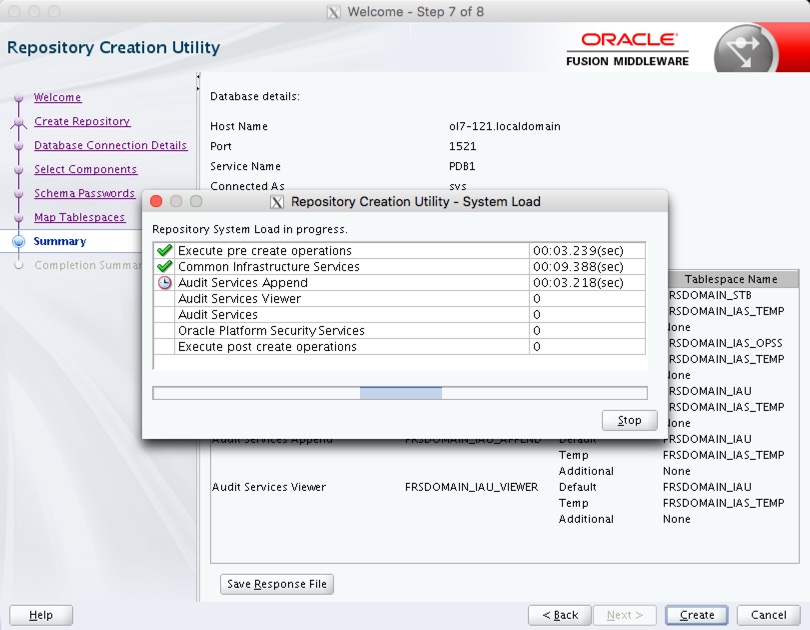
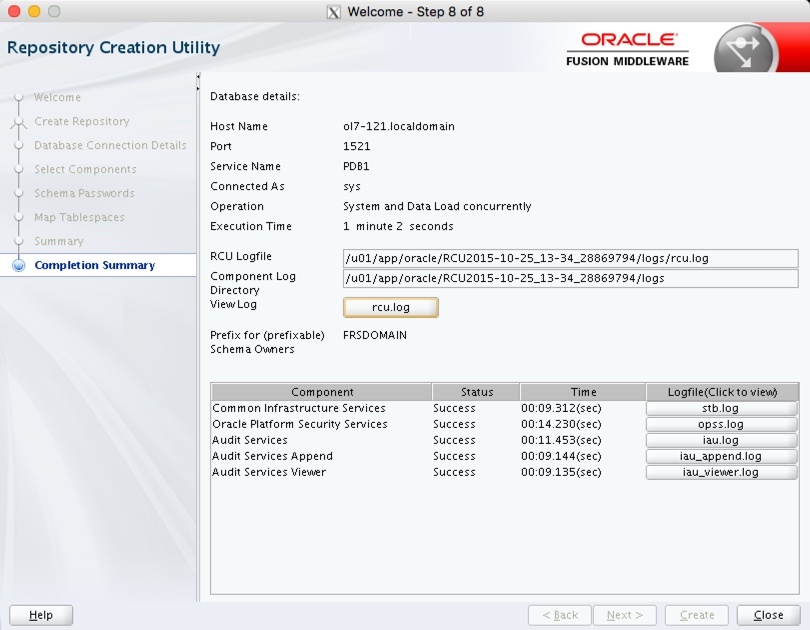
This article provides a brief example of using the Repository Configuration Utility (RCU) from the ADF Application Development Runtime in WebLogic Server 12cR2 (12.2.1).

oracle 12cconfigurationintermediate
by OracleDba
12 views
1

Repository Configuration Utility (RCU)

The Repository Configuration Utility (RCU) is a necessary prerequisite for the creation of clustered domains in WebLogic 12c. It is recommended to install Forms and Reports Services as a clustered domain, even if it is for a single node, so it is also a prerequisite for those installations. - Assumptions - Repository Configuration Utility (RCU) Related articles. The images were originally captured from a 12.2.1.0 installation. The process is the same for 12.2.1.2. Start the Repository Configuration Utility (RCU). Click the "Next" button on the welcome page. Accept the "Create Repository" and "System Load and Product Load" options by clicking the "Next" button.
Step 1
2

Repository Configuration Utility (RCU)

Enter the database connection details and click the "Next" button.
Step 2
3

Repository Configuration Utility (RCU)

If all the prerequisite checks are successful, click the "OK" button.
Step 3
4

Repository Configuration Utility (RCU)

Enter a schema prefix, select the components of interest and click the "Next" button. For Forms and Reports Services, you should check the "Oracle Platform Security Services" option, which will automatically select others.
Step 4
5

Repository Configuration Utility (RCU)

If all the prerequisite checks are successful, click the "OK" button.
Step 5
6

Repository Configuration Utility (RCU)

Enter the credentials for the schemas and click the "Next" button.
Step 6
7

Repository Configuration Utility (RCU)

Use the "Manage Tablespaces" button to adjust the defaults, or accept the defaults by clicking the "Next" button.
Step 7
8

Repository Configuration Utility (RCU)

Accept the tablespace creation confirmation by clicking the "OK" button.
Step 8
9

Repository Configuration Utility (RCU)

Once the tablespaces are created click the "OK" button.
Step 9
10

Repository Configuration Utility (RCU)

If you are happy with the summary information, click the "Create" button.
Step 10
11

Repository Configuration Utility (RCU)

Wait while the repository creation takes place.
Step 11
12

Repository Configuration Utility (RCU)

Exit the utility by clicking the "Close" button.
Step 12
13

Repository Configuration Utility (RCU)

The repository creation is complete. For more information see: Hope this helps. Regards Tim...
Step 13

Comments (0)

Please to add comments

No comments yet. Be the first to comment!